1. Create Your First Consent Purpose
In this guide, you will learn how to create your first Consent Purpose in DataGuard CPM, we will use the example of Email Marketing. This process involves setting up the core elements that define how and why you will process the Citizen's data. Follow these simple steps to get started:
Step 1: Create a Party
The first step is to create a Party. A Party represents the organisation against which consent is collected, usually this will be the name of your organisation.
- Navigate to the "Consent Purposes" page in the CPM UI.
- Enter the Party name in the top right box. In this example we are using "Data App", the name of an example organisation.
- Click the tick icon to save the Party.
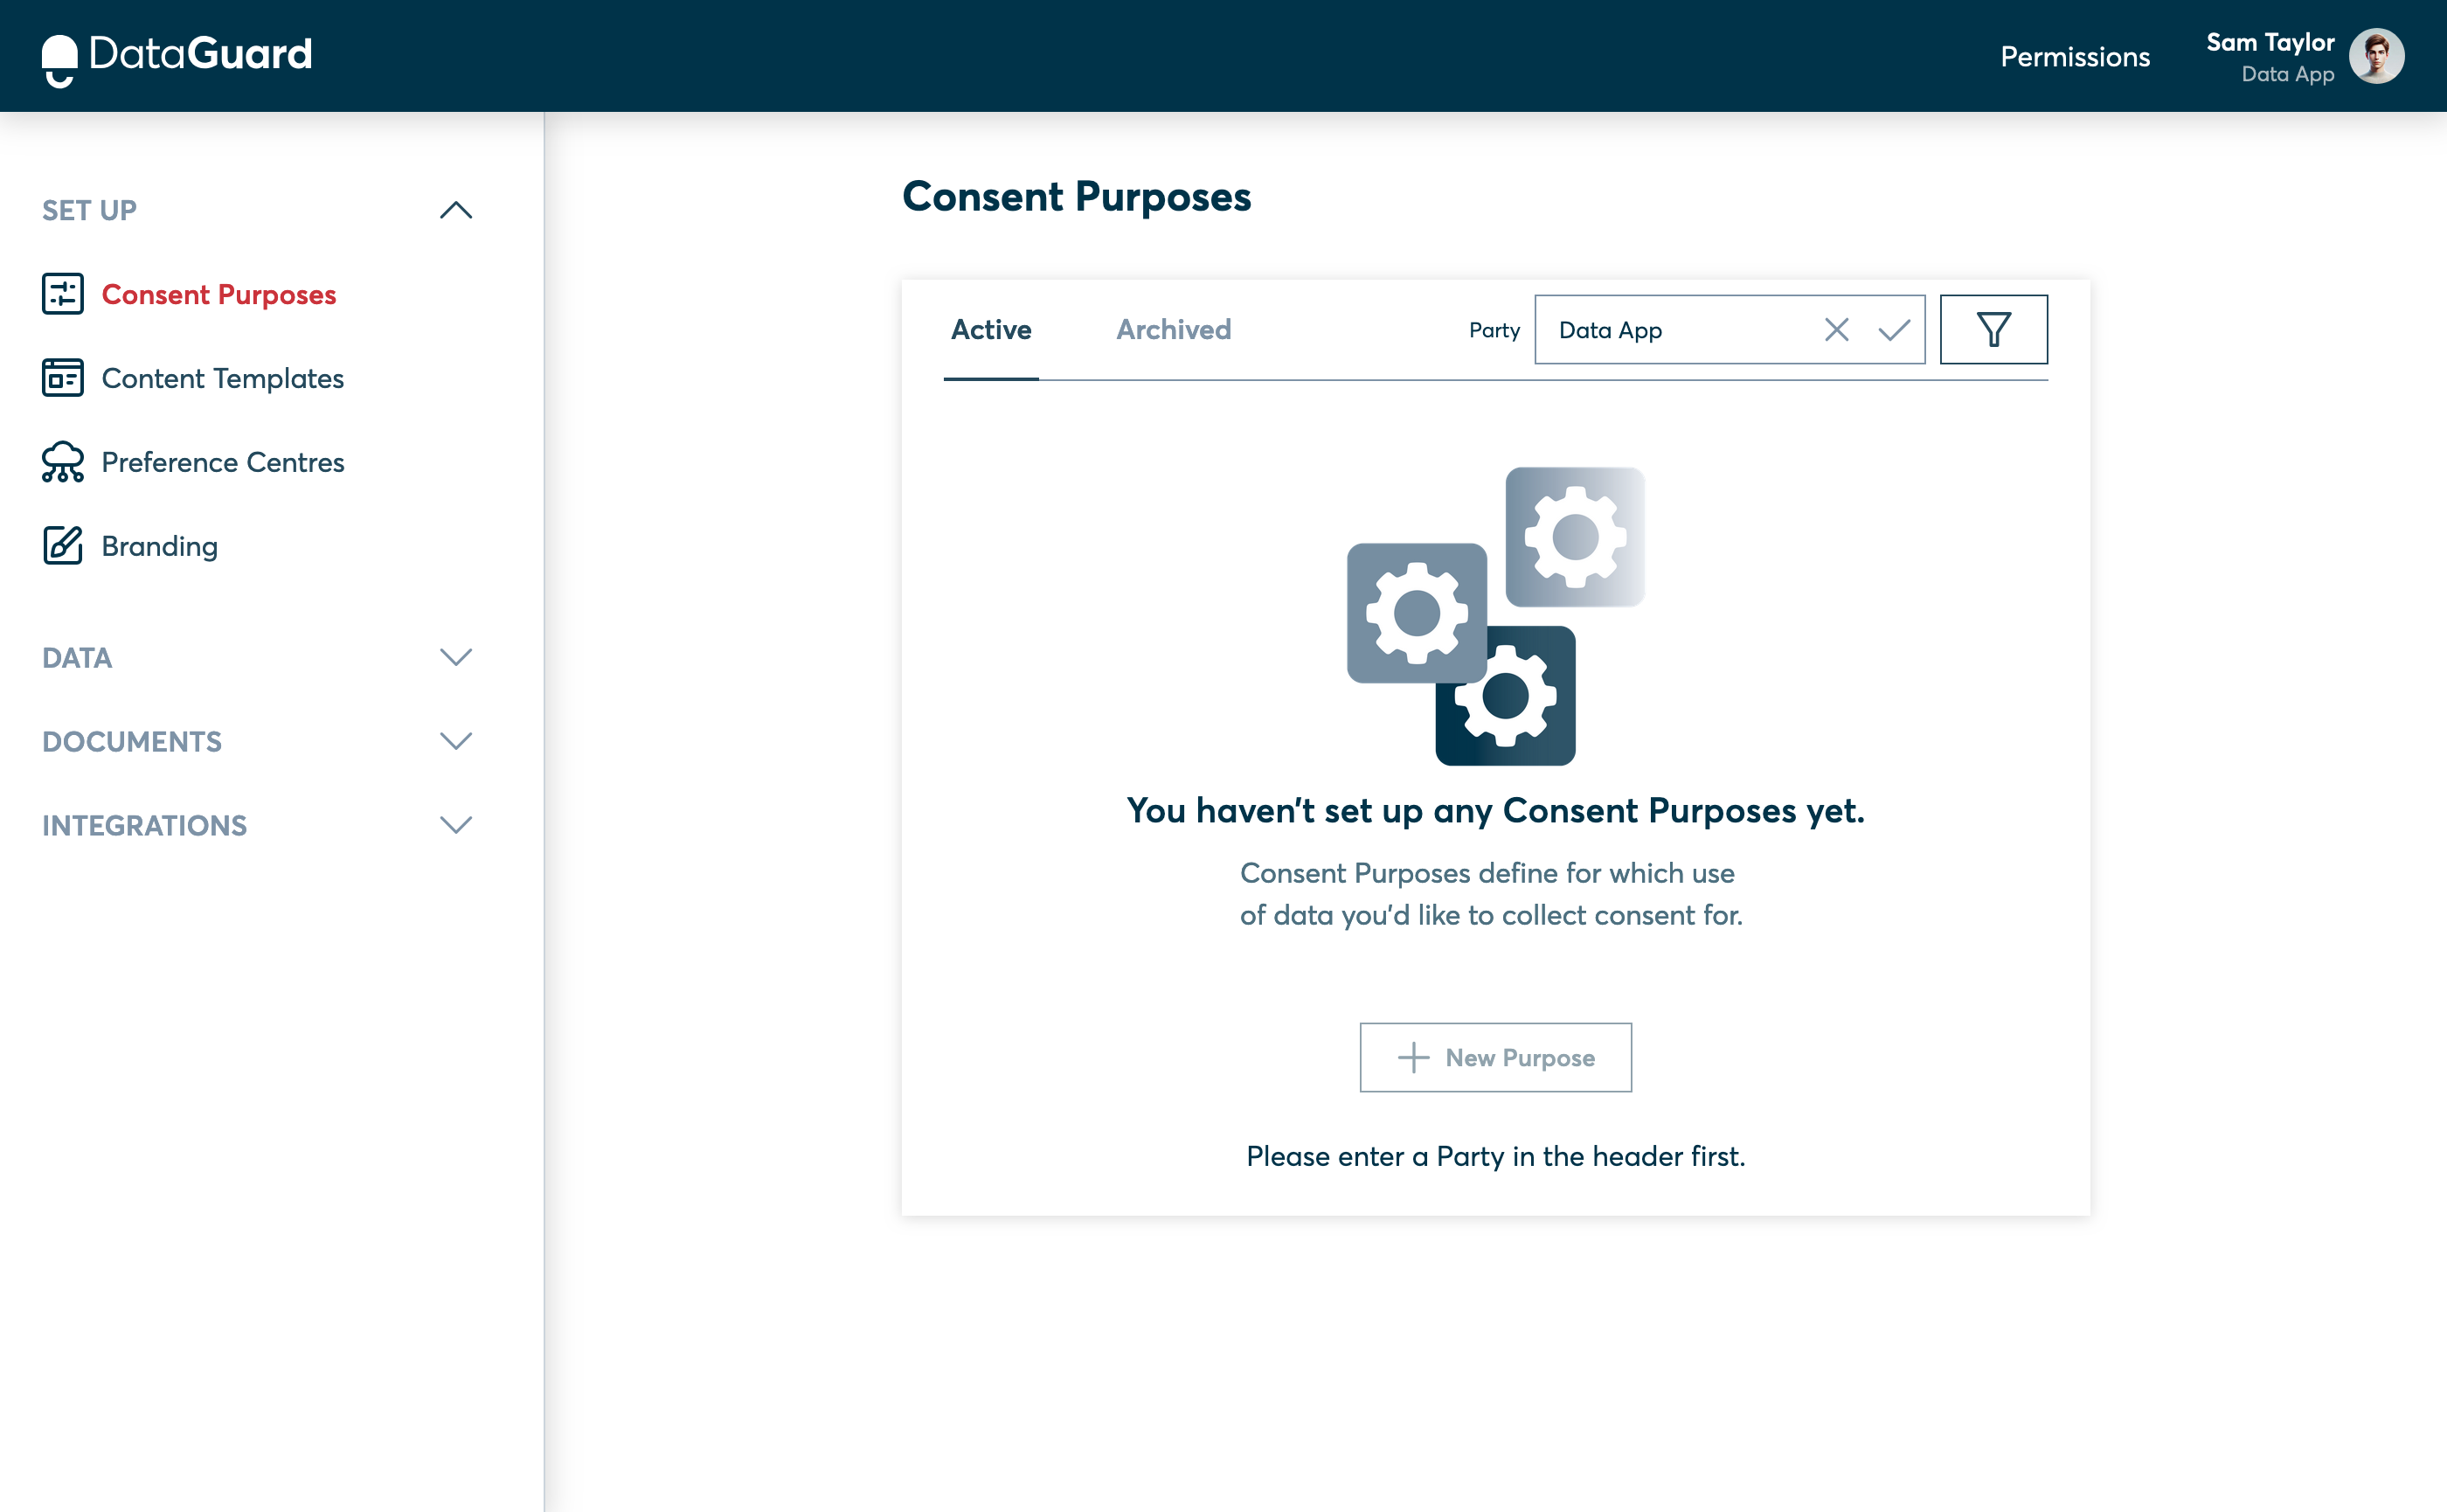
Creating a Party in the CPM UI.
Step 2: Create a Purpose
Next, you need to create a Purpose. A Purpose is the reason for which you will be processing the data. This defines why the data is being collected and processed. For example, Marketing, Newsletters or Special Offers.
- Click the "New Purpose" button.
- Enter the Purpose name. In this example we are using "Marketing".
- Click the tick icon to save the Purpose.
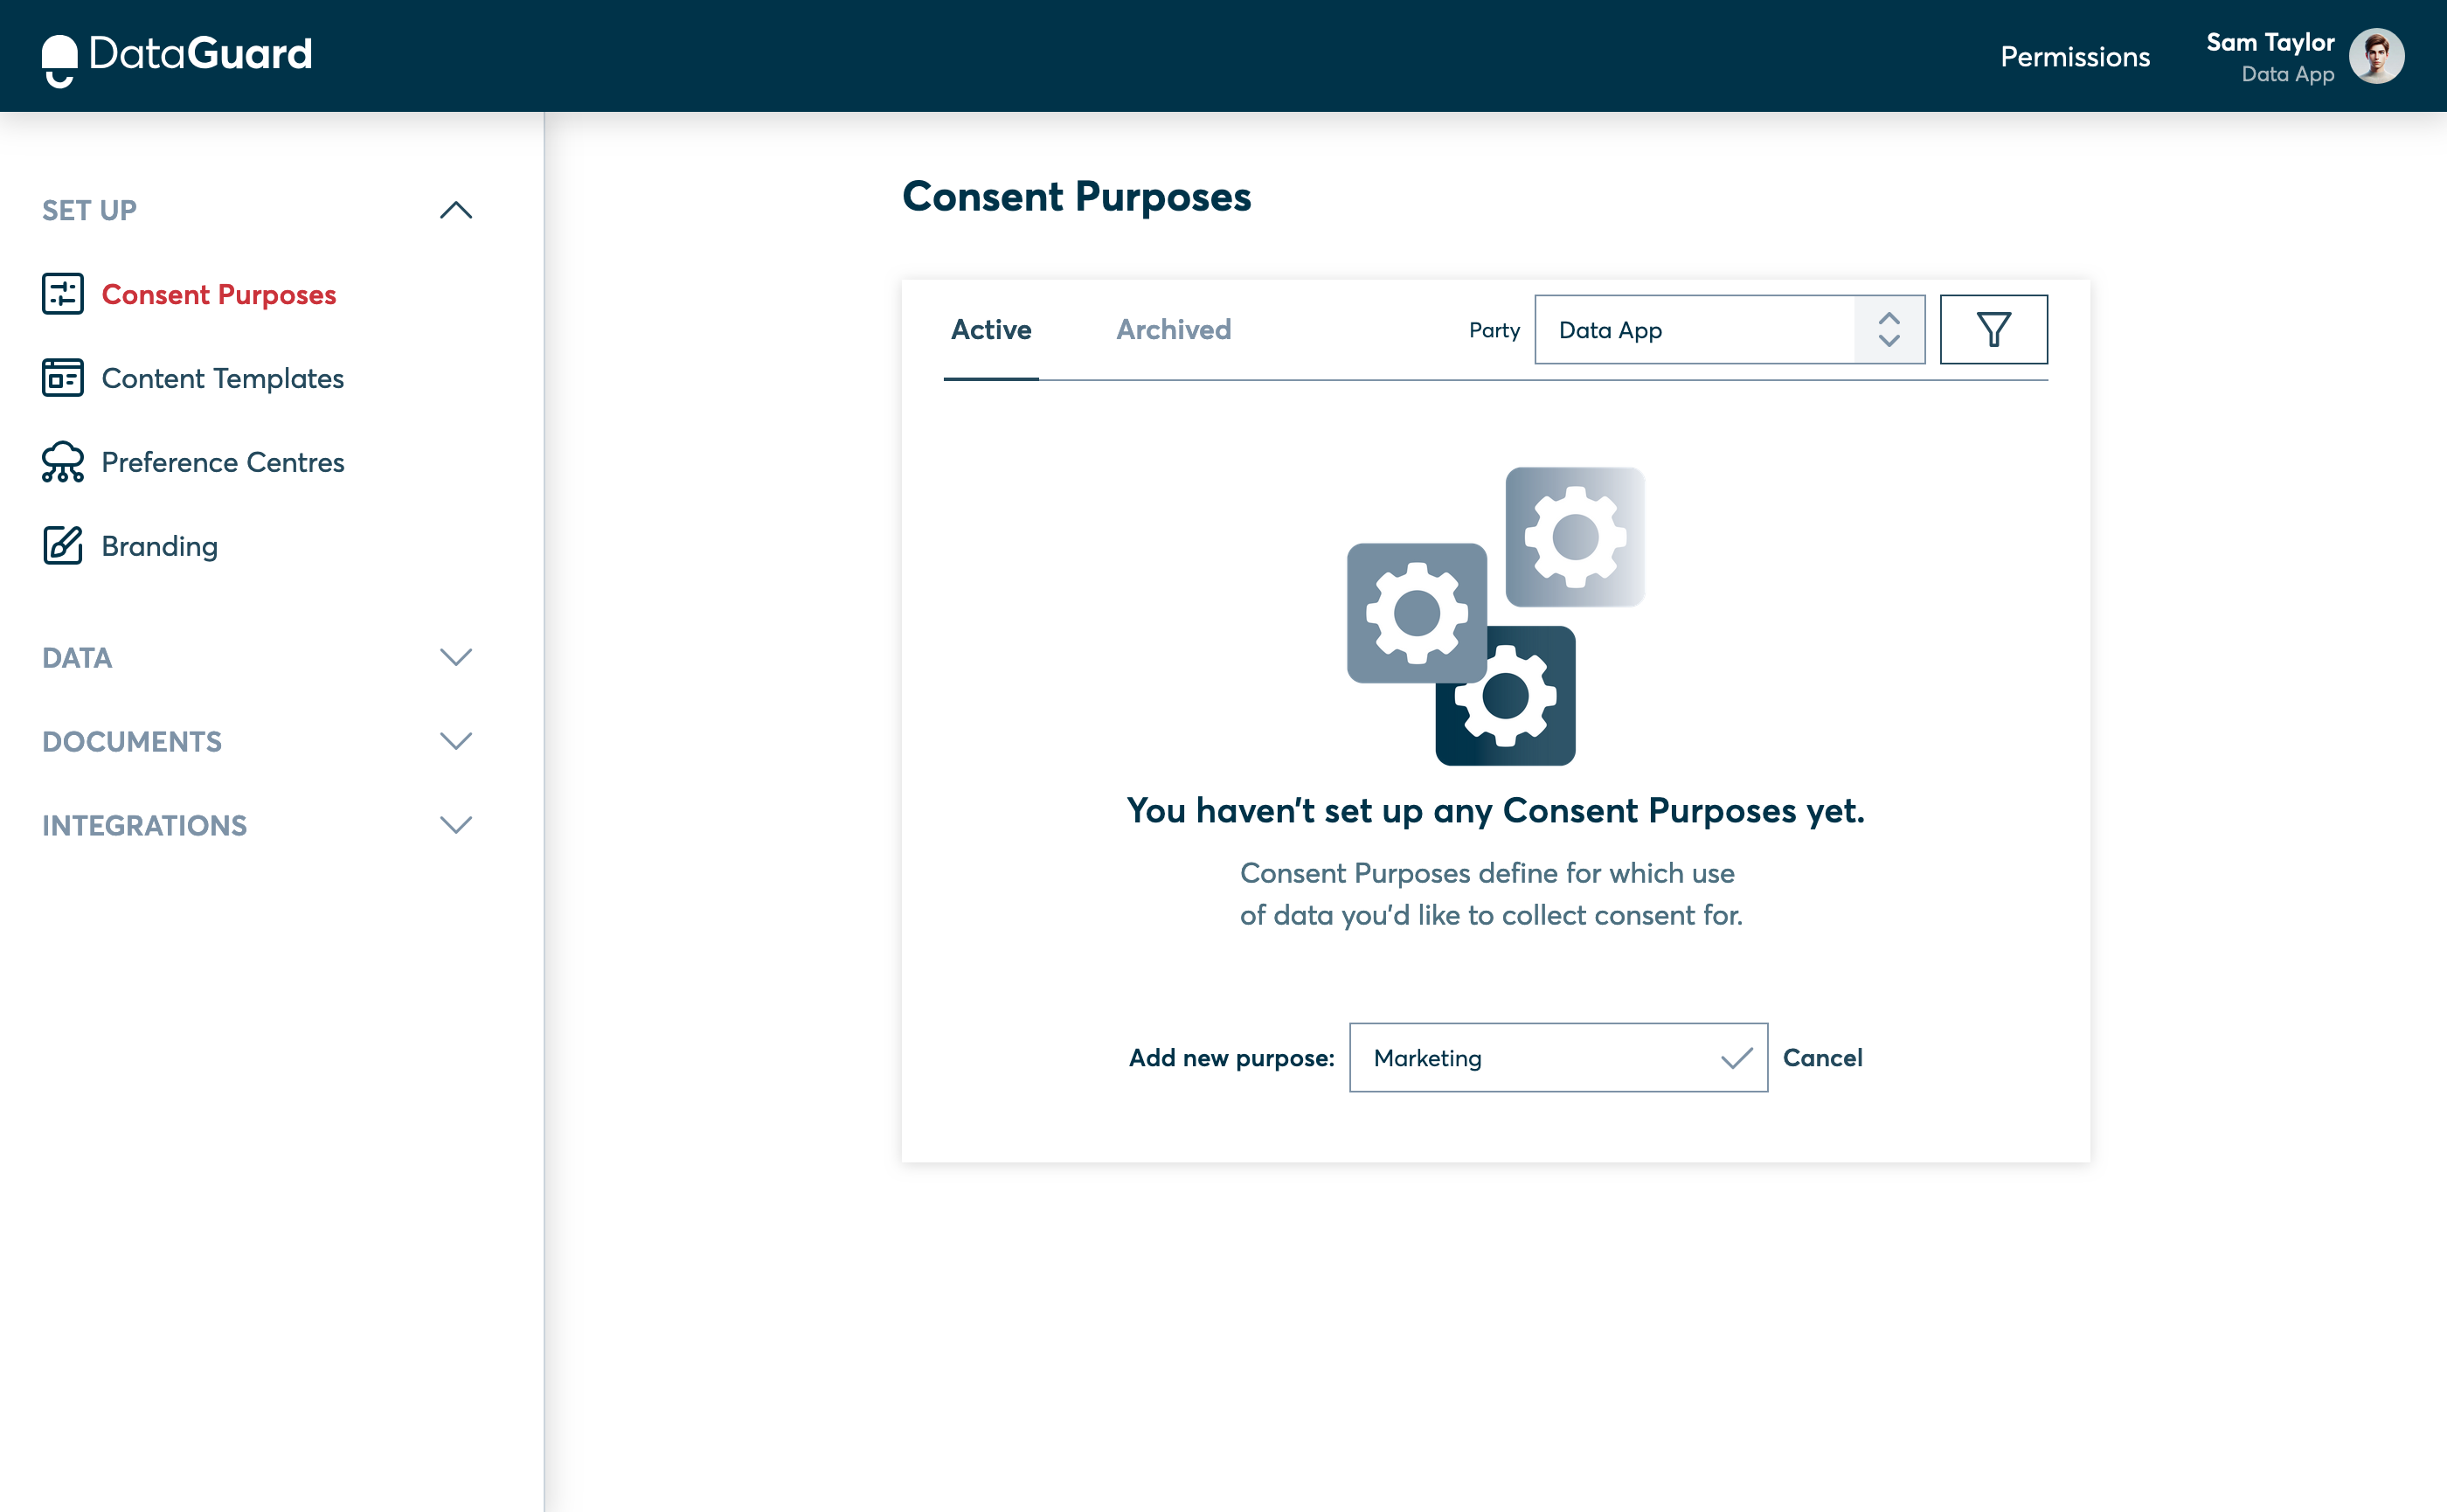
Creating a Purpose in the CPM UI.
Step 3: Add a Channel to the Purpose
Finally, add a Channel to the Purpose. A Channel is the means by which the data will be processed, such as Email, SMS, or Phone. You also need to specify the Lawful Basis for processing the data and an optional expiry period.
- Click the "Add Channel" button next to the "Marketing" Purpose.
- Enter the Channel name. In this example we are using "Email".
- Click the tick icon.
- Select the "Consent" Lawful Basis. Find out more about other Lawful Bases here.
- Optionally, set a default expiry period for the consent. In this example, we'll leave it blank, meaning the consent will not expire.
- Click "Add Channel" to add the Channel to this Purpose.
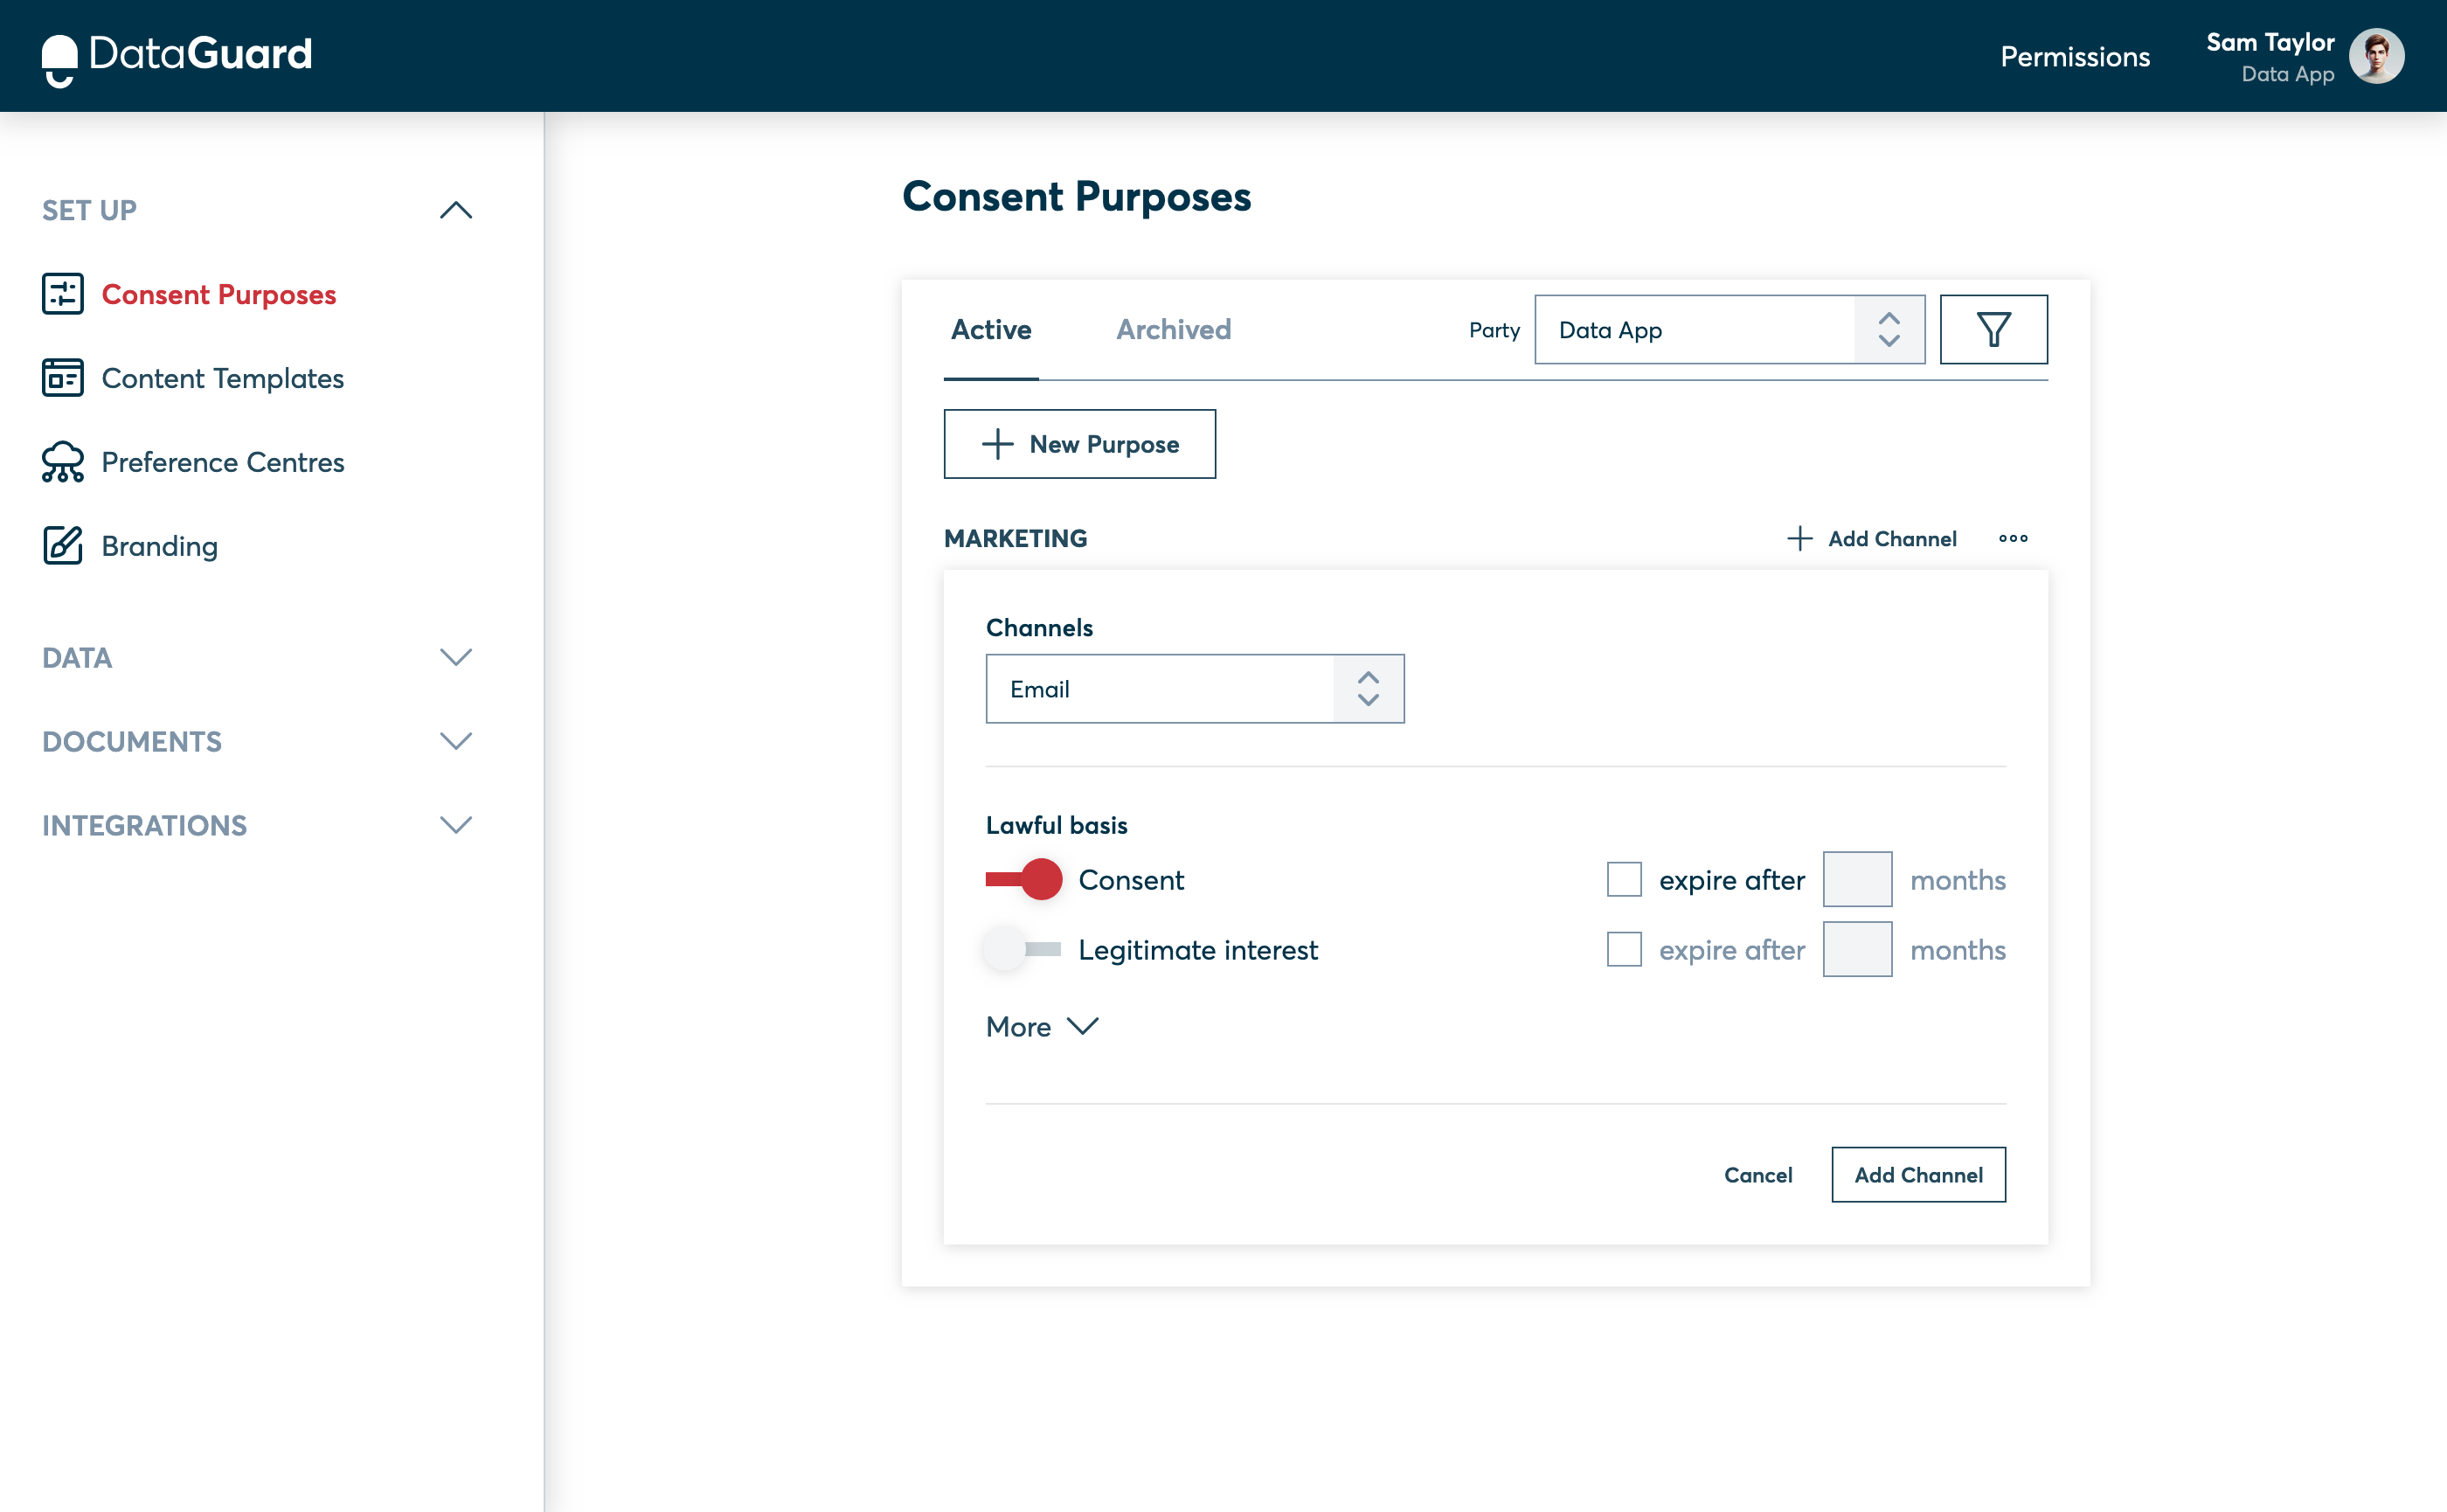
Adding a Channel to a Purpose in the CPM UI.
Next Steps
Congratulations! You've successfully created your first Consent Purpose for Email Marketing. The next step is to upload a Privacy Policy to ensure that your data processing activities are transparent and compliant.
Move on to the next step: Upload a Privacy Policy
Updated over 1 year ago