Brevo
Brevo is a comprehensive platform for email marketing, SMS marketing, and other customer engagement tools. Integrating Brevo with DataGuard CPM enables the synchronisation of consent data for contact attributes, including both default and custom attributes. This ensures that your Brevo contacts are always up to date with the latest consent and preference information from DataGuard CPM.
Prerequisites
Before you begin, ensure you have the following:
- Access to the DataGuard CPM Platform.
- Administrative access to a Brevo account to set up the integration.
If you don't have access to the DataGuard CPM Platform, please contact us.
Brevo Setup
Obtain the API Key
- Log in to your Brevo account.
- Navigate to Your Account Name -> SMTP & API.
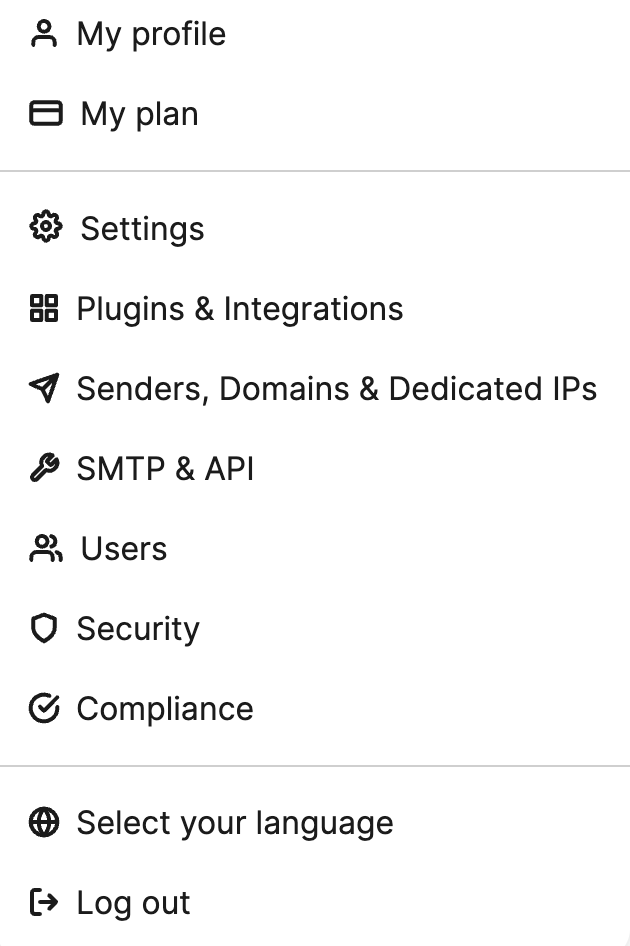
- Click Generate a new API key.
- Name your API Key and click Generate.
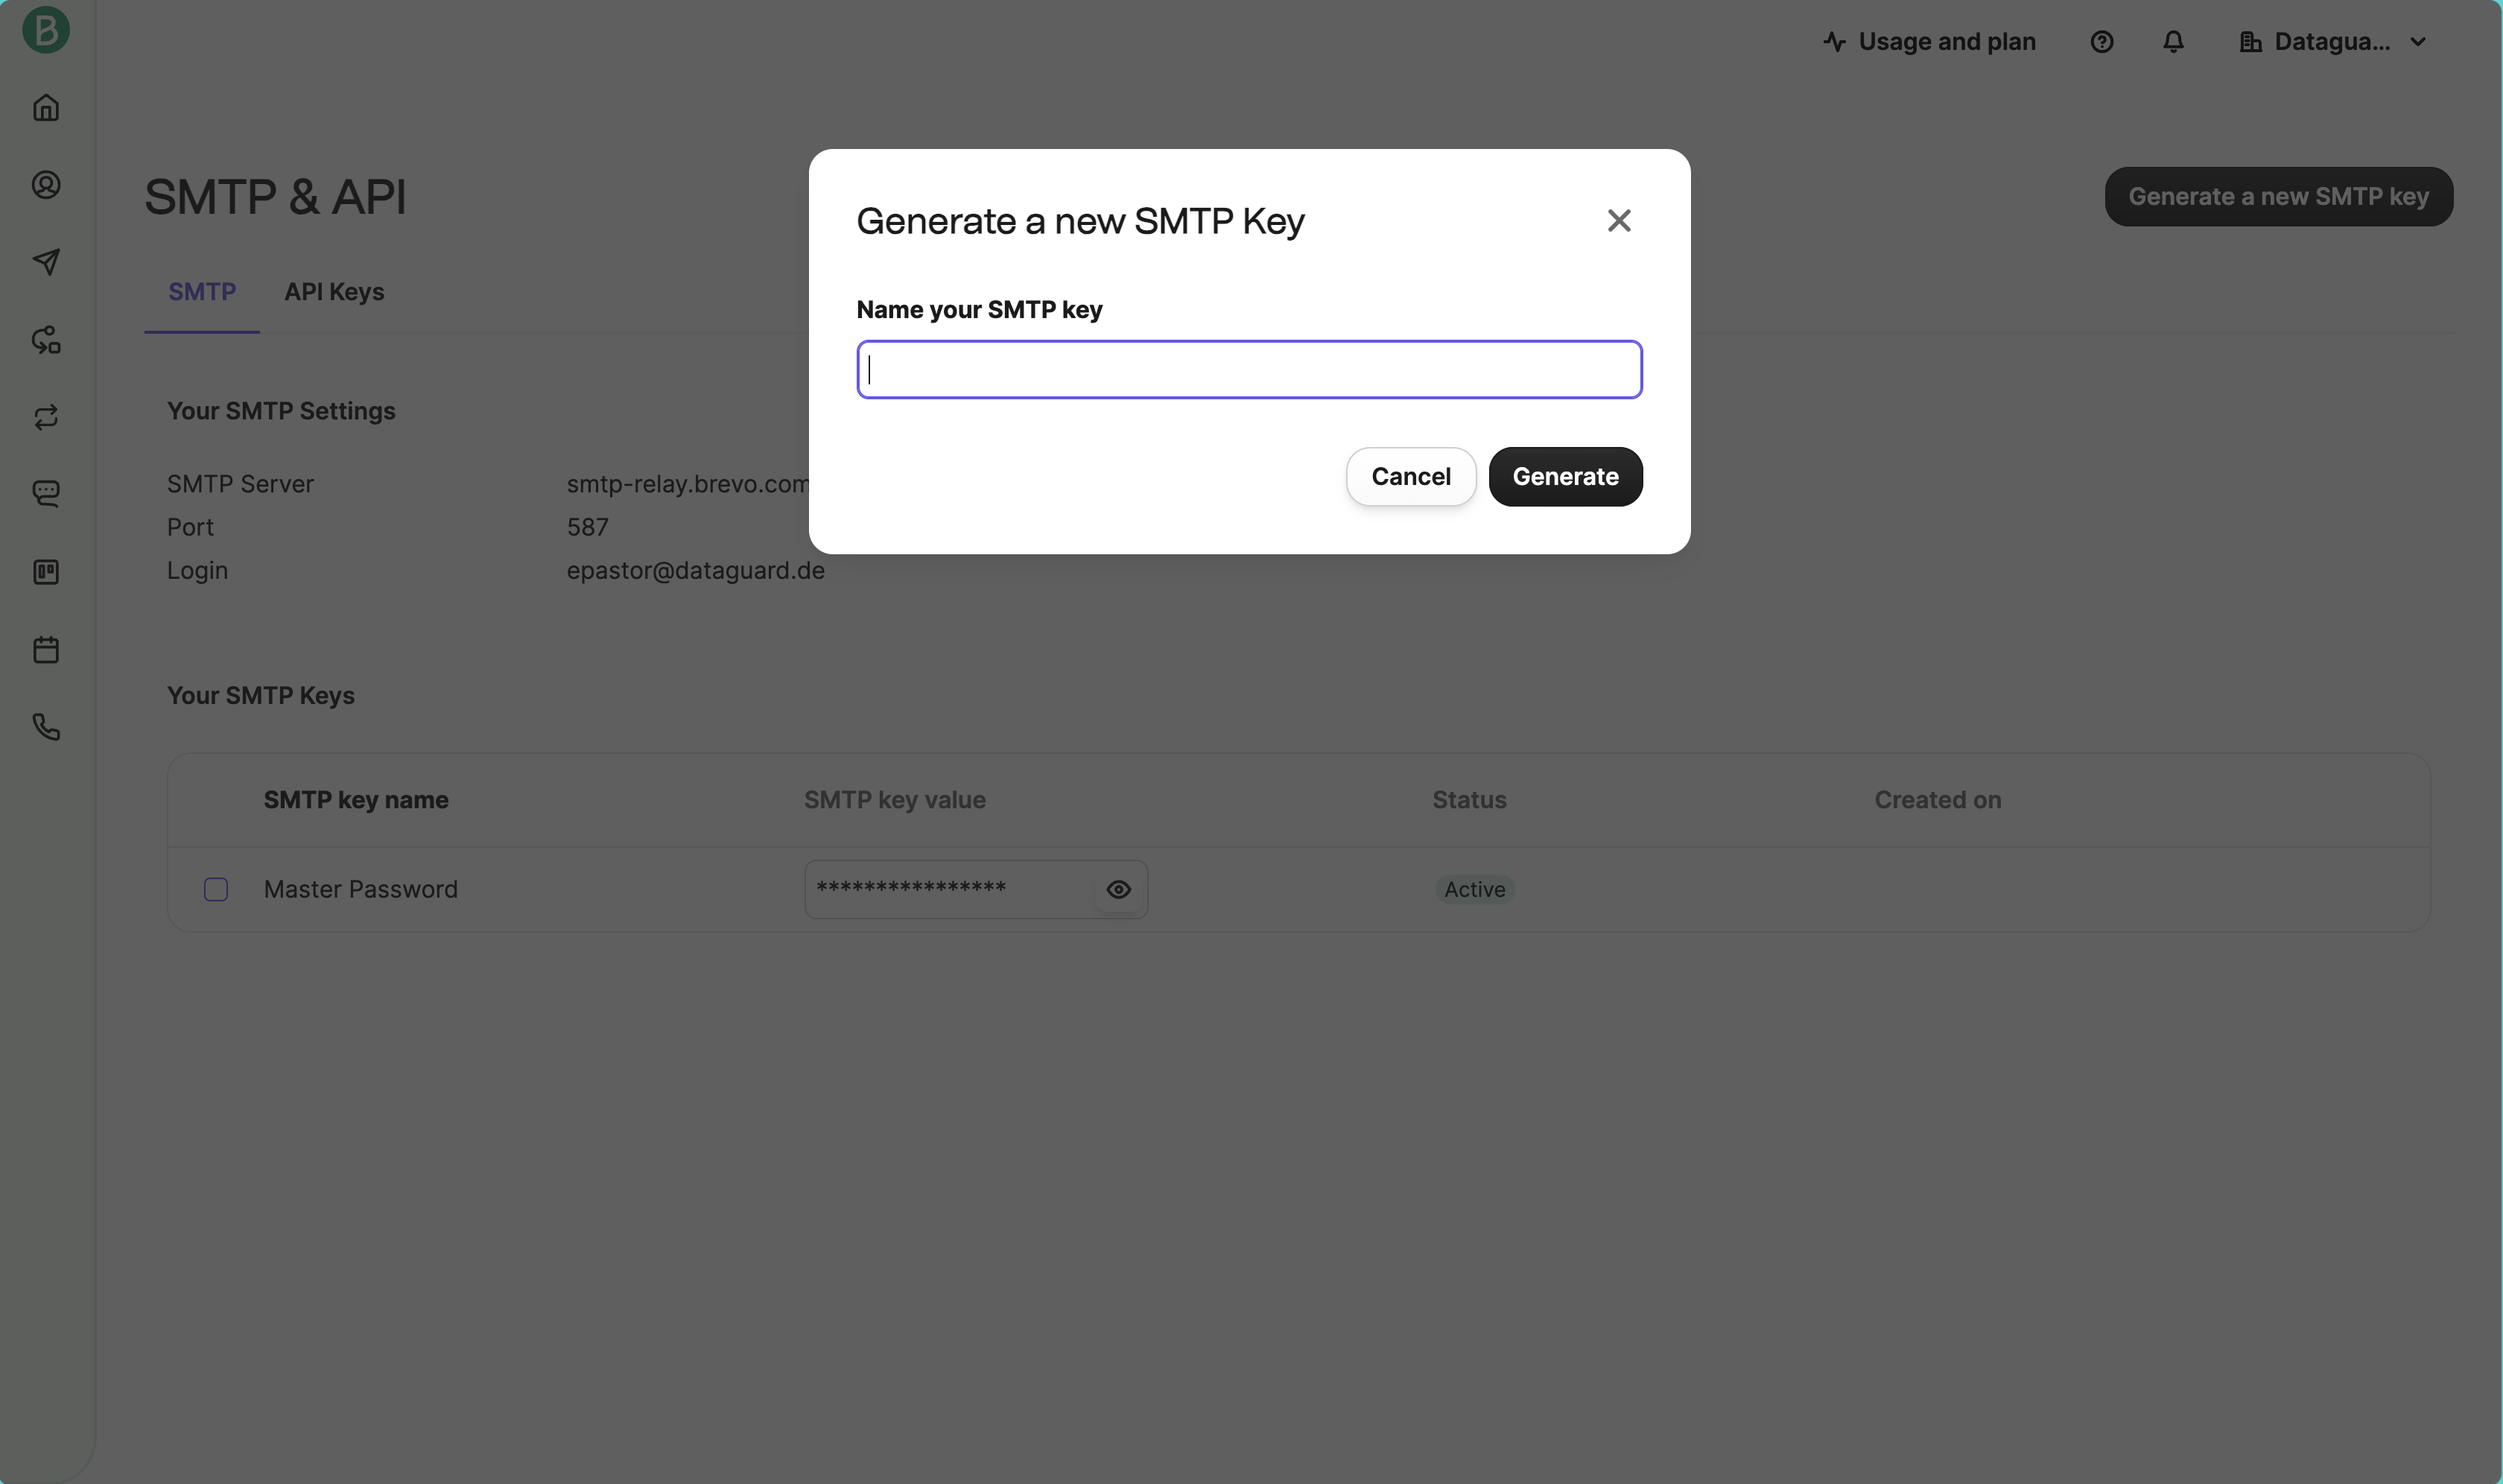
- Copy your API key and store it in a secure location.
For more details on managing API keys in Brevo, refer to the official Brevo documentation.
Integration Setup
Access the Integrations Marketplace
- Log in to the DataGuard CPM Platform.
- Navigate to the Integrations section and click on Marketplace.
- You will see a list of available integrations.
- Click on the DataGuard CPM-Brevo integration to start the setup.
- In the popup, click on Add Instance to begin configuring a new integration instance.
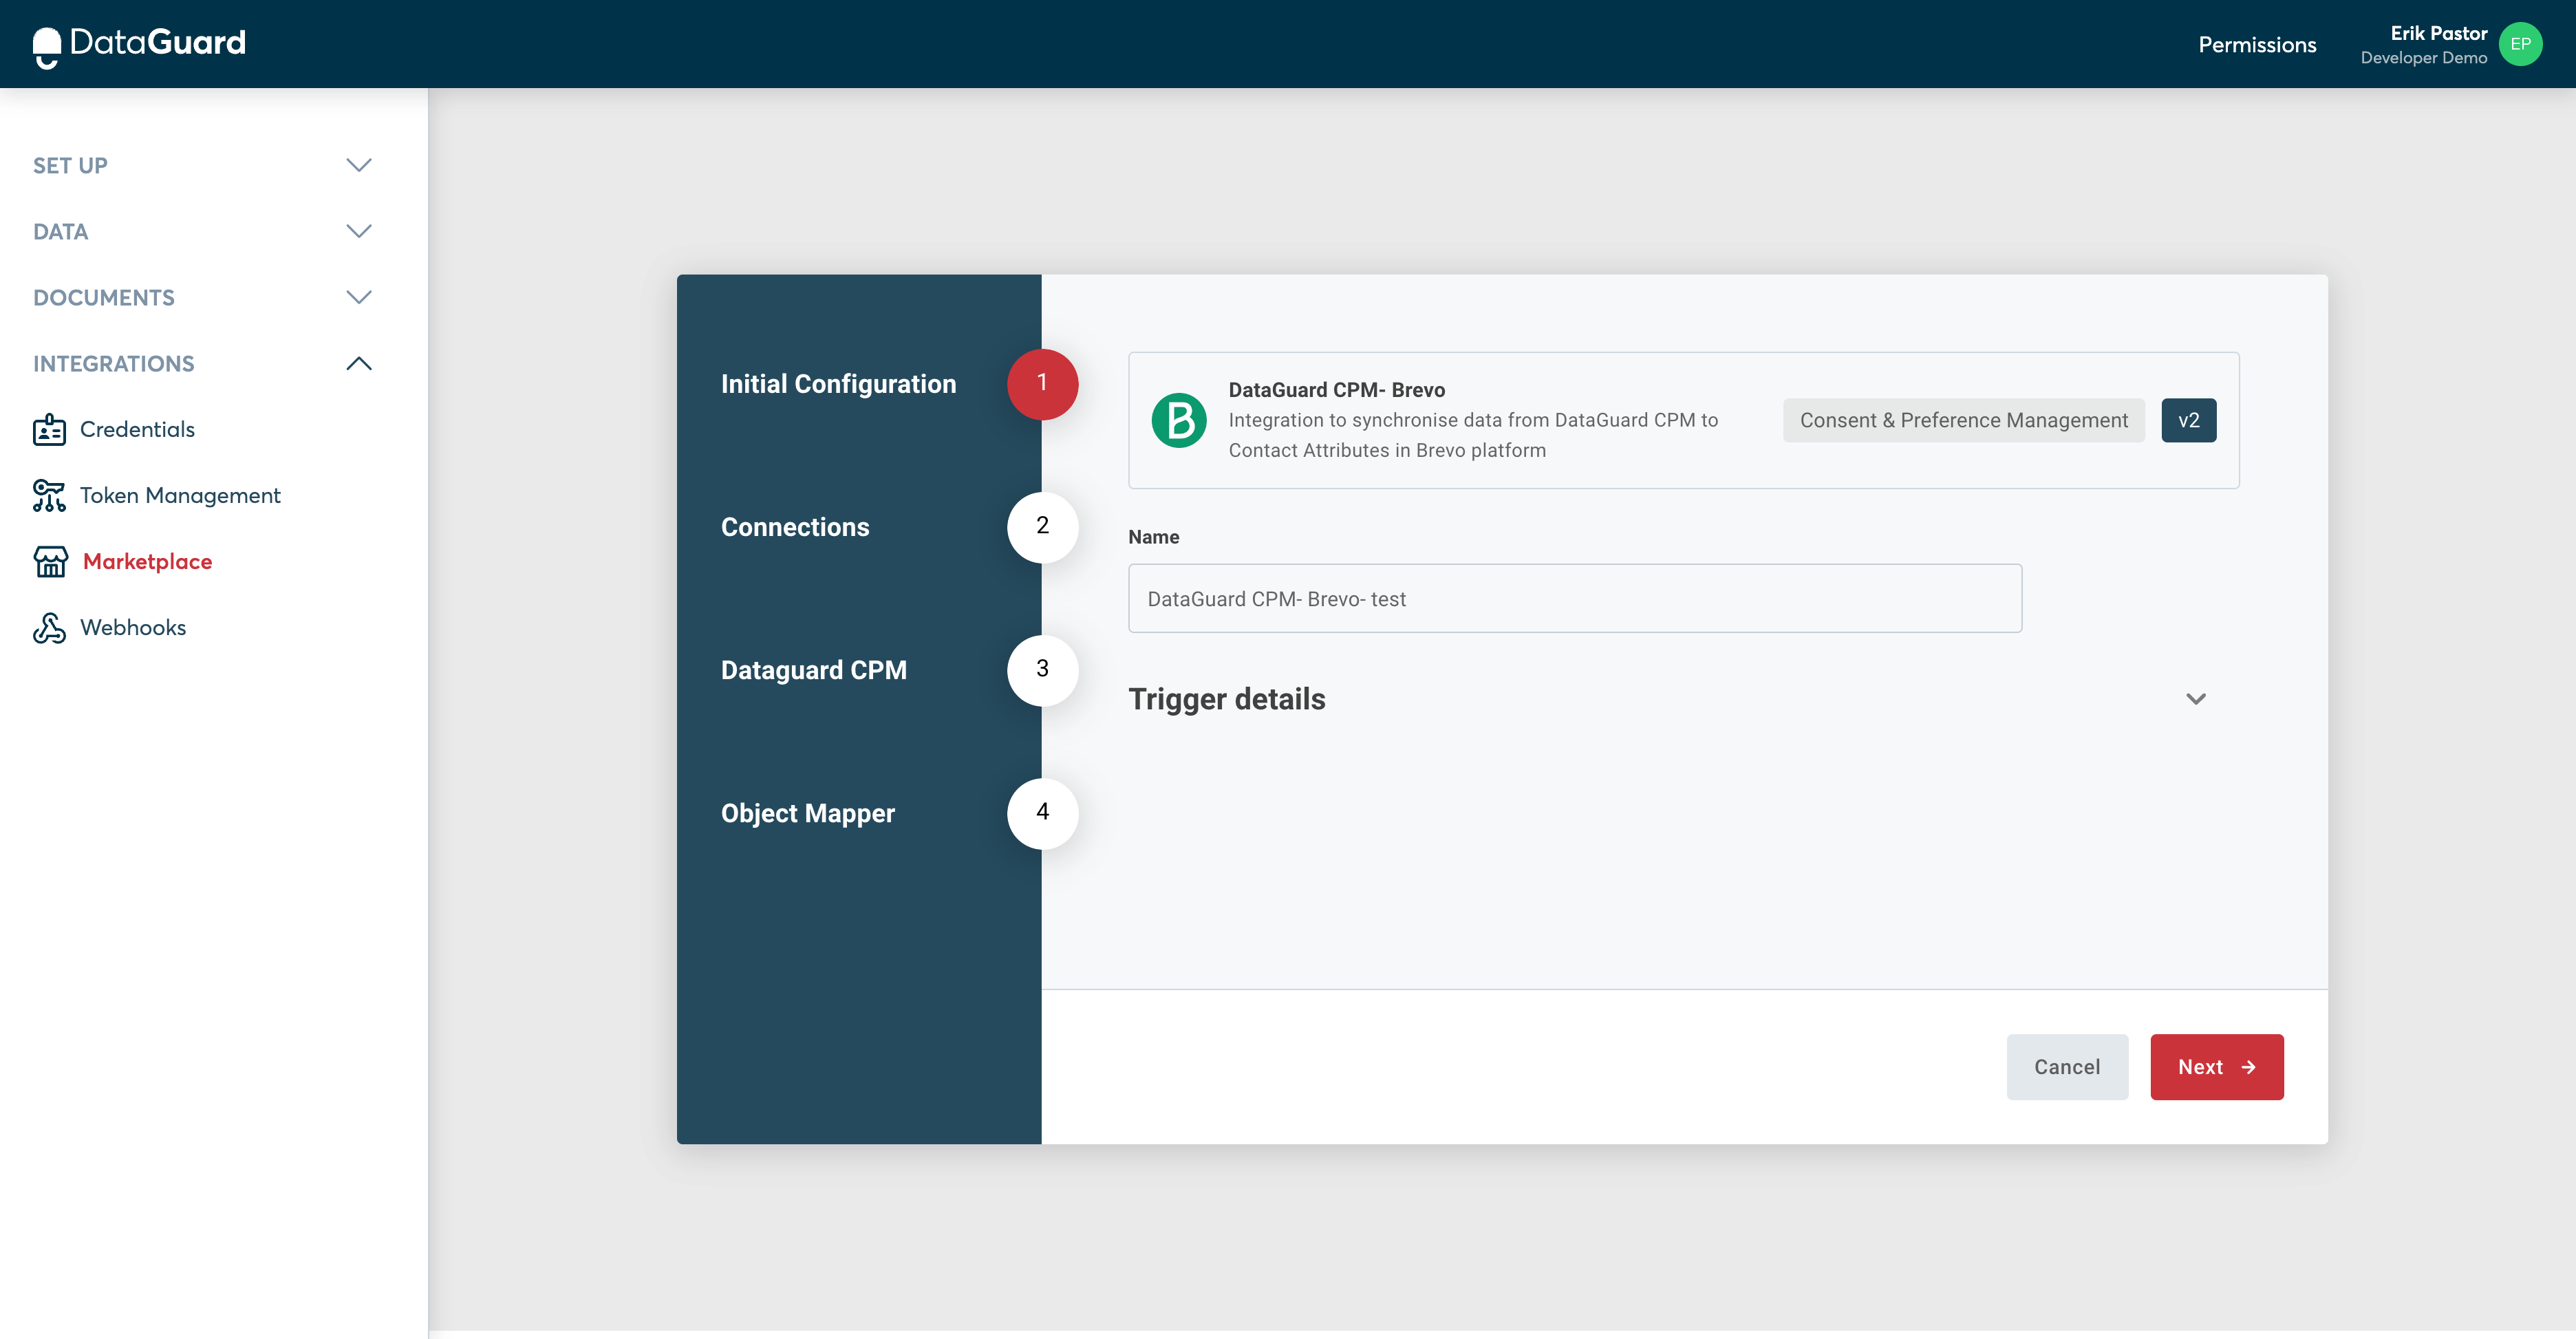
Step 1: Initial Configuration
- Review the information presented, such as the Name, Version, and Description of the connector.
- Click Next to proceed.
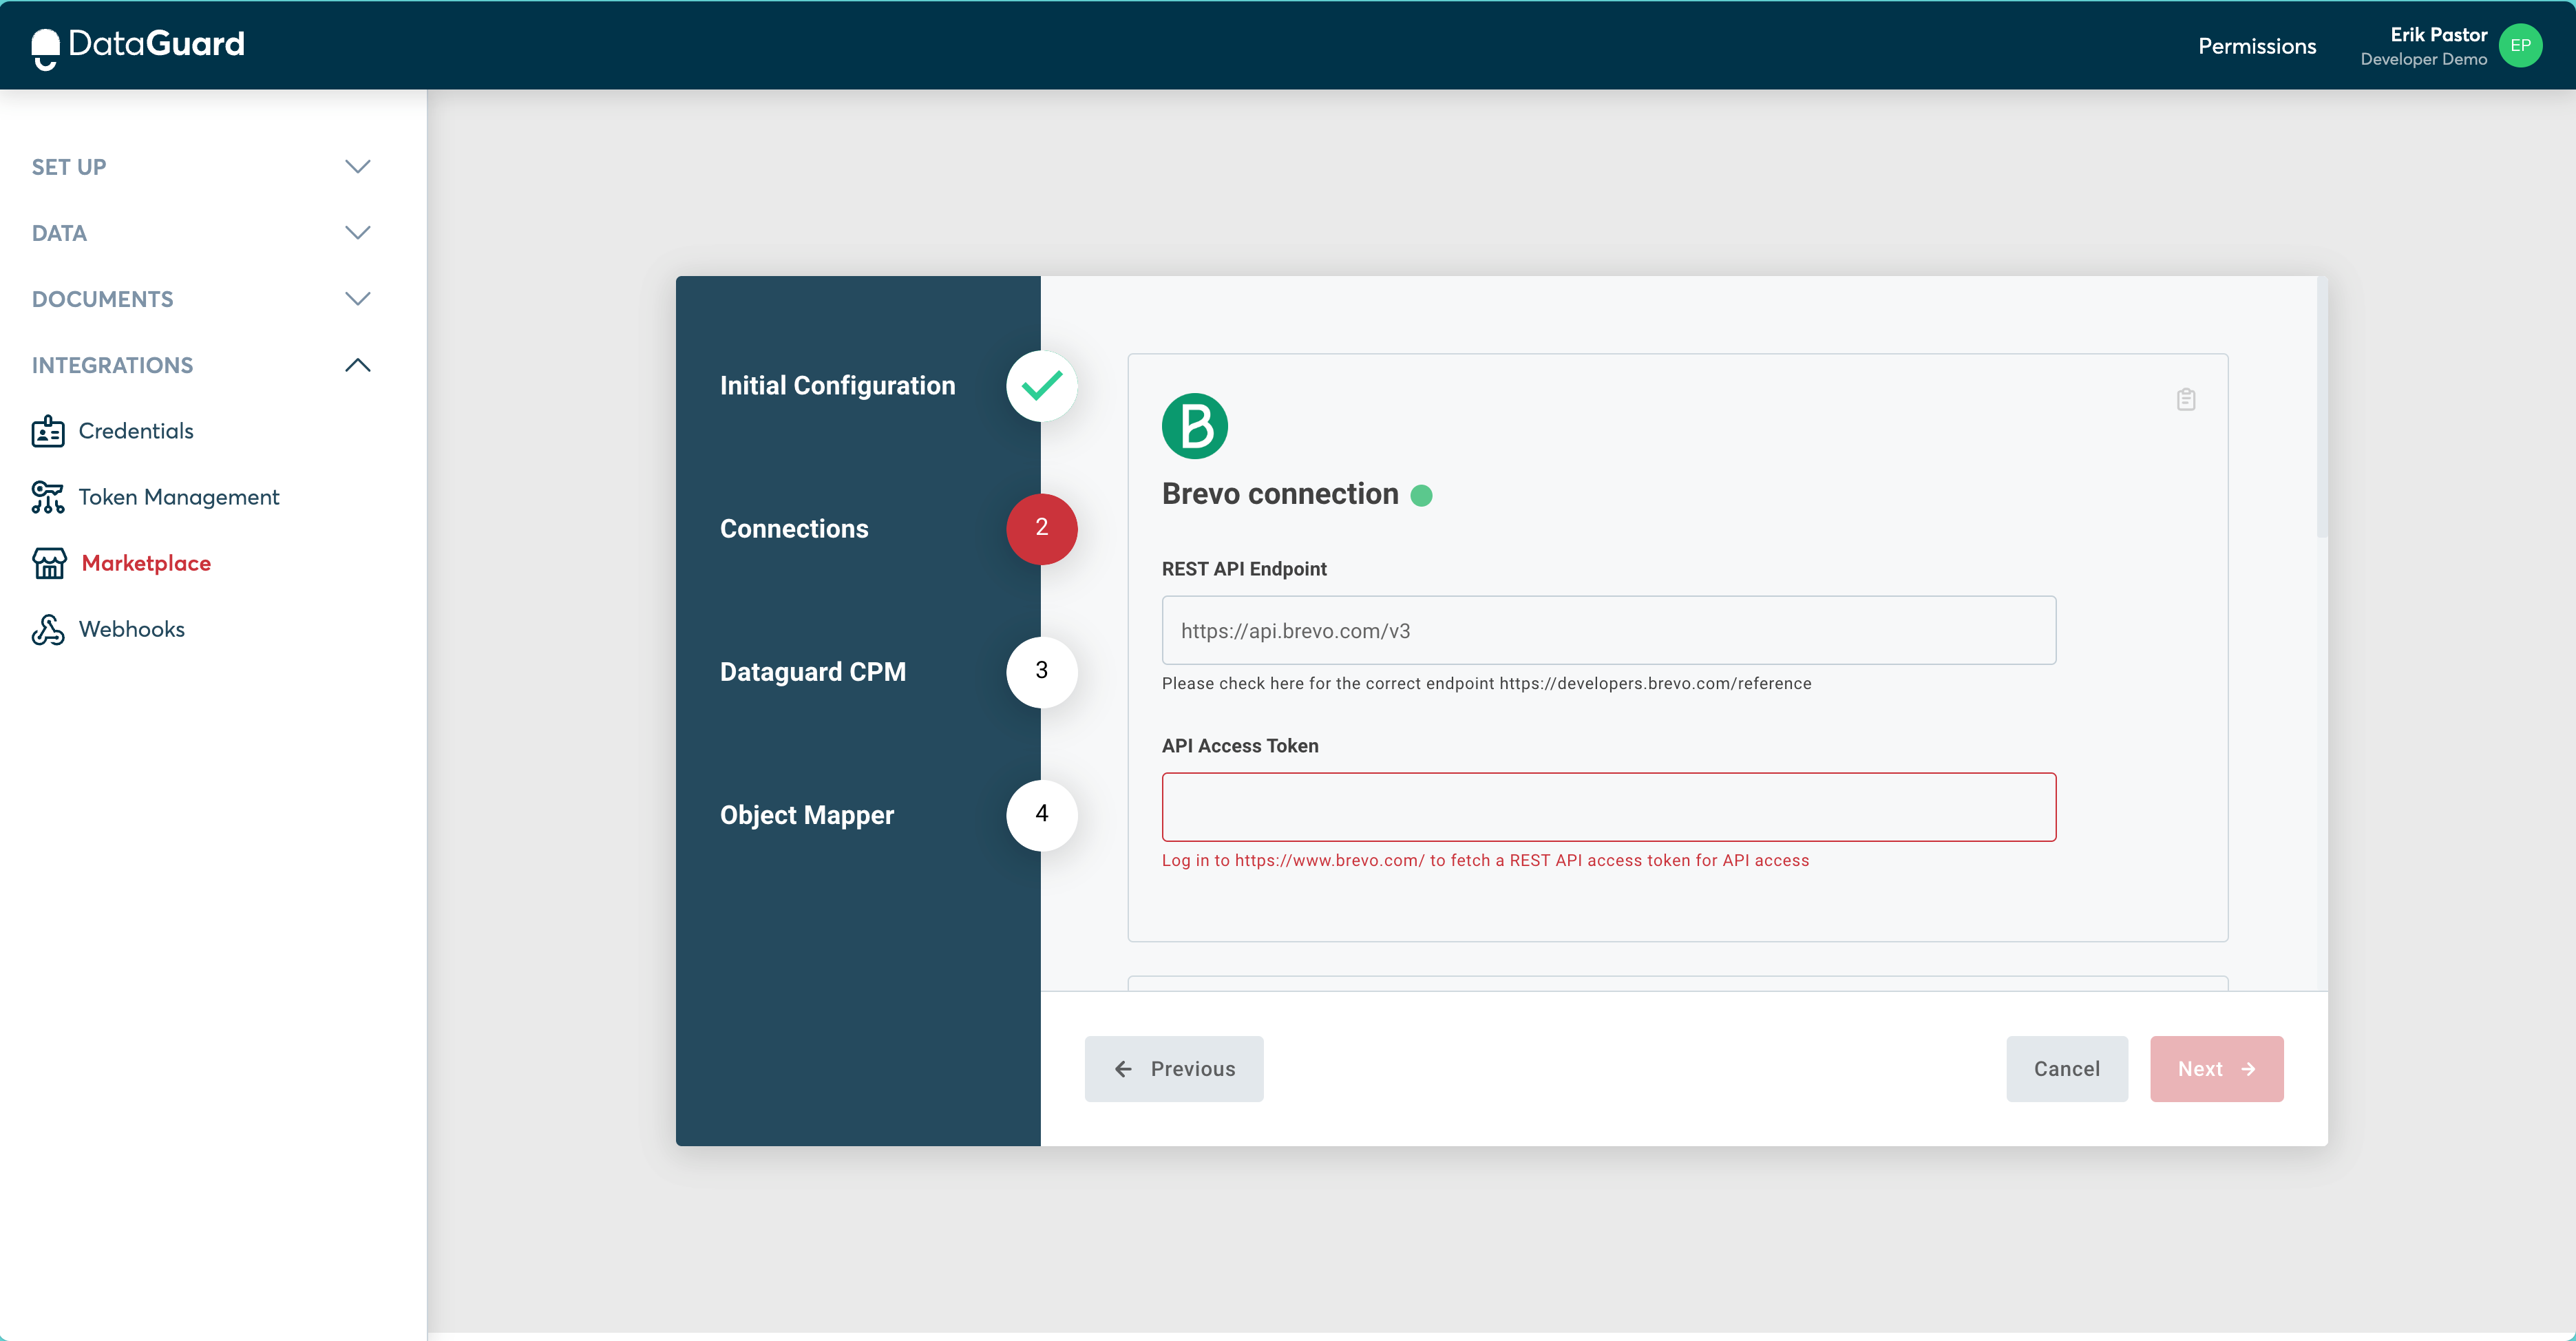
Step 2: Connections
Brevo Connection
- In the Brevo connection fields, enter the following:
- Brevo API Endpoint:
https://api.brevo.com/v3 - API Access Token: Use the API Key you obtained during the Brevo setup.
- Brevo API Endpoint:
- The Brevo connection will turn green if the fields are correctly filled out.
CPM Connection
- The values of these fields will vary depending on the environment, enter these values into the form, using the Environments page to replace the palceholders below:
- Token URL: Should match this pattern:
<auth-url>/oauth/token?audience=<audience-url>. - Audience URL: Should be
<audience-url>. - Client ID: Is found on the Credentials page of the UI.
- Client Secret: found on the Credentials page of the UI.
- Base URL: Should be
<api-url>.
- Token URL: Should match this pattern:
- Click Connect to establish the connection.
- Click Next to proceed.

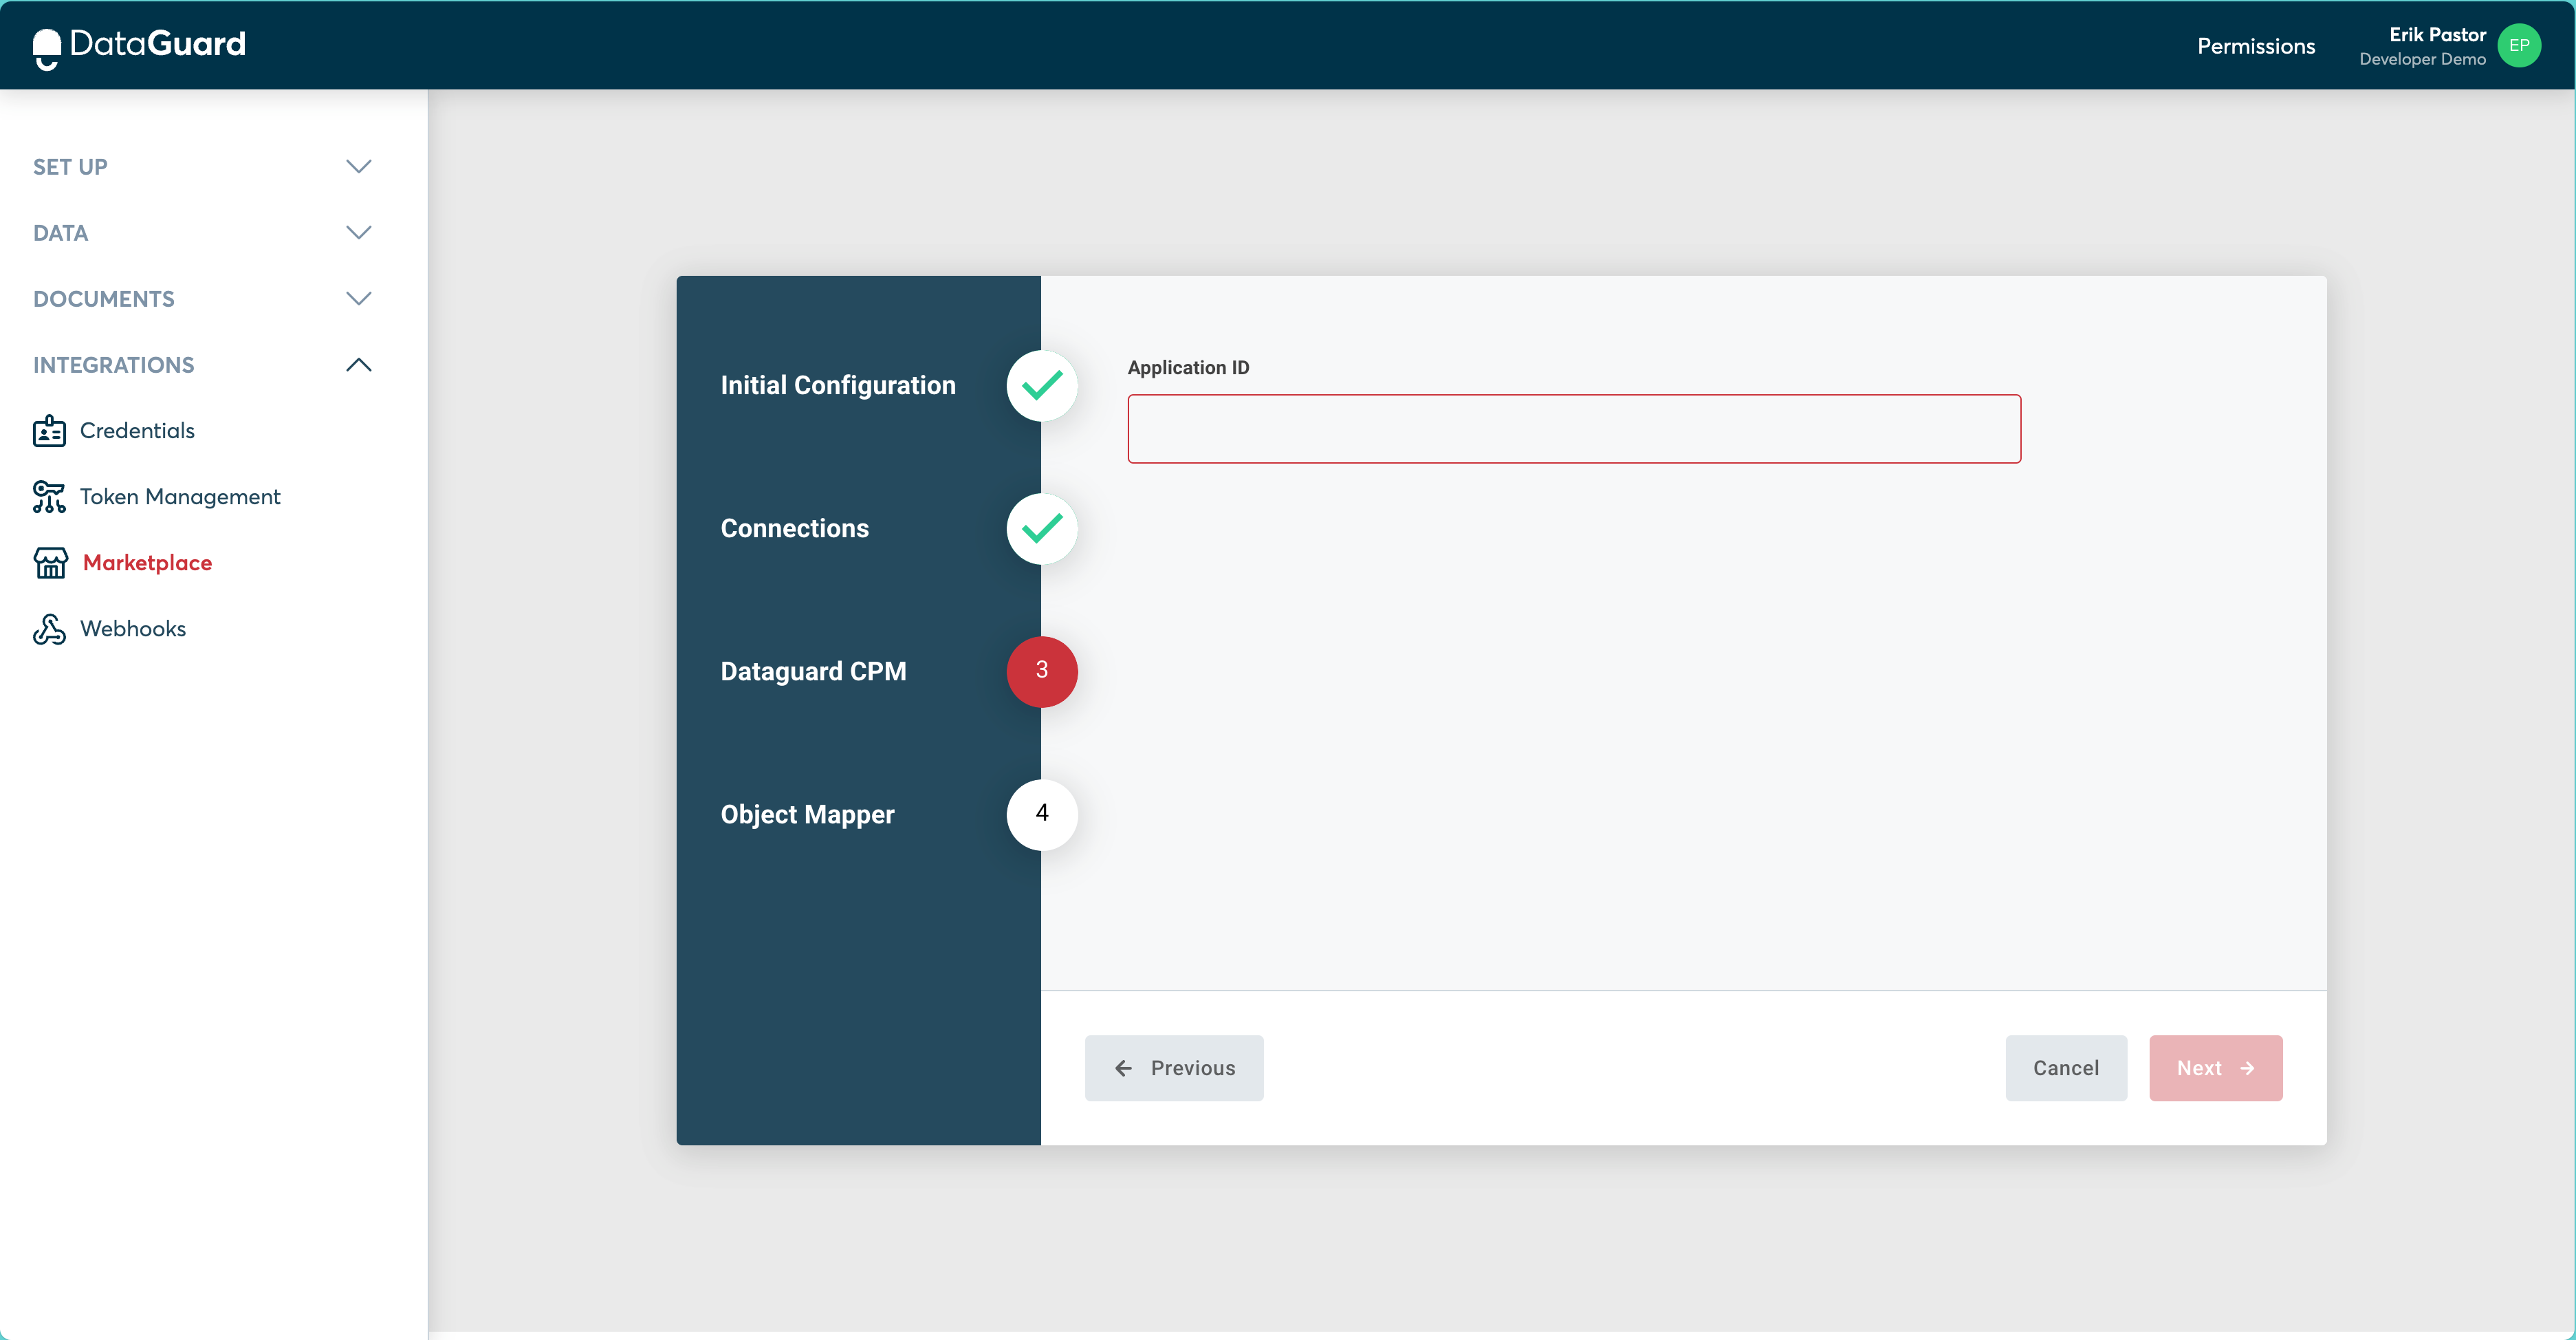
Step 3: DataGuard CPM Configuration
- Enter the Application ID provided by DataGuard during the initial setup process.
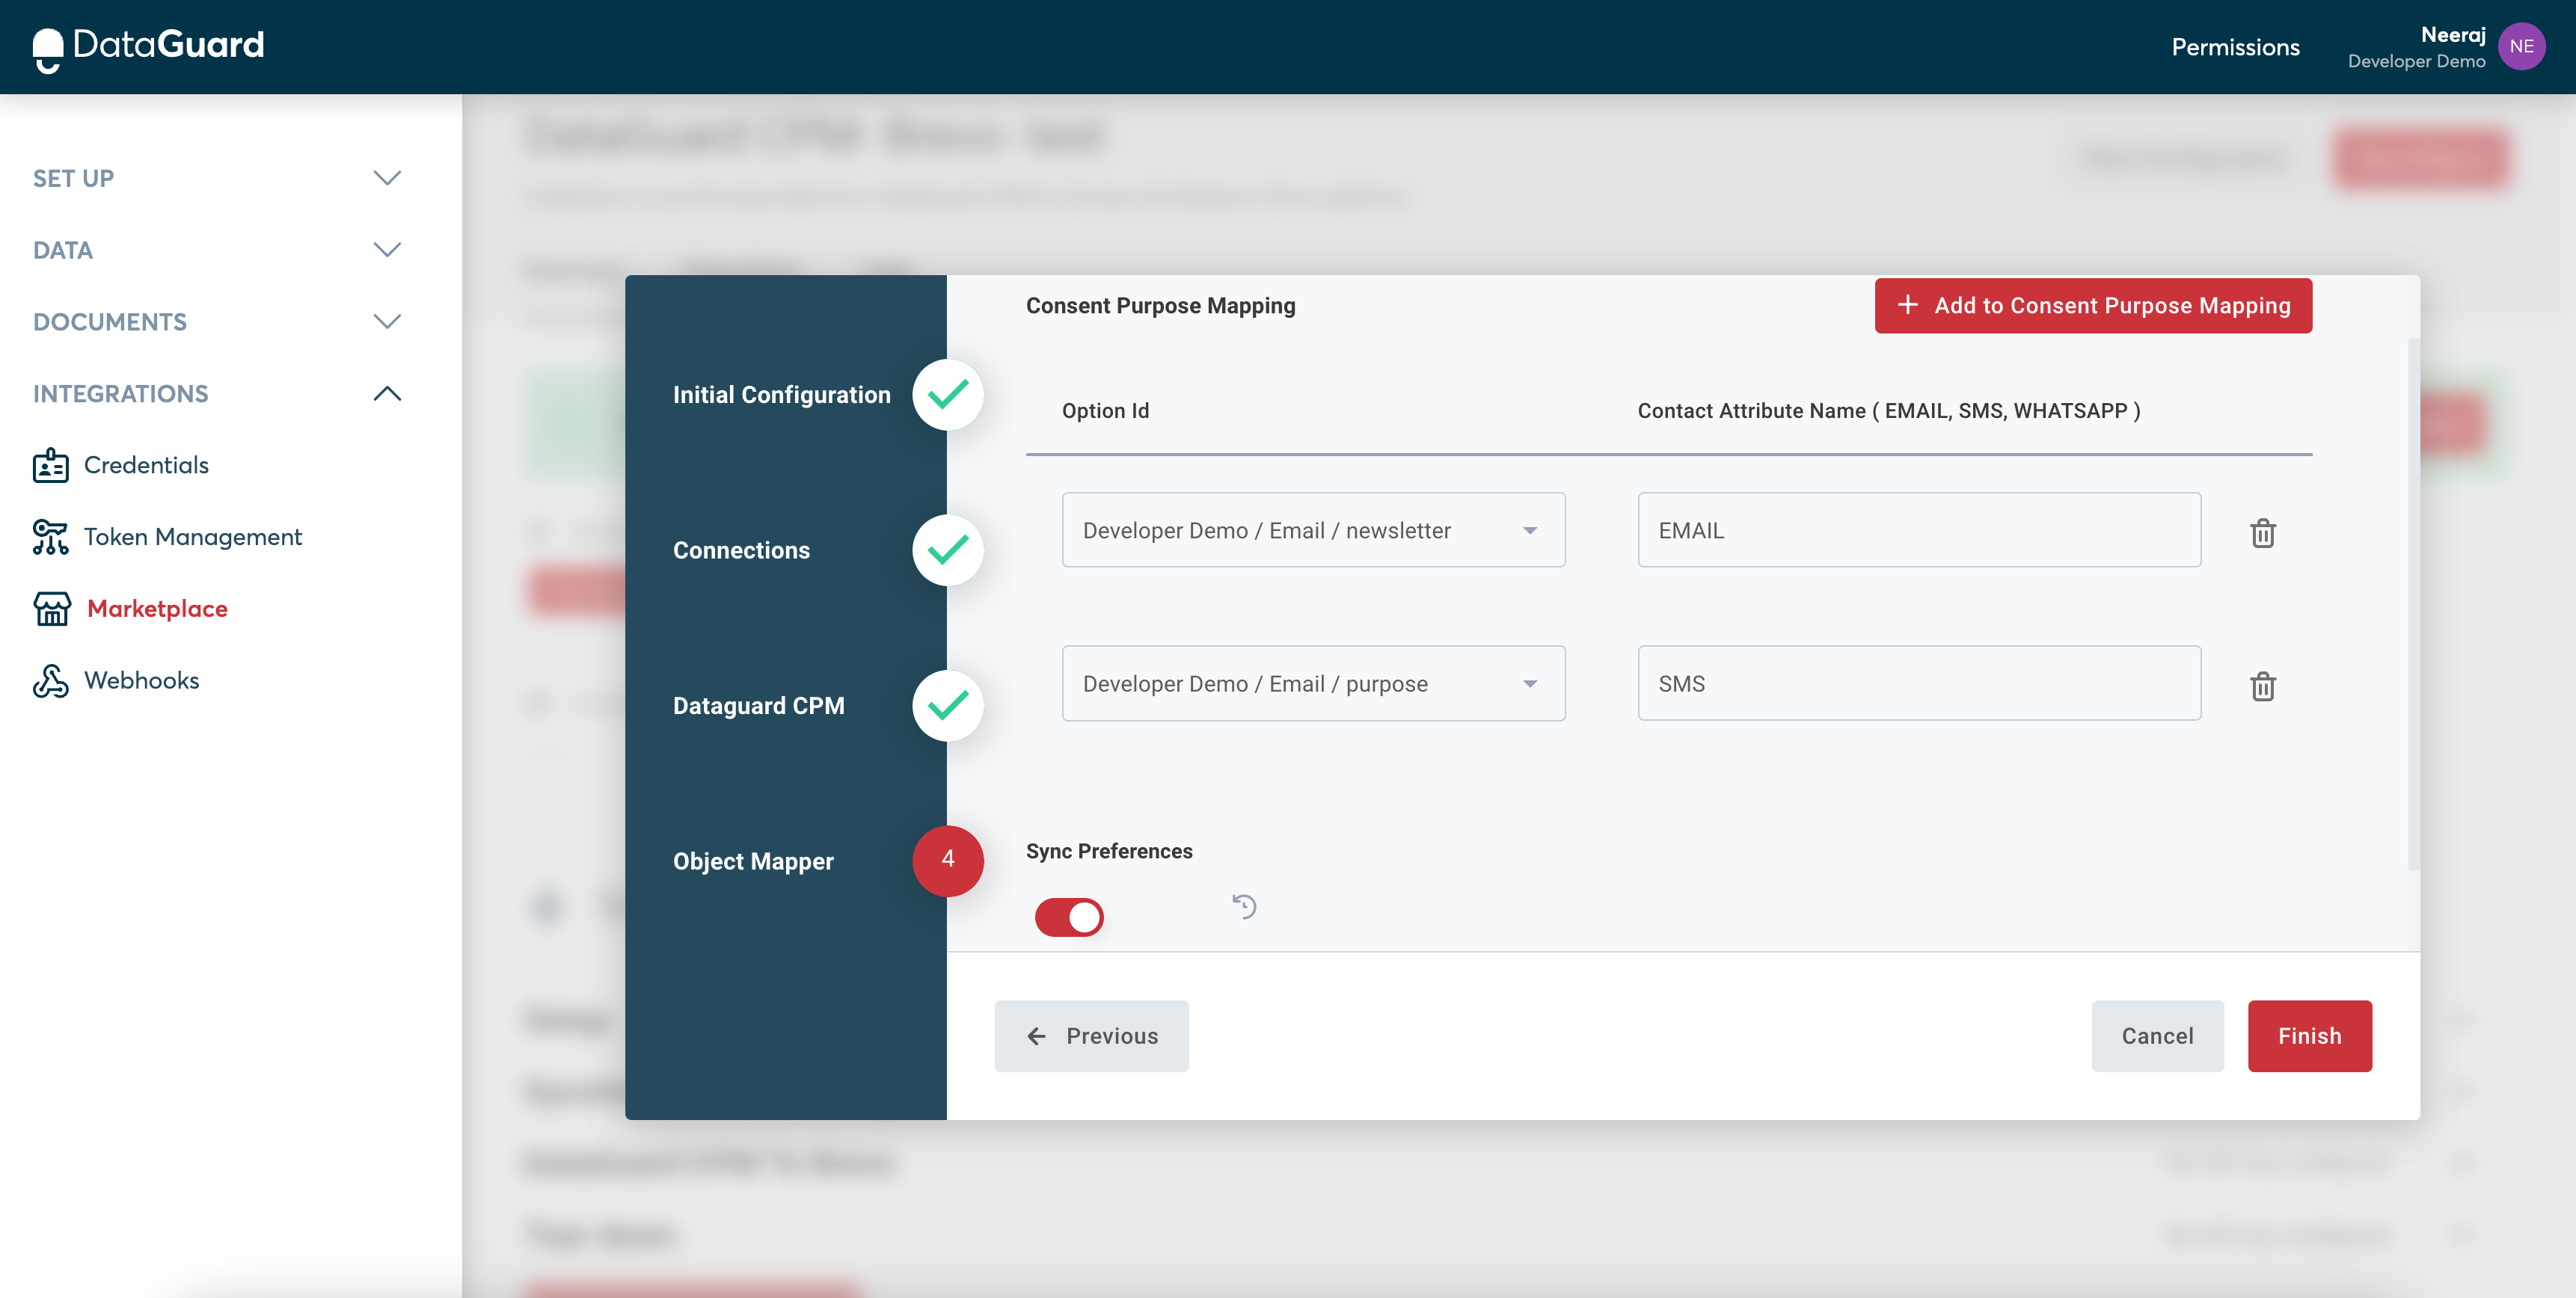
Step 4: Object Mapper
Consent Purpose Mapping
- Map the Consent Purposes from DataGuard CPM to the corresponding Contact Attributes in Brevo. The available Consent Purposes for mapping will be presented in a dropdown menu.
- Note that this mapping only applies to Citizens' permissions and not their preferences. Preferences are added as custom attributes in Brevo during the synchronisation process.
Sync Preferences
- Enable the Sync Preferences toggle to allow CPM Citizen Preferences to sync with Brevo.
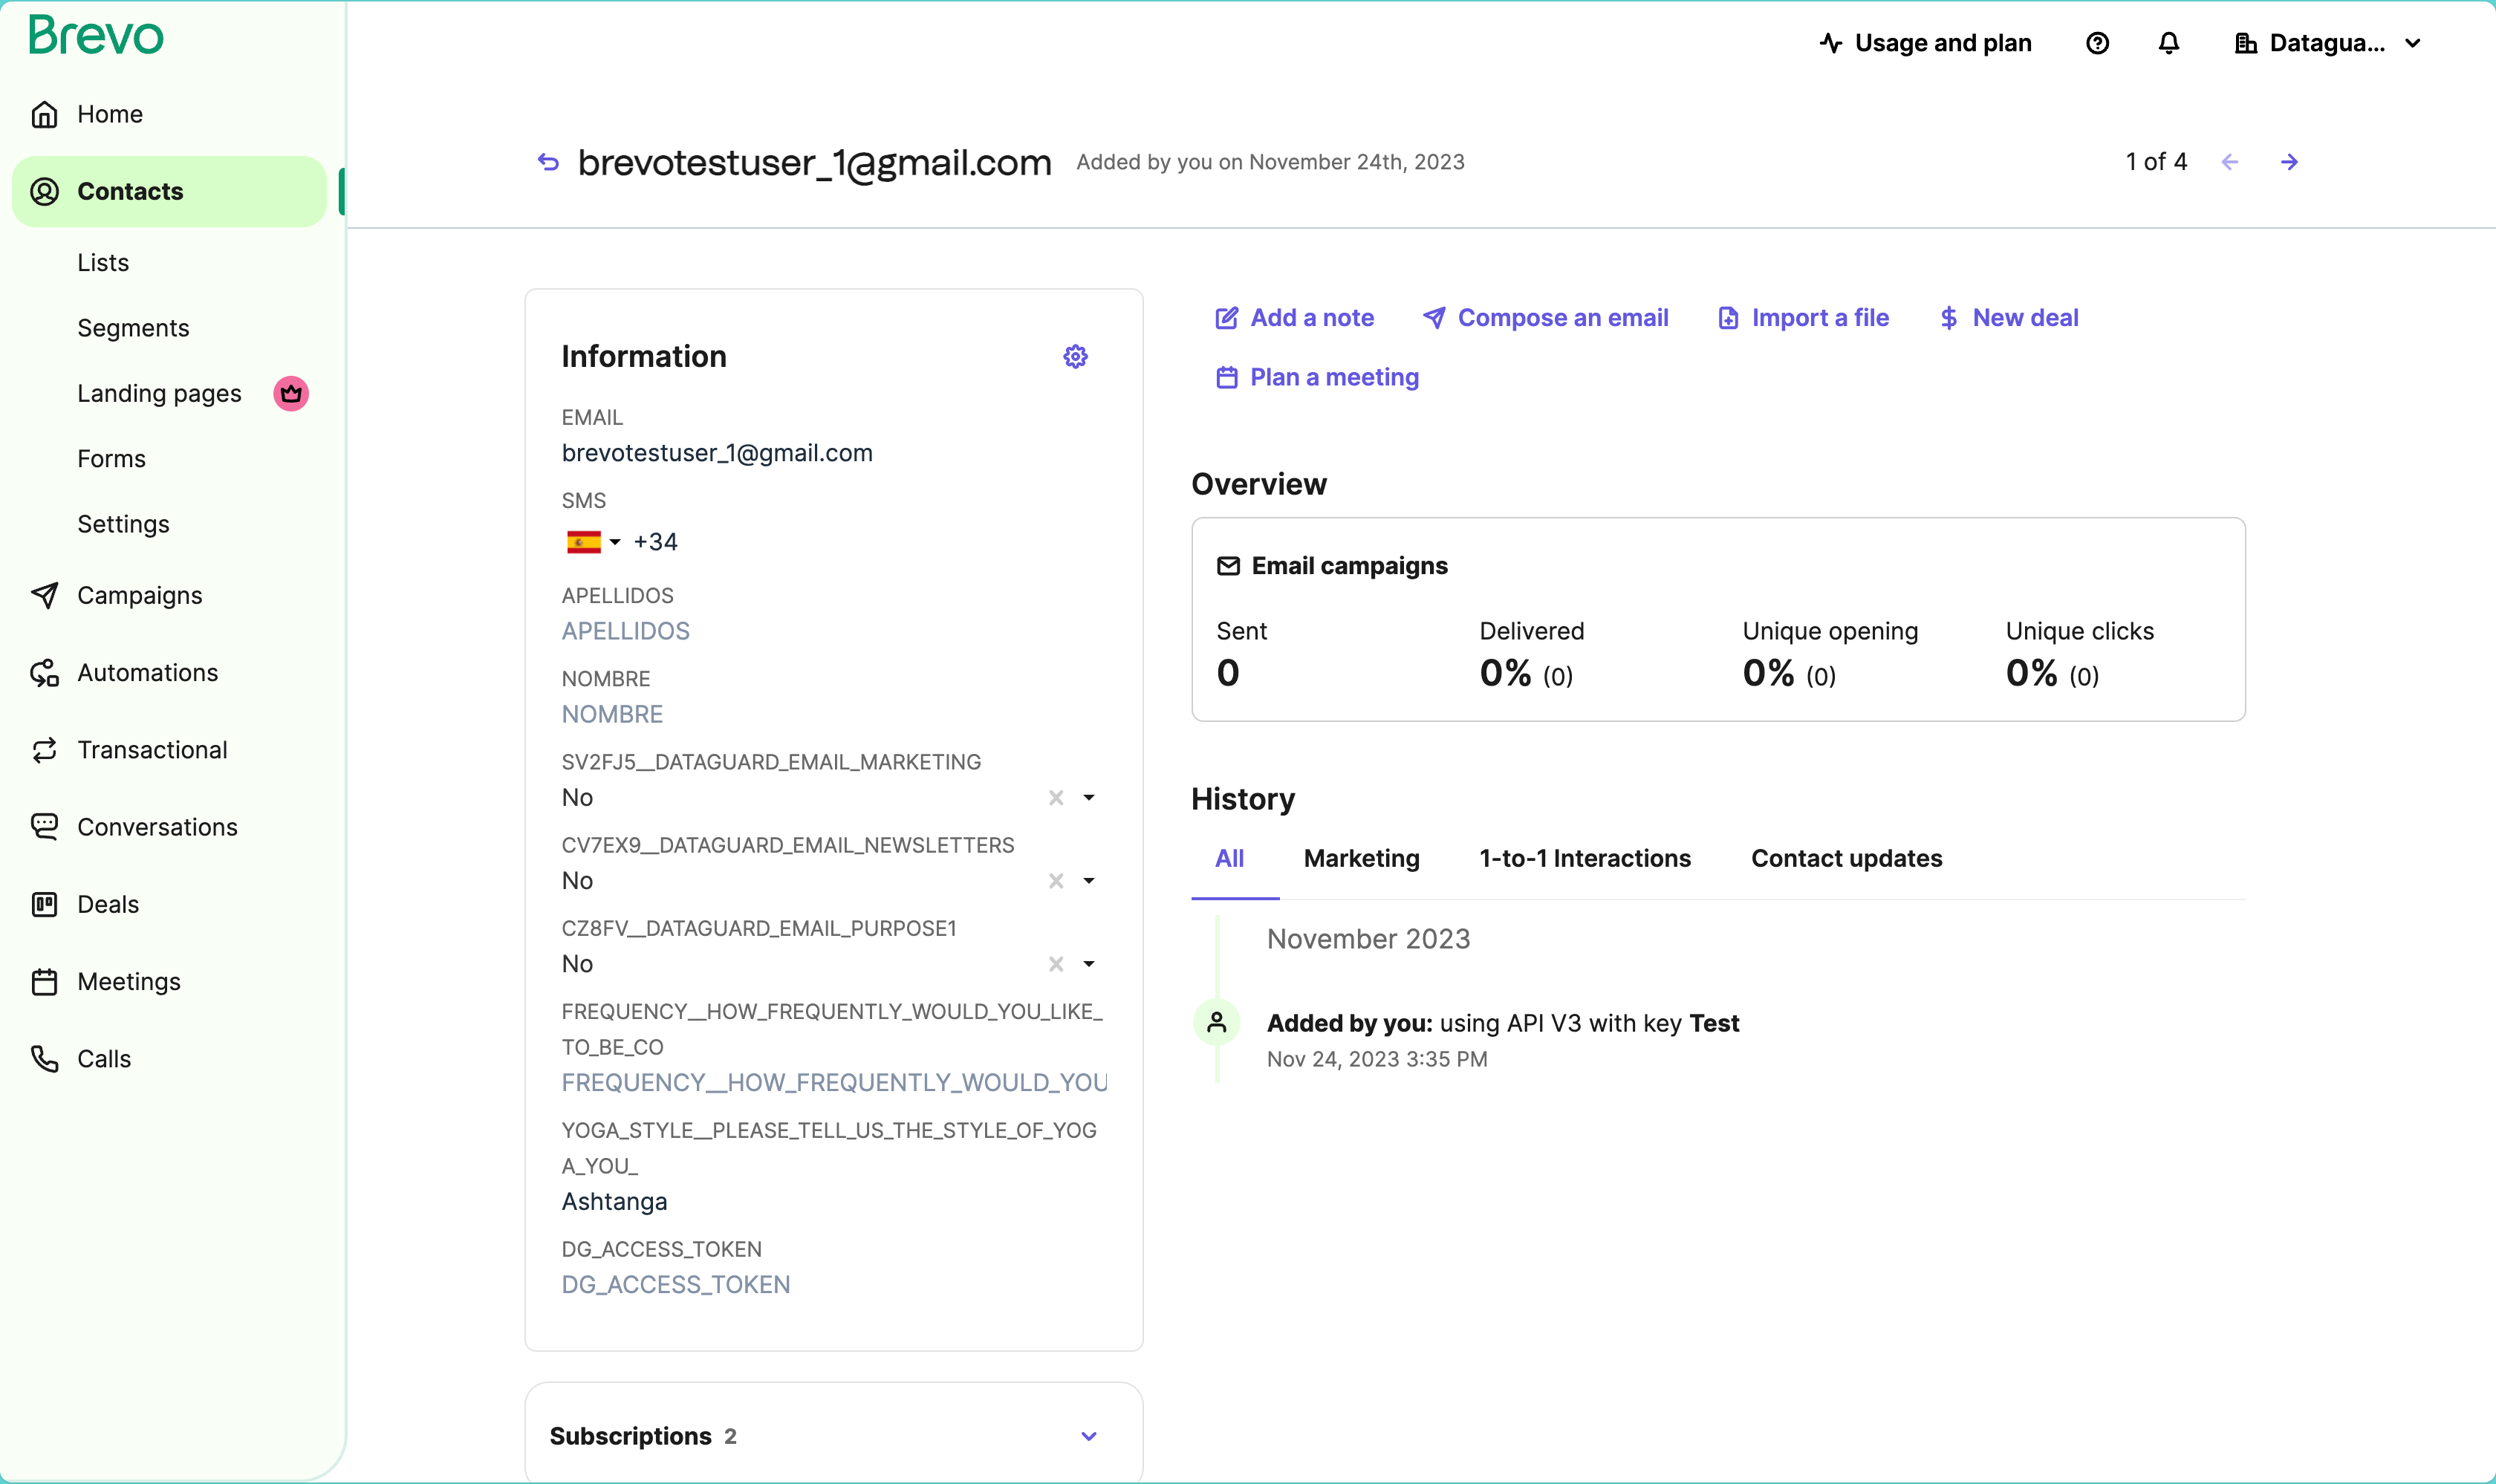
User Permissions and Preferences in Brevo
After successfully configuring the integration, the user's permissions and preferences will be synchronised between DataGuard CPM and Brevo. When a user submits their email address, permissions, and preferences through the DataGuard widget, Brevo will either create a new user profile or update an existing one with the latest information.
To view the user in Brevo:
- Navigate to Contacts in Brevo.
- Enter the user's email address in the search box to find their profile.
- Permissions and preferences can be found within the information widget on the user's account page.
Conclusion
Your Brevo integration with DataGuard CPM is now complete. Your data will be automatically synced, ensuring that your Brevo contact attributes reflect the latest consent and preference information from DataGuard CPM!
Updated over 1 year ago