Ping Identity

Ping Identity is a comprehensive identity and access management platform that provides secure access to applications and services. Integrating Ping Identity with DataGuard CPM enables the automatic creation of Citizens in DataGuard CPM whenever a User is created in Ping Identity. This one-way integration ensures that your DataGuard CPM instance is always up to date with the latest user data from Ping Identity.
Prerequisites
Before you begin, ensure you have the following:
- Access to the DataGuard CPM Platform.
- Administrative access to a Ping Identity environment to set up the integration.
If you don't have access to the DataGuard CPM Platform, please contact us.
Ping Identity Setup
Create an Application in Ping Identity
Before configuring the integration in DataGuard CPM, you need to create an Application in Ping Identity. This Application will allow DataGuard CPM to access your Ping environment.
- Log in to Ping Identity.
- In the menu bar, expand the Connections section and navigate to Applications.
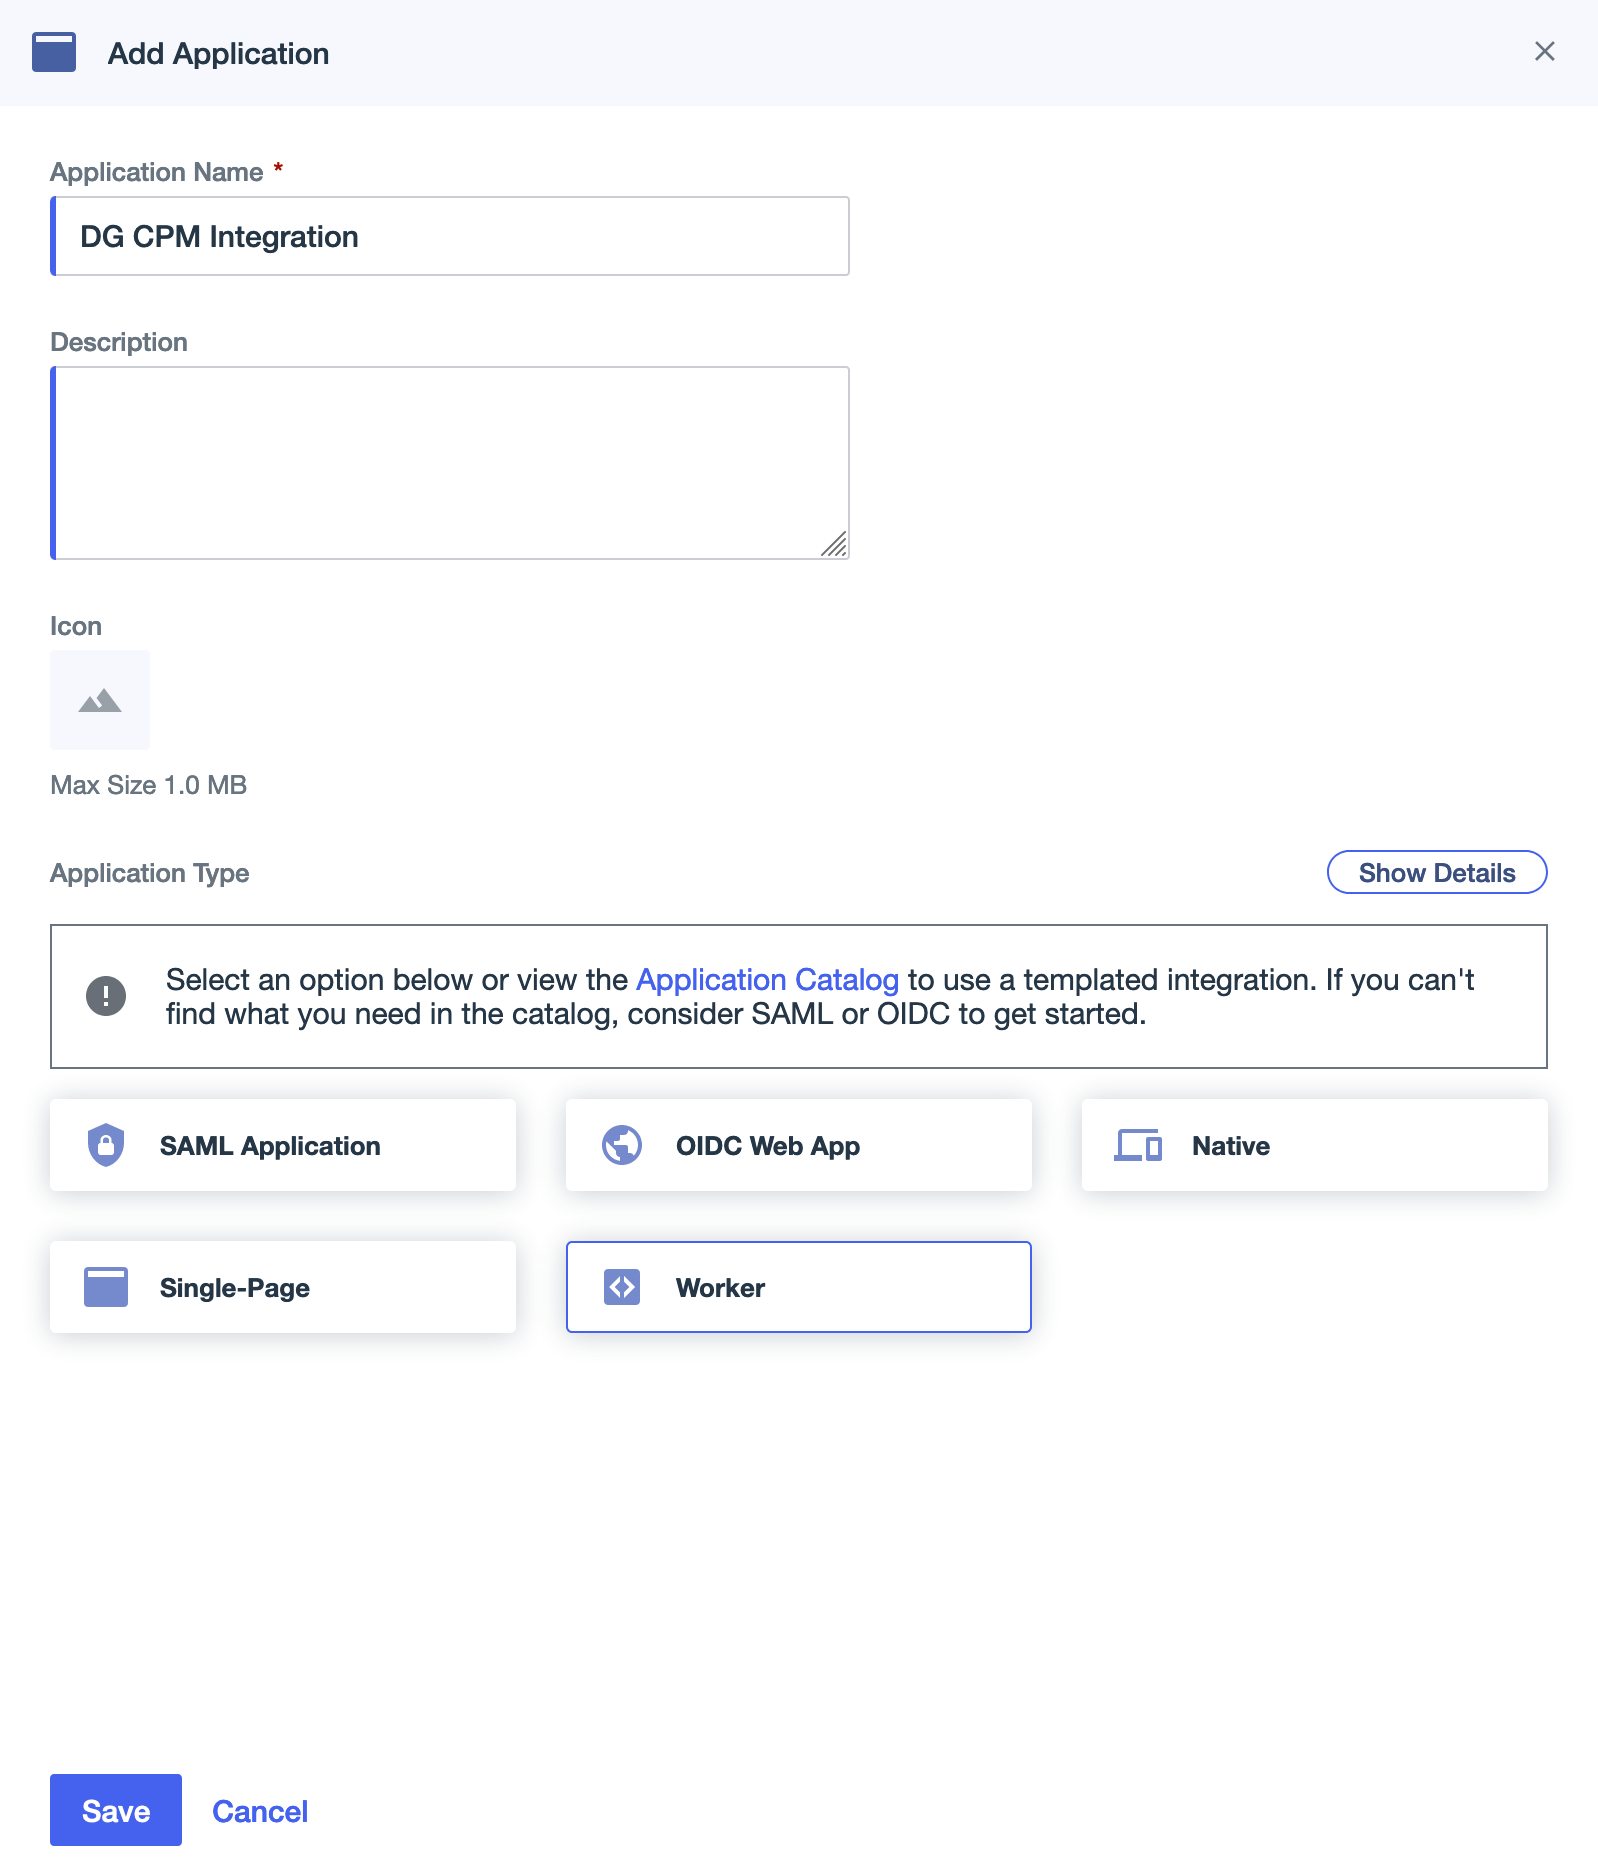
- Click the + button at the top of the page to create a new Application.
- Name the application, e.g., "DG CPM Integration".
- Set the Application Type to Worker.
- Click Save to create the Application.
Assign Roles to the Application
To allow the integration to access the necessary data, assign the required roles to the Application.
- Click on the newly created Application to edit it.
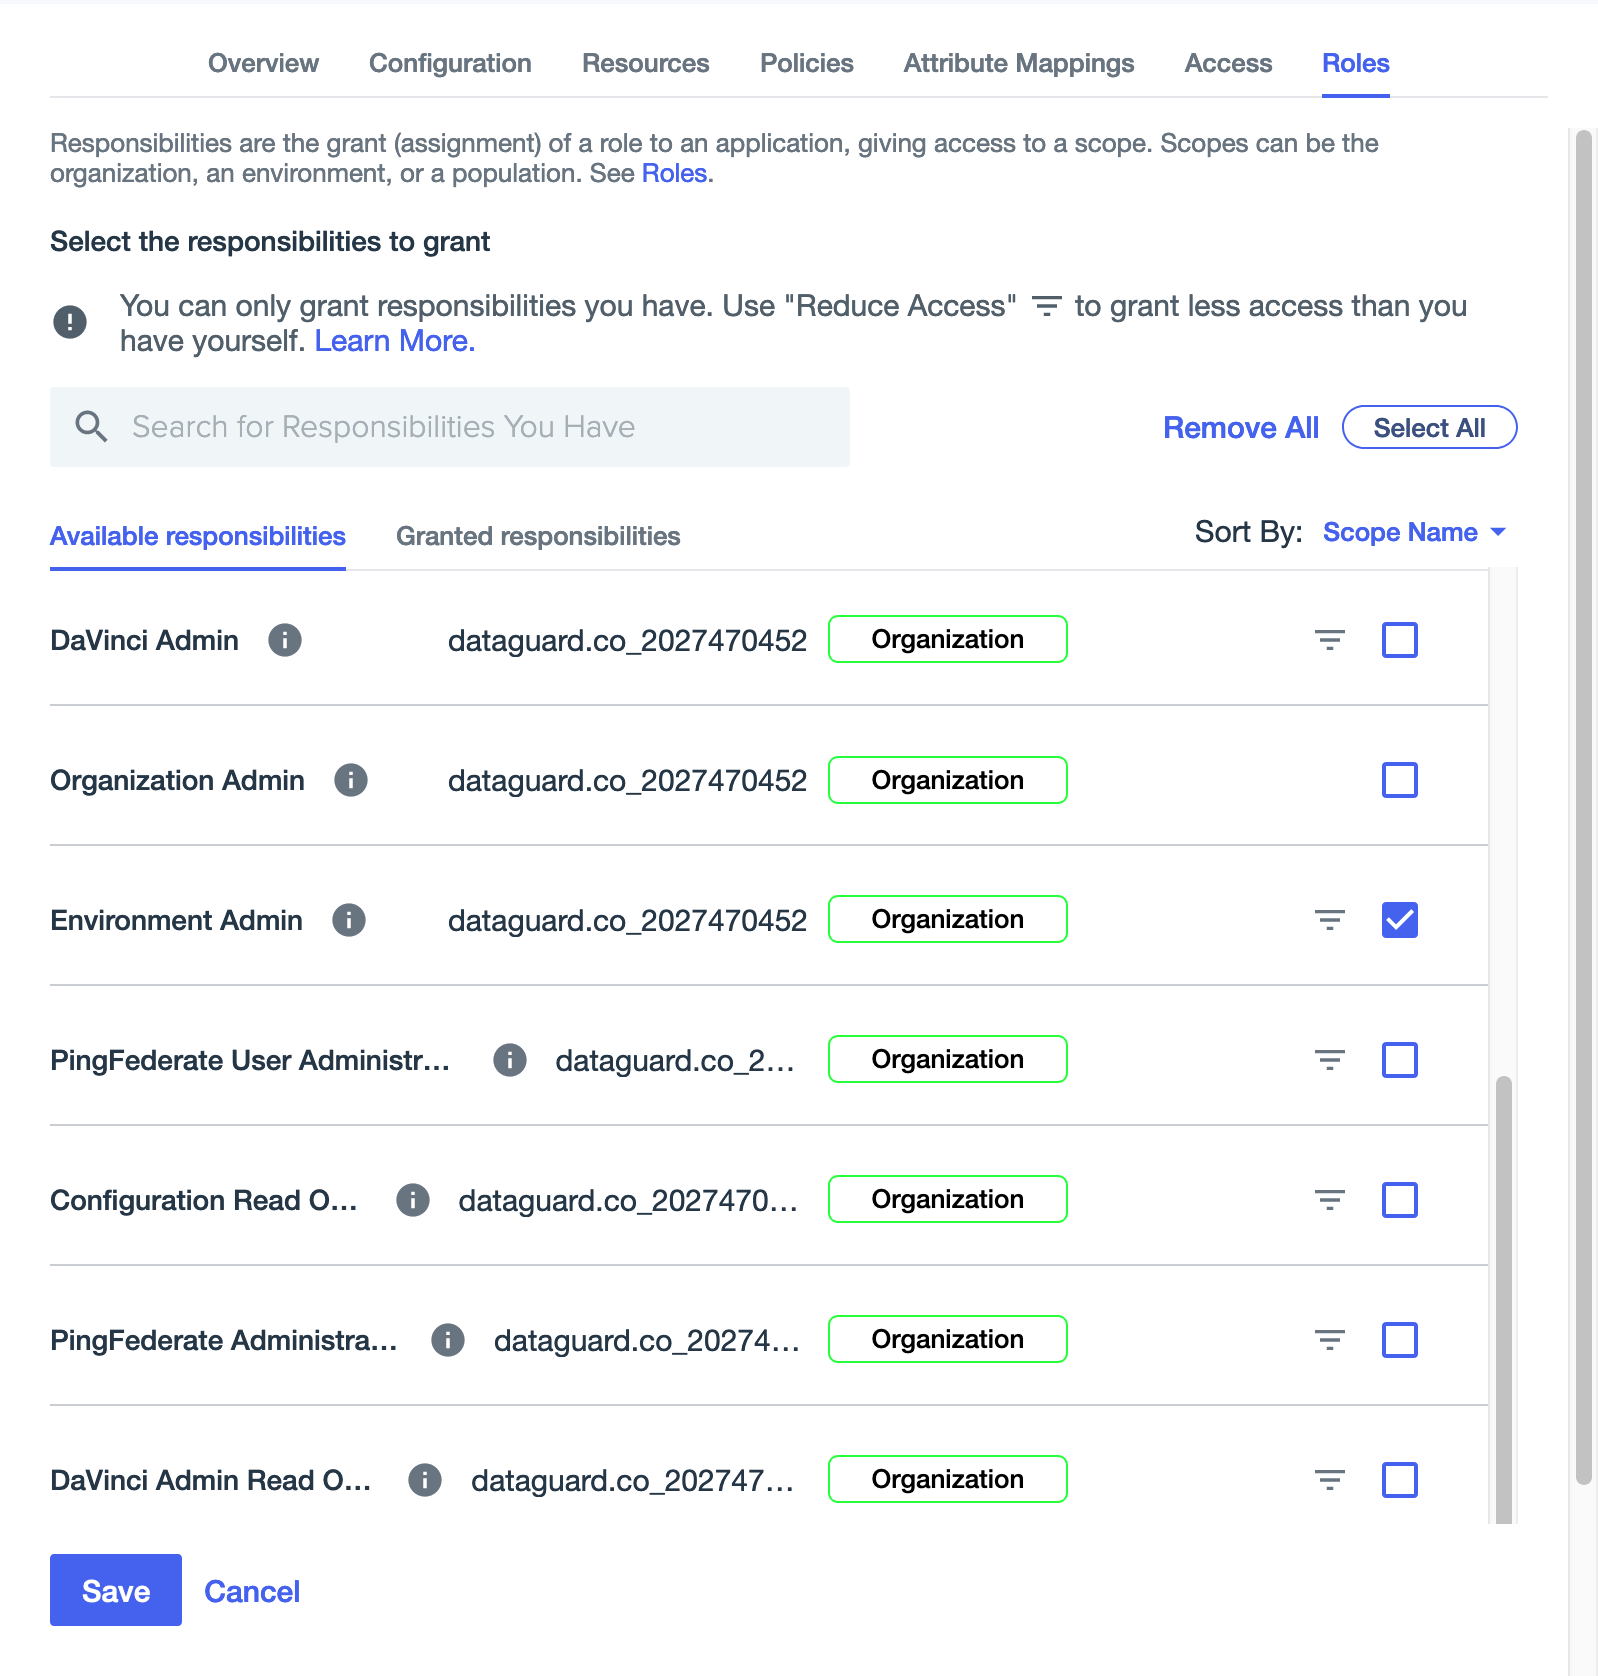
- Navigate to the Roles tab.
- Click on Grant Roles.
- Select the Environment Admin role by checking the box next to it.
- Click Save.
Enable the Application
Finally, enable the Application by toggling the slider at the top of the screen.

Integration Setup
Access the Integrations Marketplace
- Log in to the DataGuard CPM Platform.
- Navigate to the Integrations section and click on Marketplace.
- Click on the DataGuard CPM - Ping Identity integration to start the setup.
- In the popup, click on Configure to begin setting up the integration.
Step 1: Initial Configuration
- On the "Initial Configuration" page, you can update the Name of the integration if desired.
- Click Next to proceed.
Step 2: Connections
Ping Identity Connection
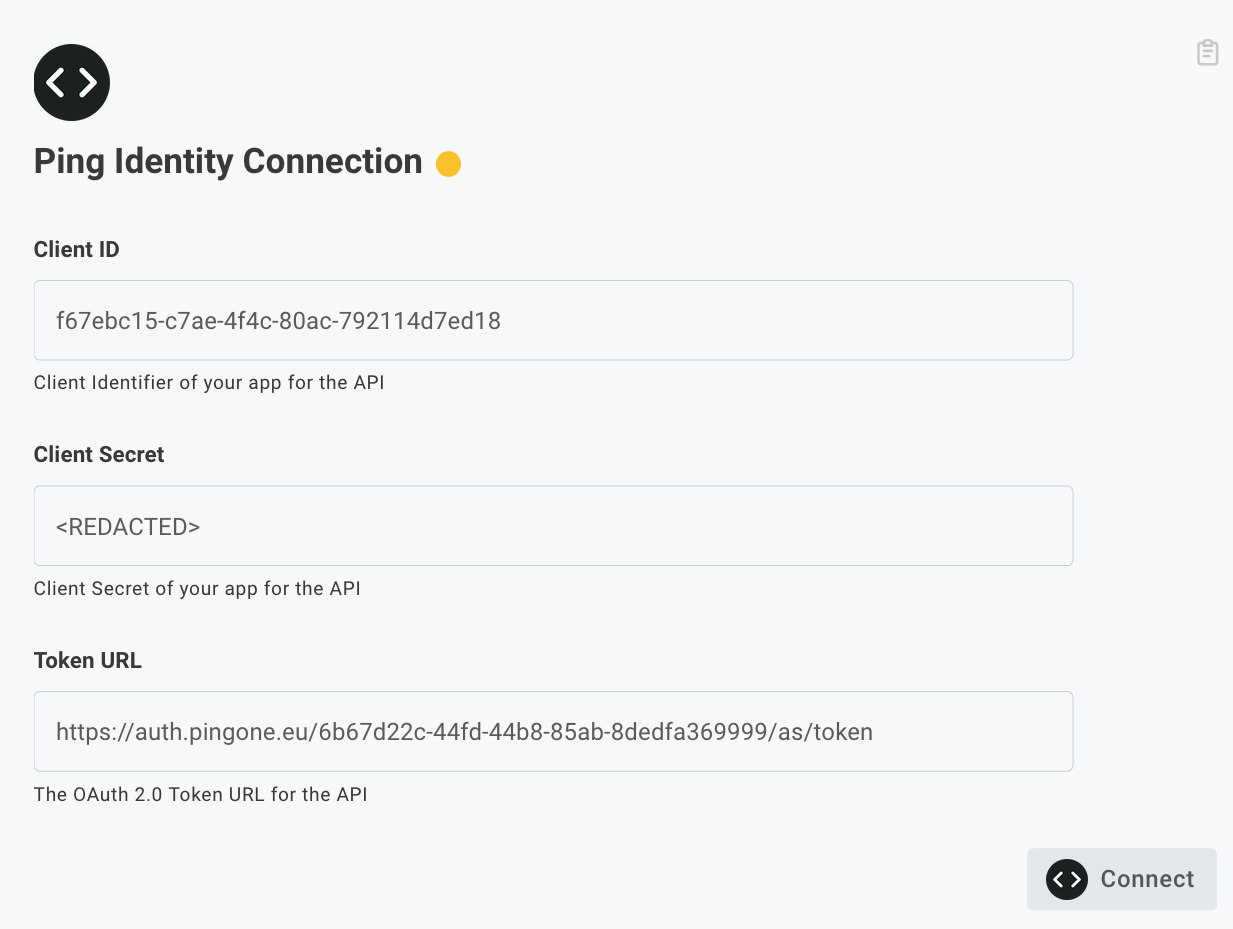
Now that the Ping Identity Application is created, you can configure the connection in DataGuard CPM.
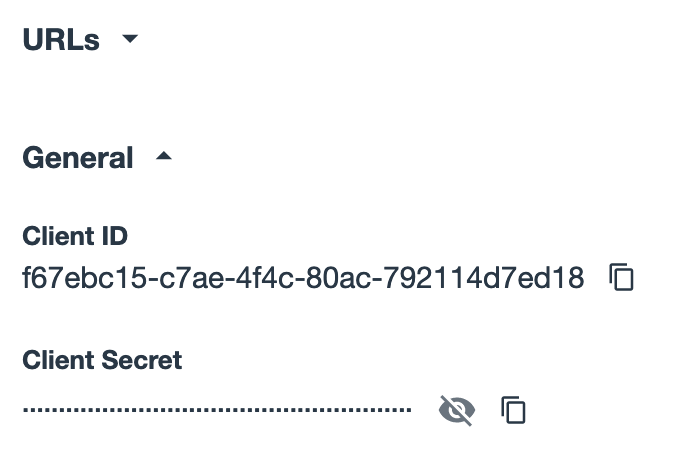
- In the Ping Identity UI, navigate to the Configuration tab of the Application.
- Copy the Client ID and Client Secret from Ping Identity and paste them into the respective fields in DataGuard CPM.
- Open the URLs section in Ping Identity and copy the Token Endpoint. Paste it into the Token URL field in DataGuard CPM.
- Click Connect to test the connection. If it fails, double-check the values and try again.
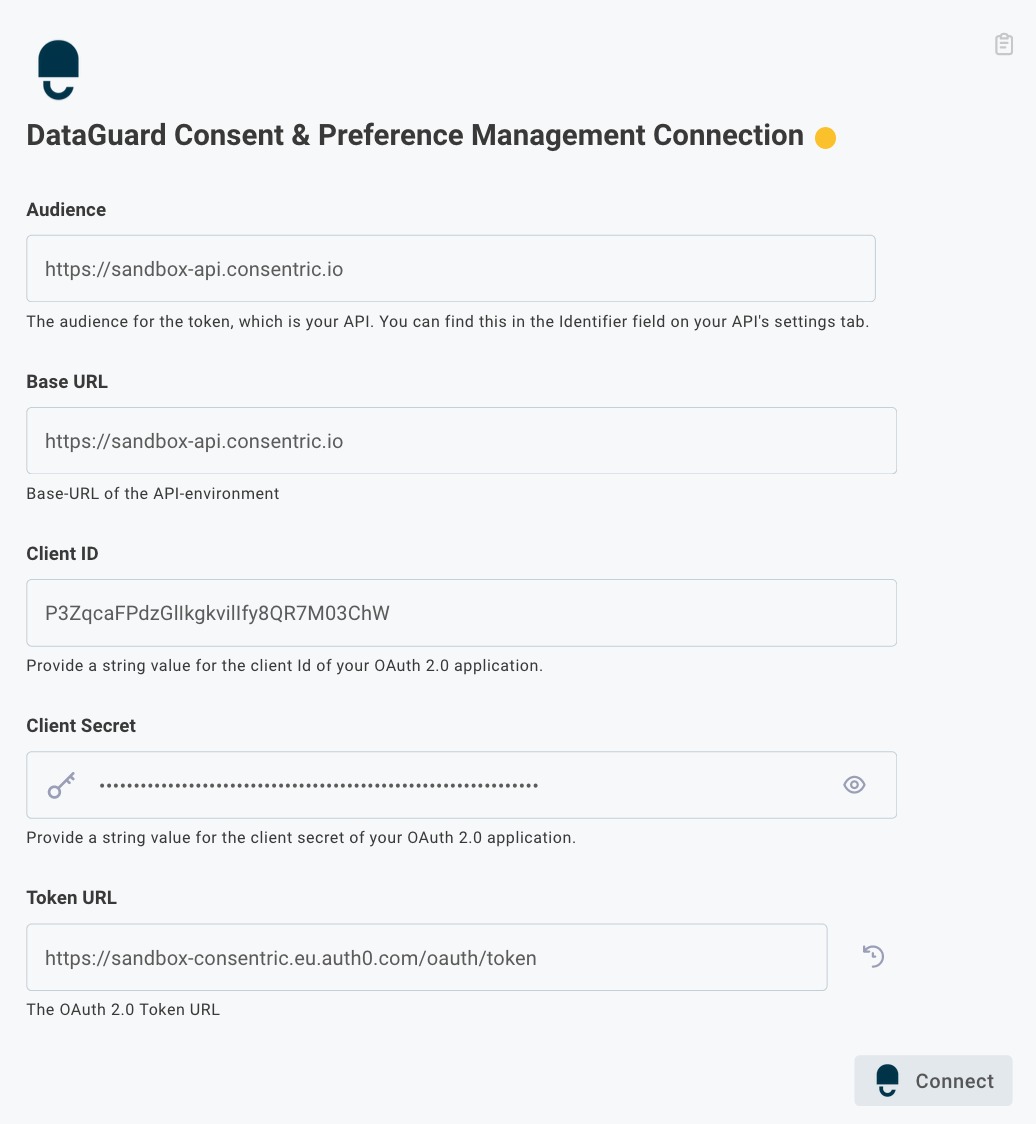
DataGuard CPM Connection
- The values of these fields will vary depending on the environment, enter these values into the form, using the Environments page to replace the palceholders below:
- Token URL: Should match this pattern:
<auth-url>/oauth/token?audience=<audience-url>. - Audience URL: Should be
<audience-url>. - Client ID: Is found on the Credentials page of the UI.
- Client Secret: found on the Credentials page of the UI.
- Base URL: Should be
<api-url>.
- Token URL: Should match this pattern:
- Click Connect to establish the connection.
- Click Next to proceed.
Step 3: Ping Identity Configuration
- Enter the Ping API Path for your Ping Identity environment, typically
https://api.pingone.eu/v1. - Enter the Ping Environment Id, found in the Configuration tab of your Ping Application.
- Click Next to proceed.

Step 4: DataGuard CPM Configuration
- Enter the Application ID, found in your DataGuard CPM welcome email.
- Click Finish to complete the setup.

Test the Integration
To ensure the integration is working correctly:
- Create a user in the Ping Identity UI.
- Verify that the user has been created in DataGuard CPM by navigating to the Permissions section and searching for the user using their Ping Identity ID.
Conclusion
Your Ping Identity integration with DataGuard CPM is now complete. New users created in Ping Identity will automatically be created as Citizens in DataGuard CPM, ensuring that your consent management processes remain synchronized!
Updated about 1 year ago
