Snowflake

Snowflake is a powerful cloud-based data warehousing solution that enables secure and scalable storage and analysis of large datasets. The integration between Snowflake and DataGuard CPM allows for the synchronization of consent data and optional access management features. Depending on the configuration, this integration can operate in two modes:
- Data Export Only: Synchronizes consent data from DataGuard CPM to Snowflake.
- Data Export and Access Management: Synchronizes consent data and manages access to rows in a Snowflake table based on the consent status of data subjects.
In both modes, a new table is created in your Snowflake schema to store the current state of each data subject's consent. Each row in this table contains fields such as External Reference, Option ID, Option Label, Last Updated timestamp, and State. Updates in DataGuard CPM trigger corresponding updates or inserts in this table.
If the access management feature is enabled, an additional table will map consent purpose IDs to Snowflake row-names, and a row access policy will be applied to a configured target table to control access based on the consents given by data subjects.
Prerequisites
Before you begin, ensure you have the following:
- Access to the DataGuard CPM Platform.
- Administrative access to a Snowflake account to set up the integration.
If you don't have access to the DataGuard CPM Platform, please contact us.
Snowflake Setup
Step 1: Create a New OAuth 2.0 Connection in Snowflake
Snowflake will use OAuth 2.0 for authentication and API calls. Follow these steps to set up an OAuth integration:
-
Log in to Snowflake and create a worksheet to set up a new integration.
-
Run the following SQL statement to create a new security integration. Replace
INTEGRATIONNAMEwith a memorable name:CREATE SECURITY INTEGRATION INTEGRATIONNAME TYPE = OAUTH OAUTH_CLIENT = CUSTOM OAUTH_REDIRECT_URI = 'https://oauth2.integrations.dataguard.de/callback' OAUTH_CLIENT_TYPE = 'PUBLIC'; -
Run this SQL statement to retrieve the
Authorization URL,Token URL, andClient ID:DESCRIBE INTEGRATION INTEGRATIONNAME; -
Run this SQL statement to retrieve your
Client Secret:SELECT SYSTEM$SHOW_OAUTH_CLIENT_SECRETS('INTEGRATIONNAME'); -
Enable the integration with the following statement:
ALTER SECURITY INTEGRATION INTEGRATIONNAME SET ENABLED = TRUE;
NOTE: Users with the roles of ACCOUNTADMIN, SECURITYADMIN, and ORGADMIN will receive an “invalid consent request error” when attempting to authenticate, as Snowflake blocks these roles by default. Use a different user without these roles.
Step 2: Create a Snowflake User and Grant Permissions
The Snowflake user used by the integration should have the following permissions:
- CREATE TABLE
- INSERT/UPDATE on the
_dg_consentstable - USE the warehouse, database, and schema selected
- (Optional) SELECT on the table with customer data (for initial import)
- (Optional) CREATE ROW ACCESS POLICY
- (Optional) ALTER on the target table to APPLY or DROP a row access policy
- (Optional) INSERT on the
_dg_purpose_to_role_table
Step 3: Have Table(s) with Customer Data in Snowflake
Ensure you have at least one table with customer-related data in Snowflake.
NOTE: If you plan to use the access management feature, the row access policy generated is automatically applied to only one table. To protect more tables, manually apply the
dg_consent_policyusing the following SQL (replacetablenameandreferenceFieldas needed):
ALTER TABLE tablename ADD ROW ACCESS POLICY dg_consent_policy ON (referenceField:);Step 4: (Optional) Create Snowflake Roles for Access Management
To use the access management feature, create Snowflake roles with SELECT permission on the protected table. For example, to create a role named MARKETING with access to a table named contacts, run:
CREATE ROLE MARKETING;
GRANT SELECT ON contacts TO ROLE MARKETING;
Integration Setup
Access the Integrations Marketplace
- Log in to the DataGuard CPM Platform.
- Navigate to the Integrations section and click on Marketplace.
- Click on the DataGuard CPM-Snowflake integration to start the setup.
- In the popup, click on Add Instance to begin configuring a new integration instance.
Step 1: Initial Configuration
- Review the information presented, such as the Name, Version, and Description of the connector.
- Click Next to proceed.
Step 2: Connections
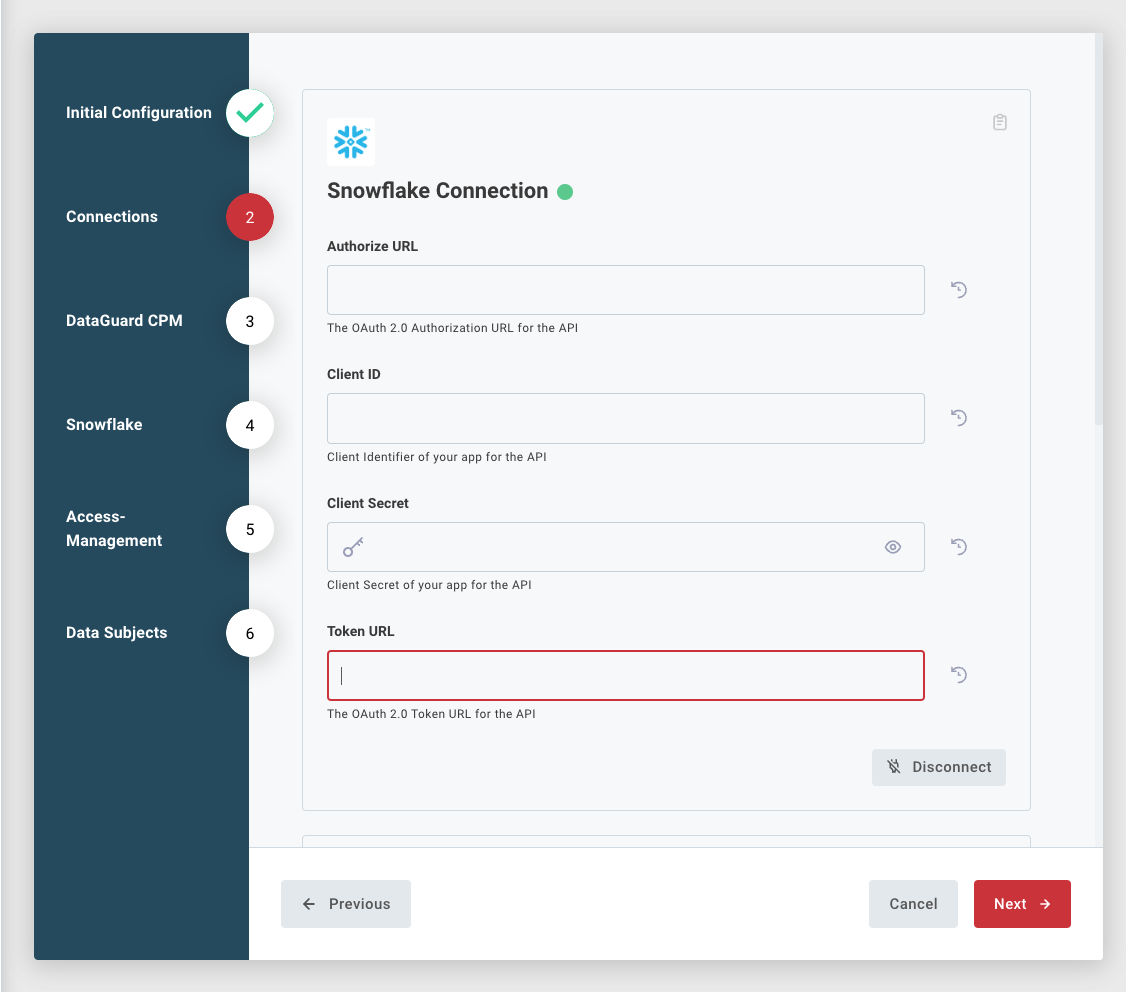
Snowflake Connection
-
Enter the Snowflake connection details obtained during the OAuth setup:
- Authorization URL
- Token URL
- Client ID
- Client Secret
-
Click on Connect and log in with the user created for the integration.
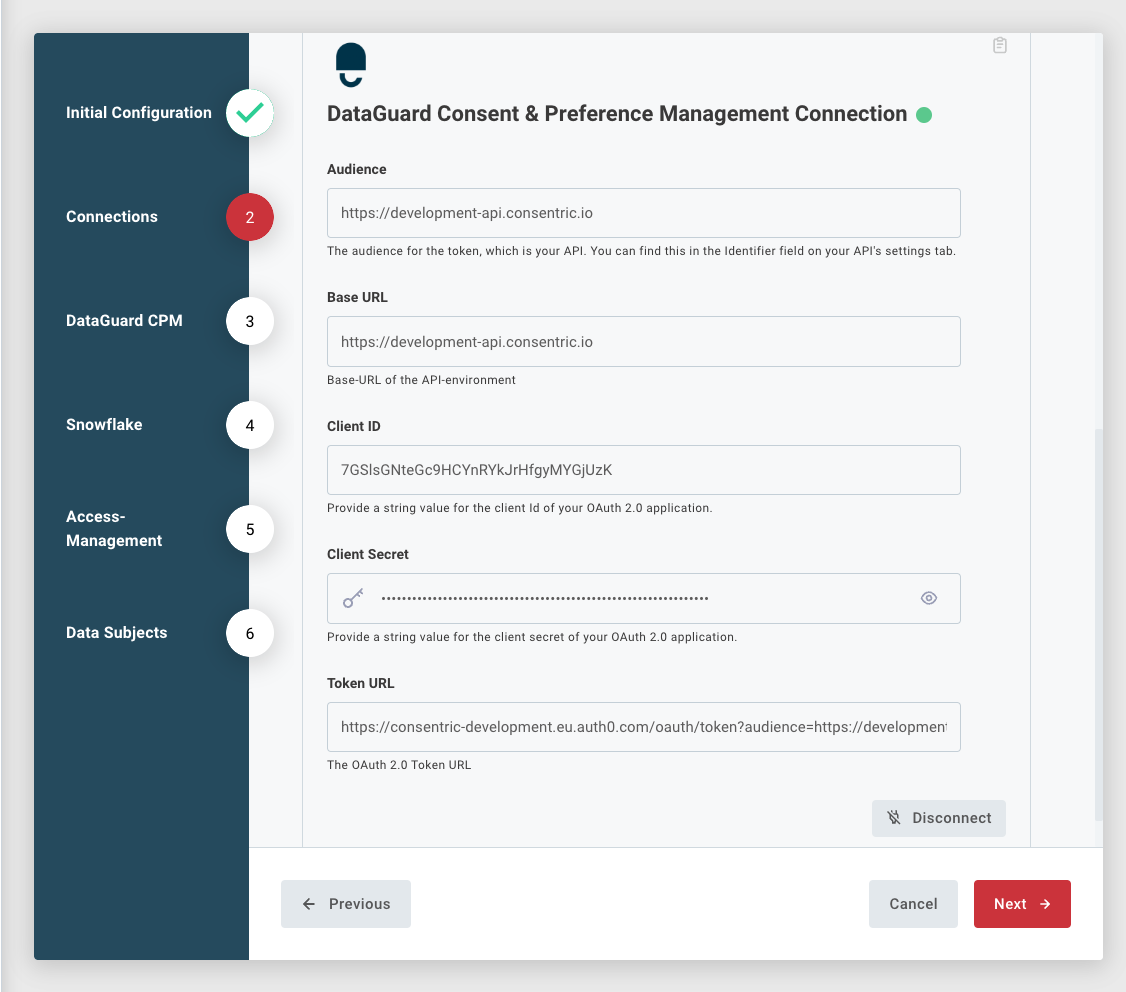
CPM Connection
- The values of these fields will vary depending on the environment, enter these values into the form, using the Environments page to replace the palceholders below:
- Token URL: Should match this pattern:
<auth-url>/oauth/token?audience=<audience-url>. - Audience URL: Should be
<audience-url>. - Client ID: Is found on the Credentials page of the UI.
- Client Secret: found on the Credentials page of the UI.
- Base URL: Should be
<api-url>.
- Token URL: Should match this pattern:
- Click Connect to establish the connection.
- Click Next to proceed.
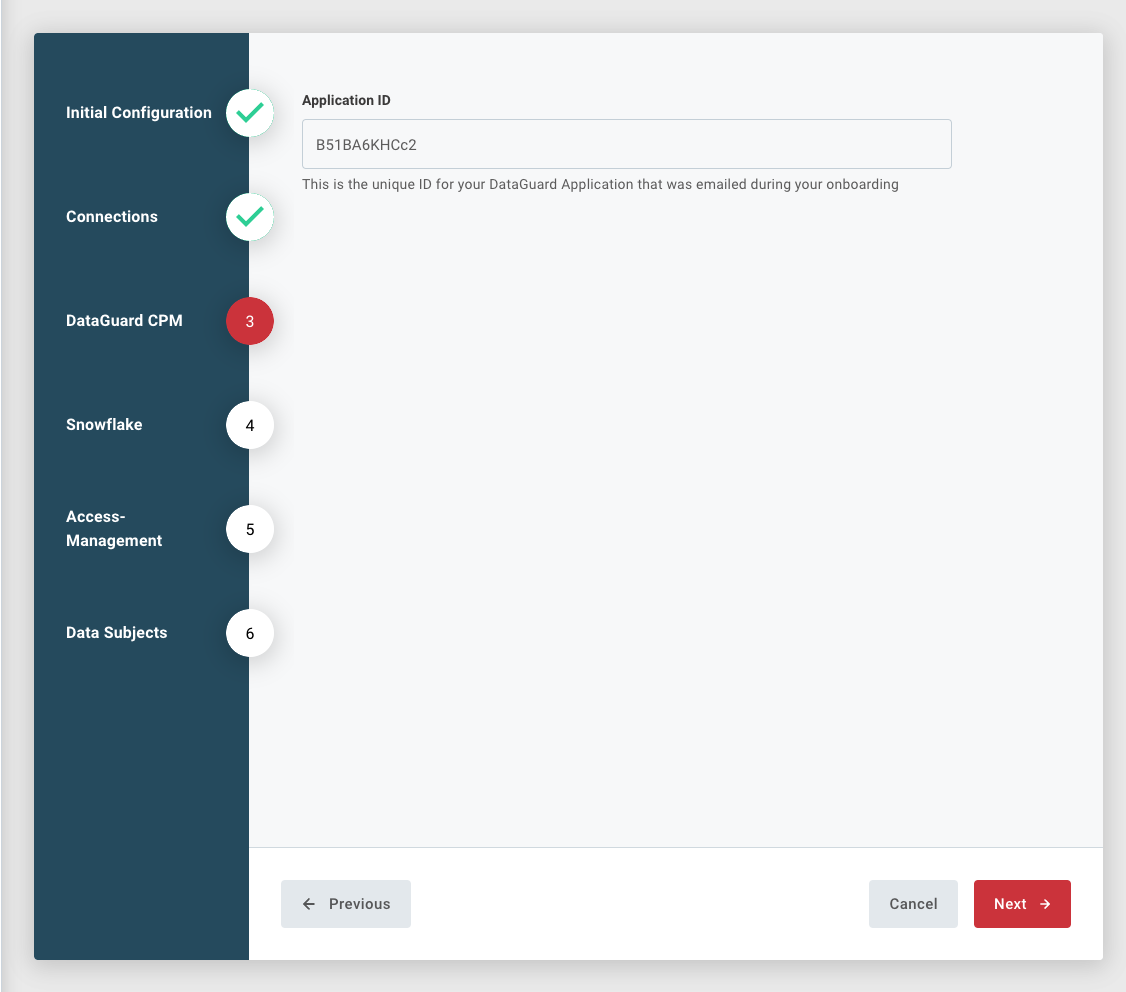
Step 3: DataGuard CPM Configuration
- Enter the unique Application ID provided during onboarding.
- Click Next to proceed.
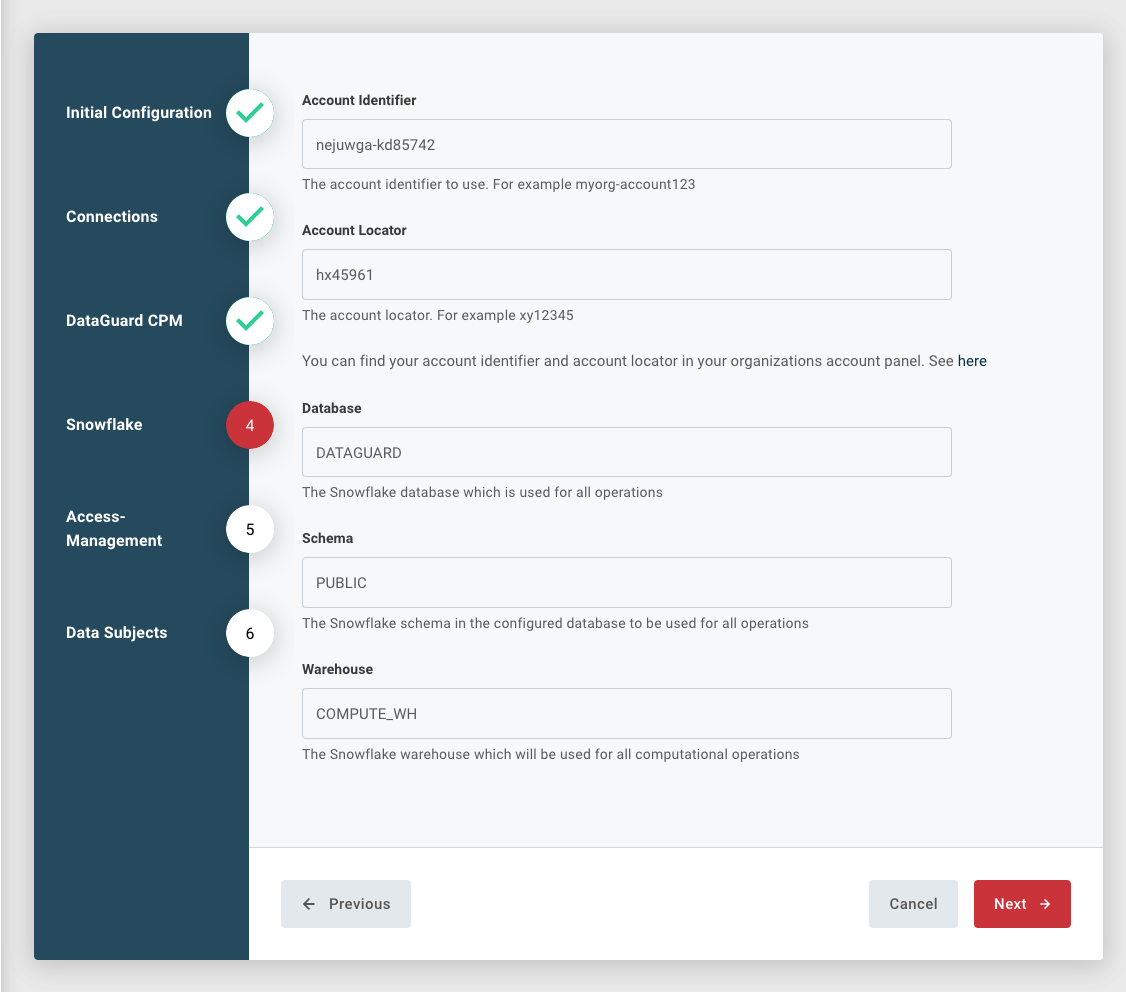
Step 4: Snowflake Configuration
-
Enter the following Snowflake details:
- Account Identifier
- Account Locator
- Database
- Schema
- Warehouse
-
The Account Identifier and Locator can be found in your Snowflake Account Admin Panel under
Admin - Accounts.

- Click Next to proceed.
Step 5: Access Management (Optional)
If you wish to enable access management:
- Toggle the feature on or off.
- Provide the mappings between Consent Purposes and Snowflake roles.
- Note that the integration will synchronize all active consent purpose changes, even if not all are mapped.
- Click Next to proceed.
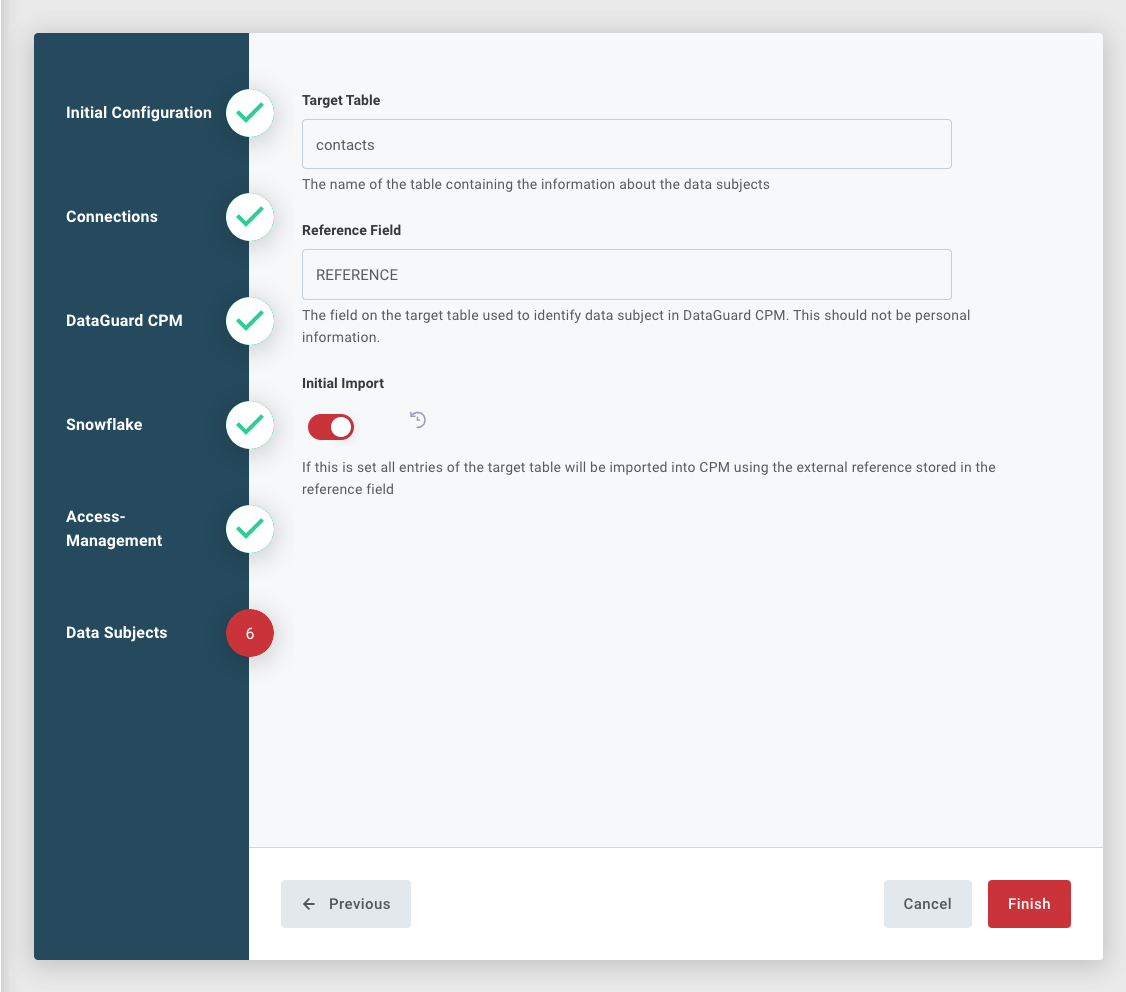
Step 6: Data Subjects
- Specify the target table and reference field used to map consent data to your main customer data table.
- Optionally, enable an initial import of all entries from the target table as data subjects in DataGuard CPM. This may take some time depending on the data volume.
- Click Finish to complete the setup.
Conclusion
Your Snowflake integration with DataGuard CPM is now complete. Depending on your configuration, consent data will be automatically synced, and access management rules will be applied to your Snowflake tables as required!
Updated about 1 year ago
