4. Start Collecting Consent
In this guide, you will learn how to create a Sign Up Hosted Preference Centre using DataGuard CPM. This Preference Centre will allow you to collect consent from new users. There are many other ways to integrate consent collection with your existing forms and processes, this example will focus on setting up a basic Preference Centre to help you to see how the platform works.
Step 1: Navigate to the Preference Centres Page
Begin by navigating to the Preference Centres section, which you can find under the Set Up category in the DataGuard CPM UI. Then click on the "New Preference Centre" button to start the setup process.
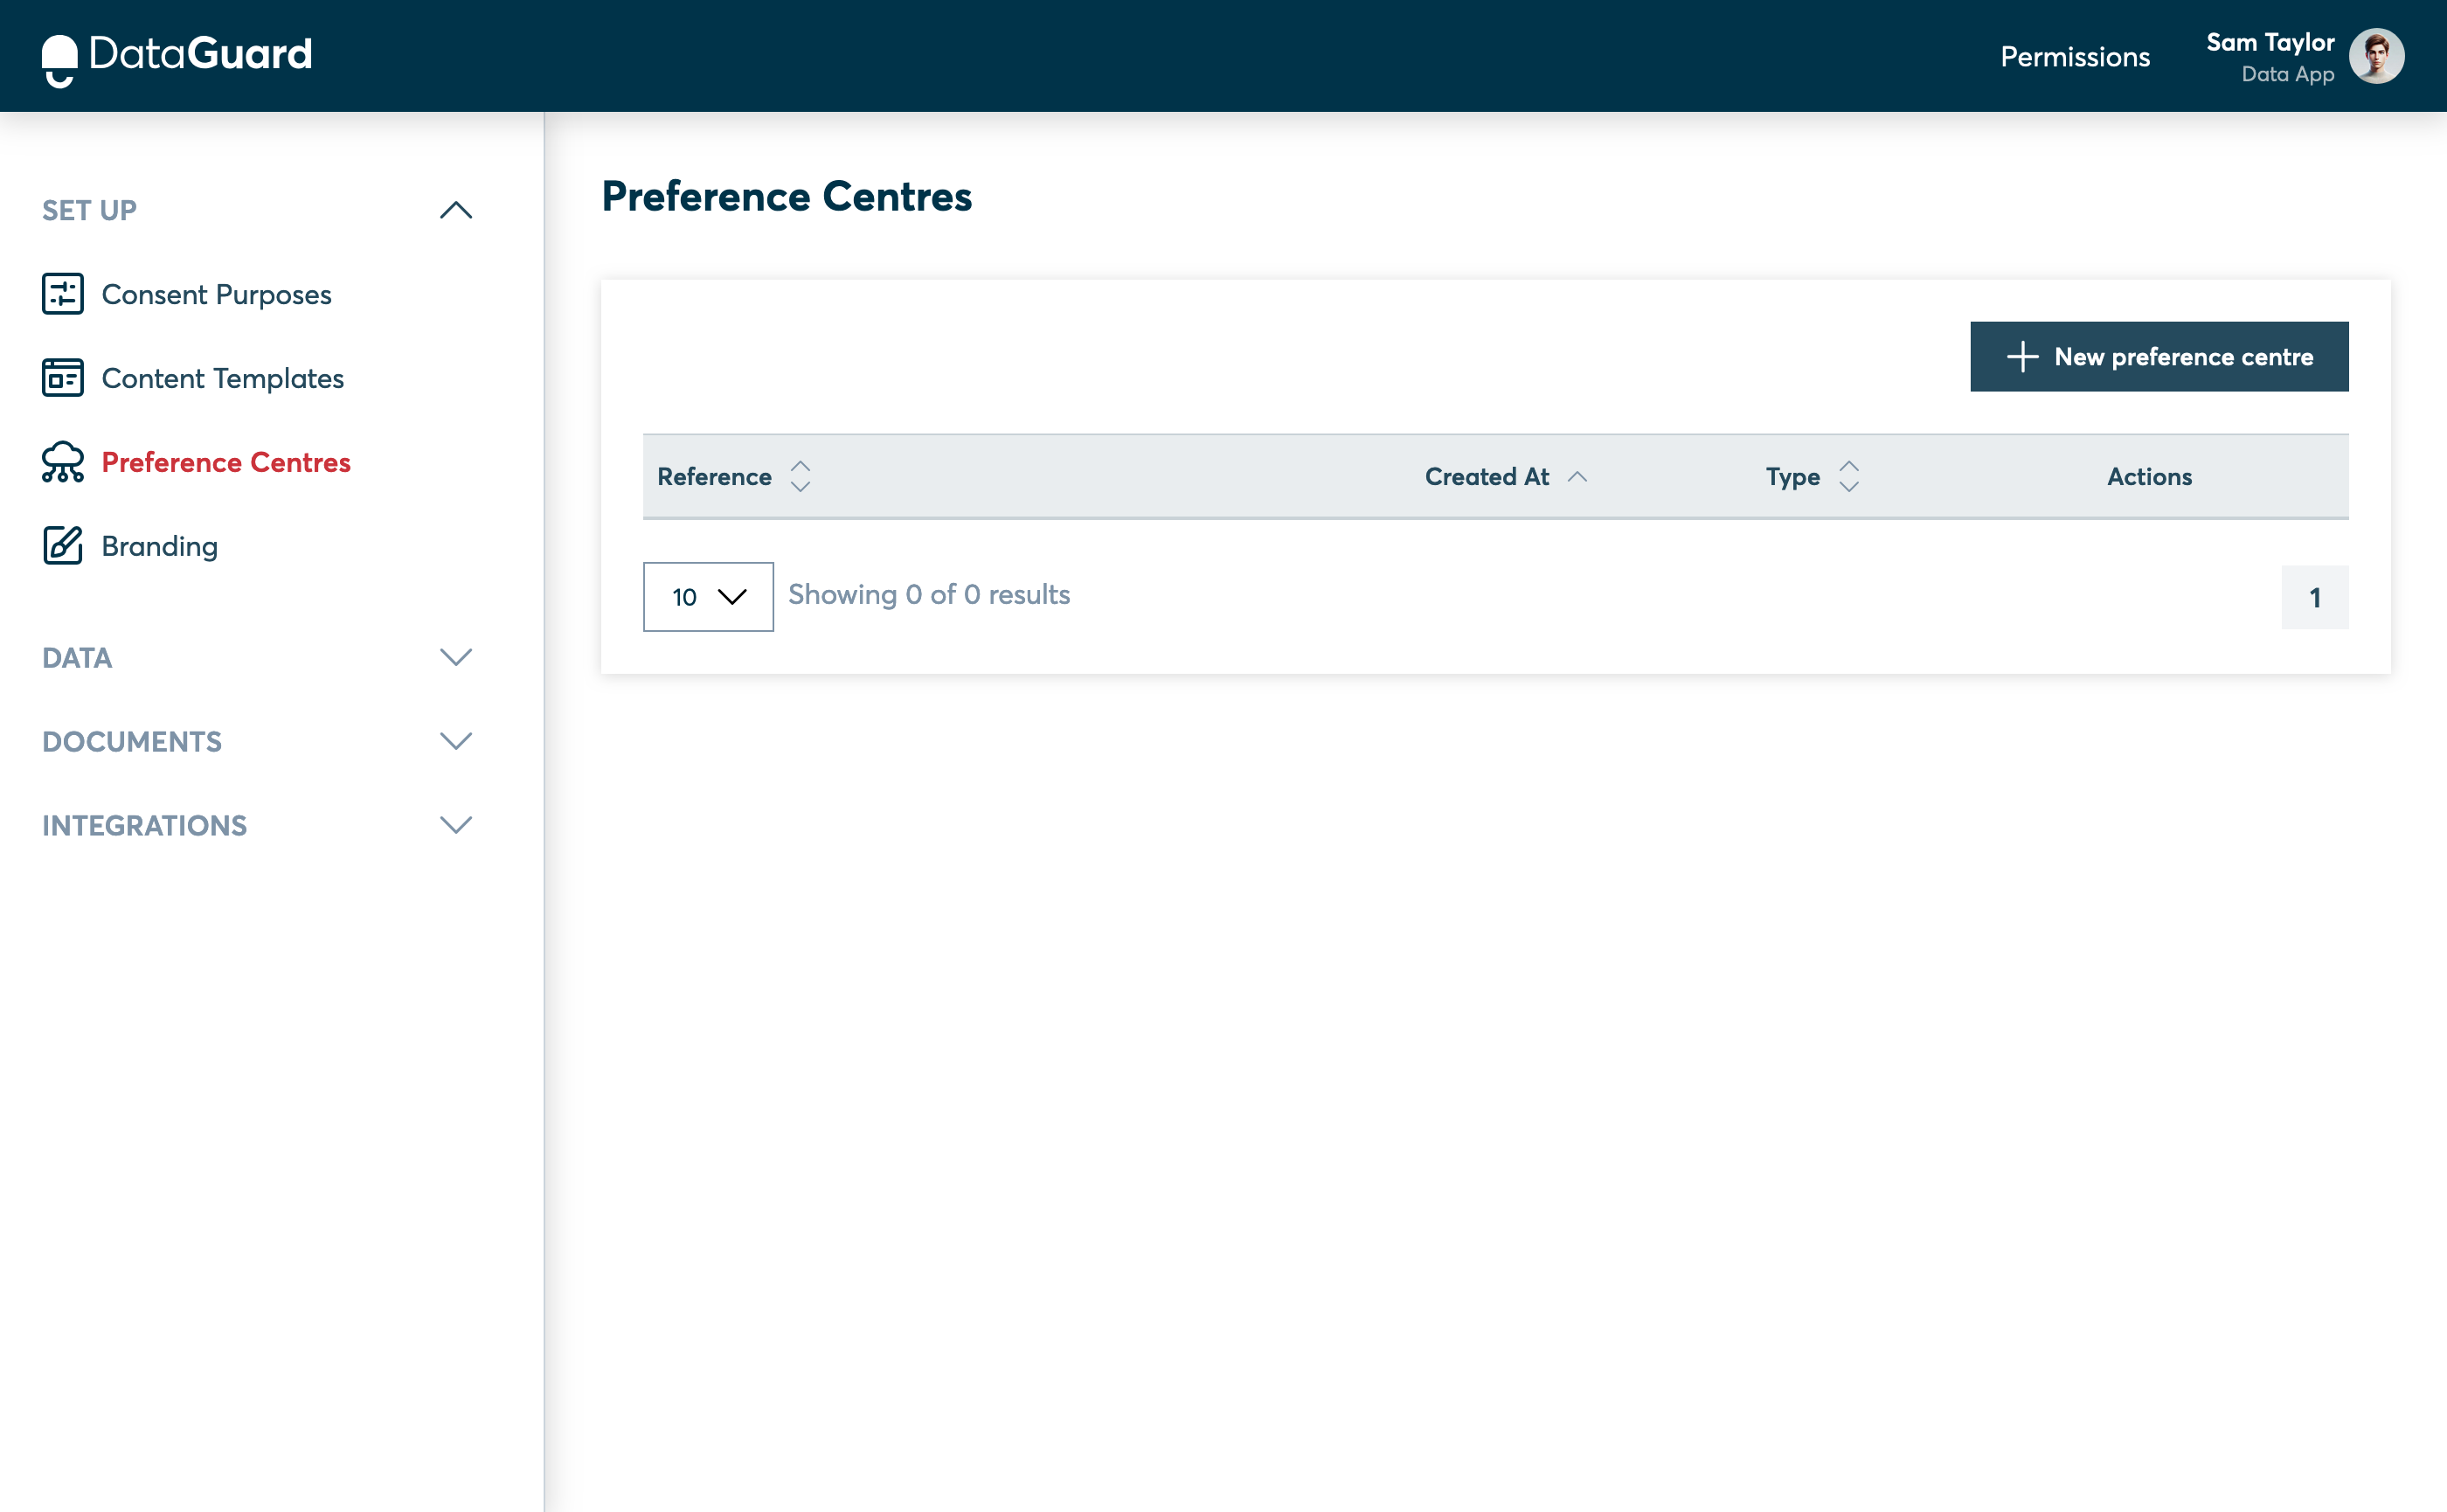
The Preference Centres page in the CPM UI.
Step 2: Create a New Preference Centre
Select "Sign-Up" as the type of preference centre and click "Next".

The Preference centre type step of the Preference Centre UI.
Step 3: Verify Consent Form Template
If you have completed the "Build a Consent Form" guide, you should see a green tick indicating that a template exists. If not, please return to the Build a Consent Form guide to create a template now. Then click "Next" to proceed.
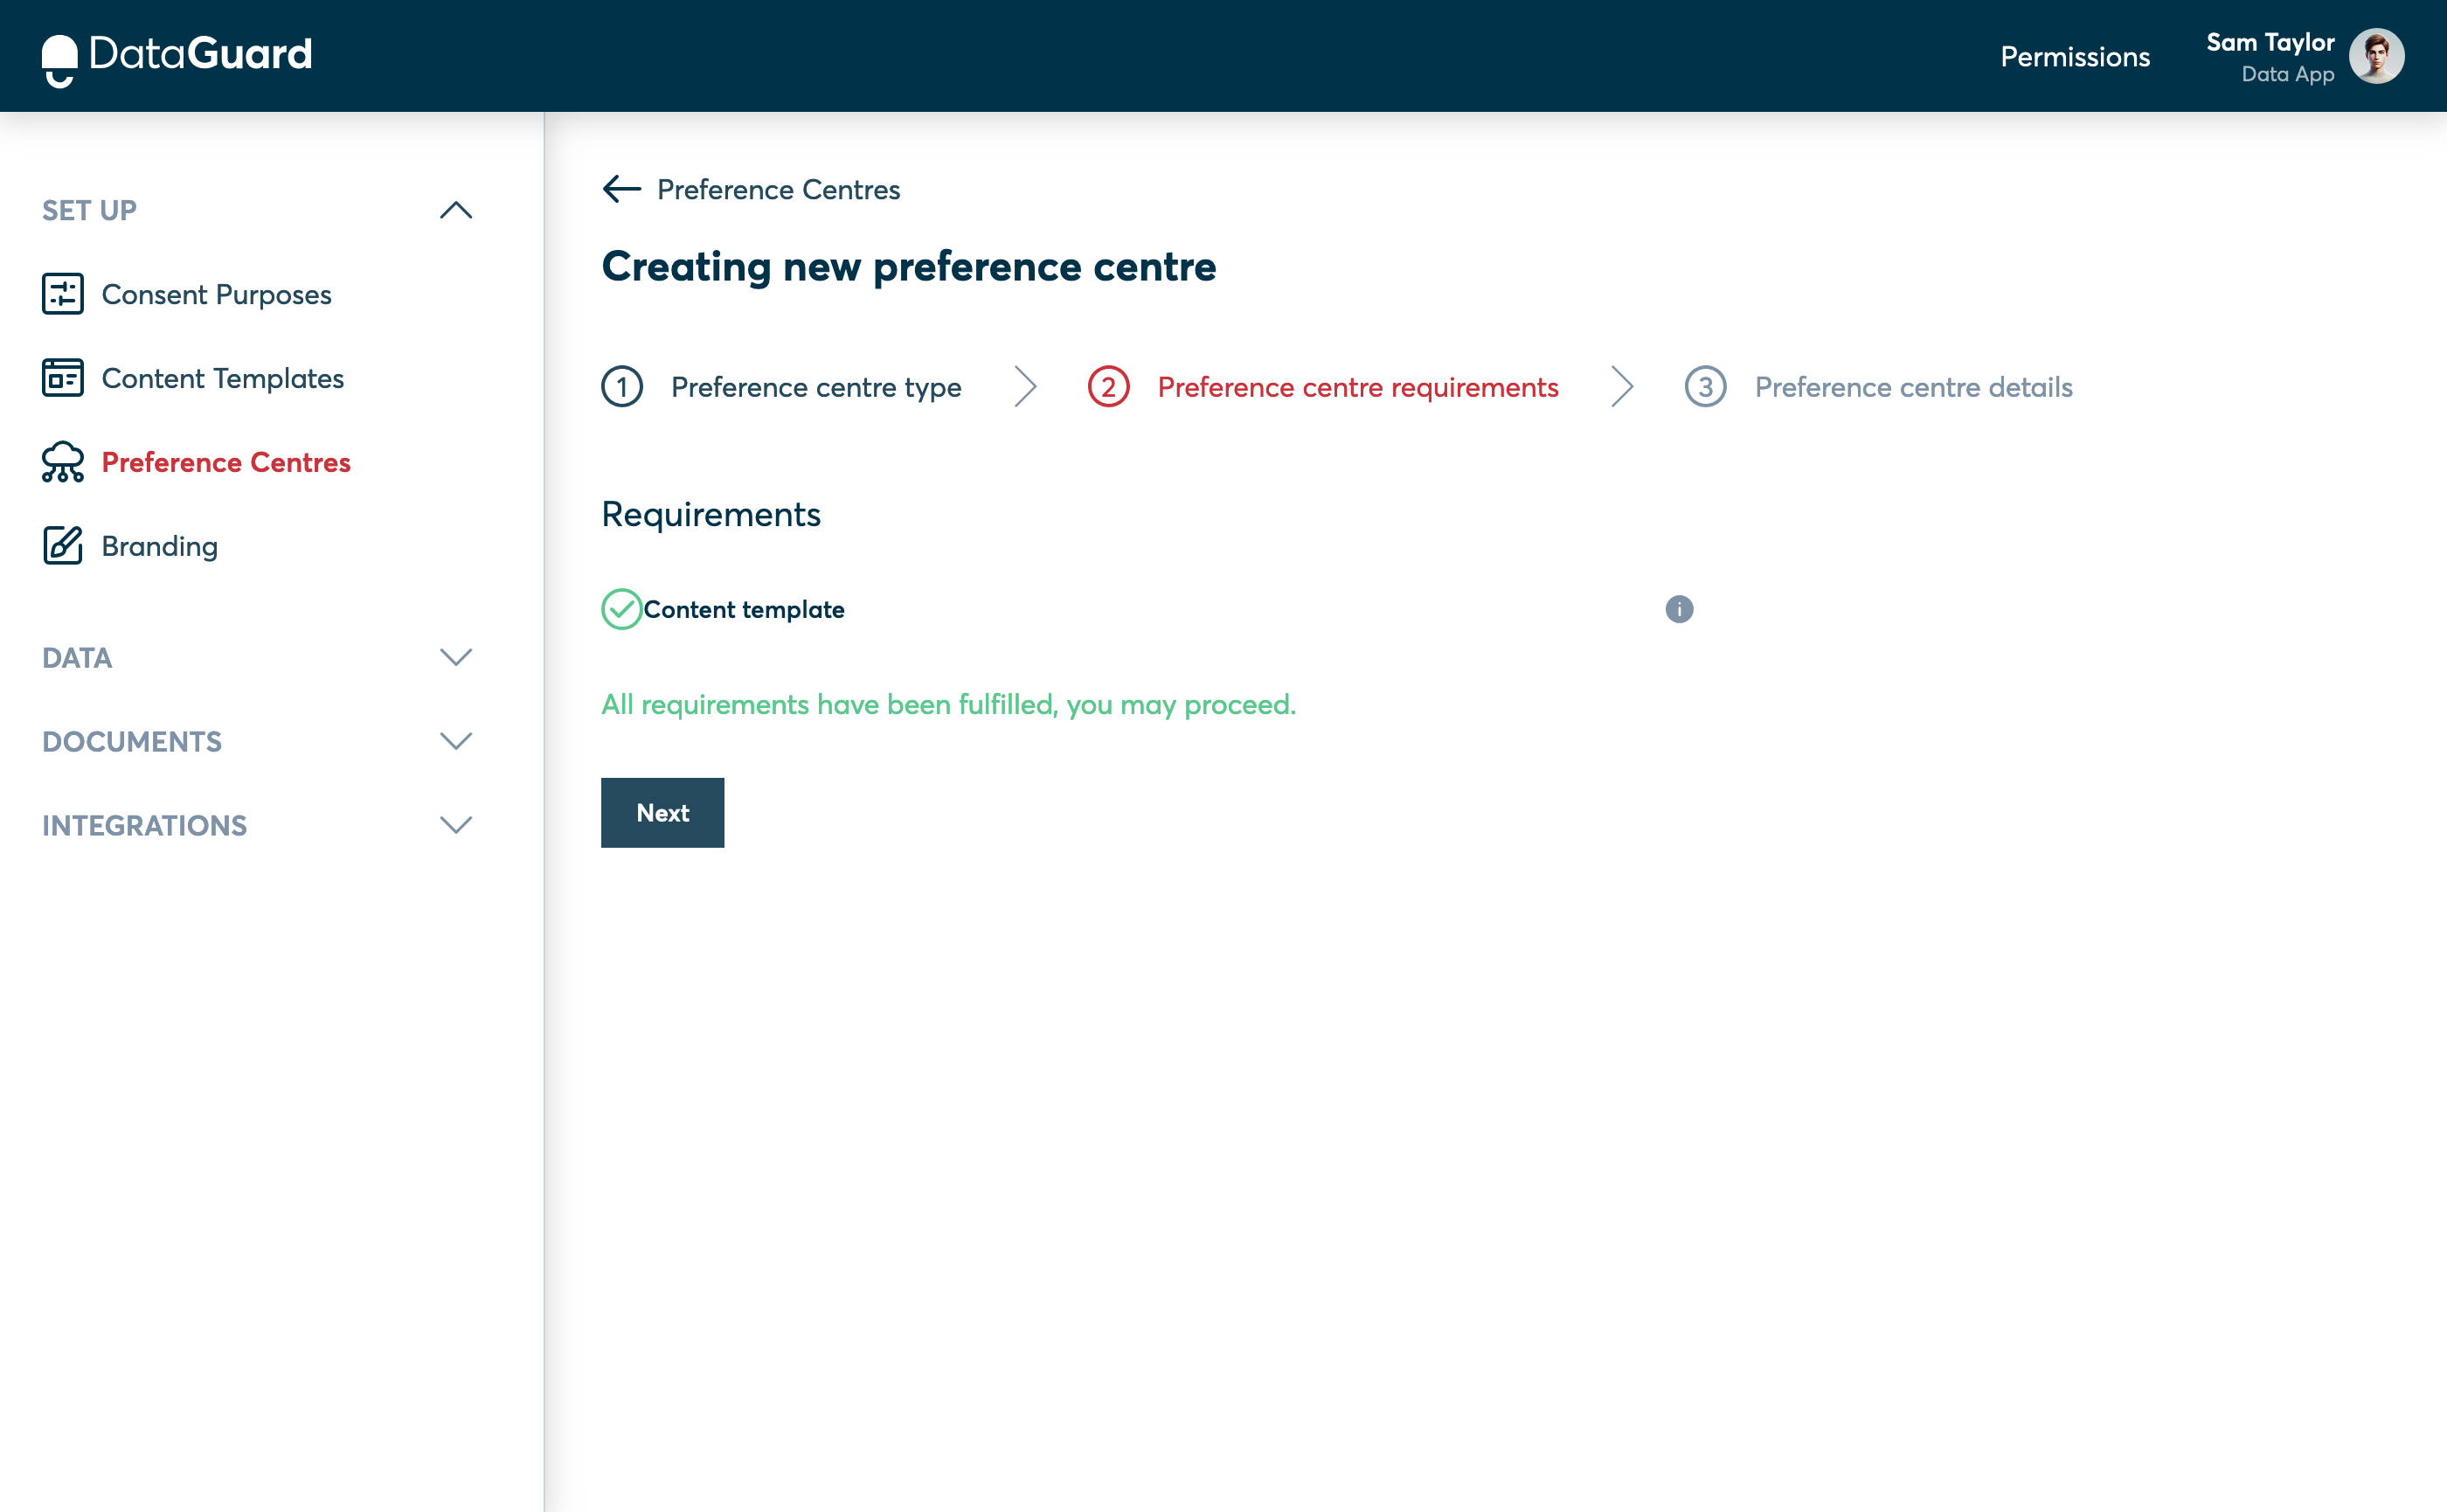
The Preference centre requirements step of the Preference Centre UI.
Step 4: Configure the Preference Centre
- Enter a Reference such as "sign-up". This reference will be part of the URL for your hosted preference centre.
- Select the consent form template you created earlier from the dropdown menu.
- Click "Create preference centre" to save your configuration.

The Preference centre details step of the Preference Centre UI.
Step 5: Access the Hosted Preference Centre
- Once the preference centre is created, you will be redirected to the list of preference centres.
- Under the "Actions" column, select "Copy URL" and paste the link into a new browser tab.
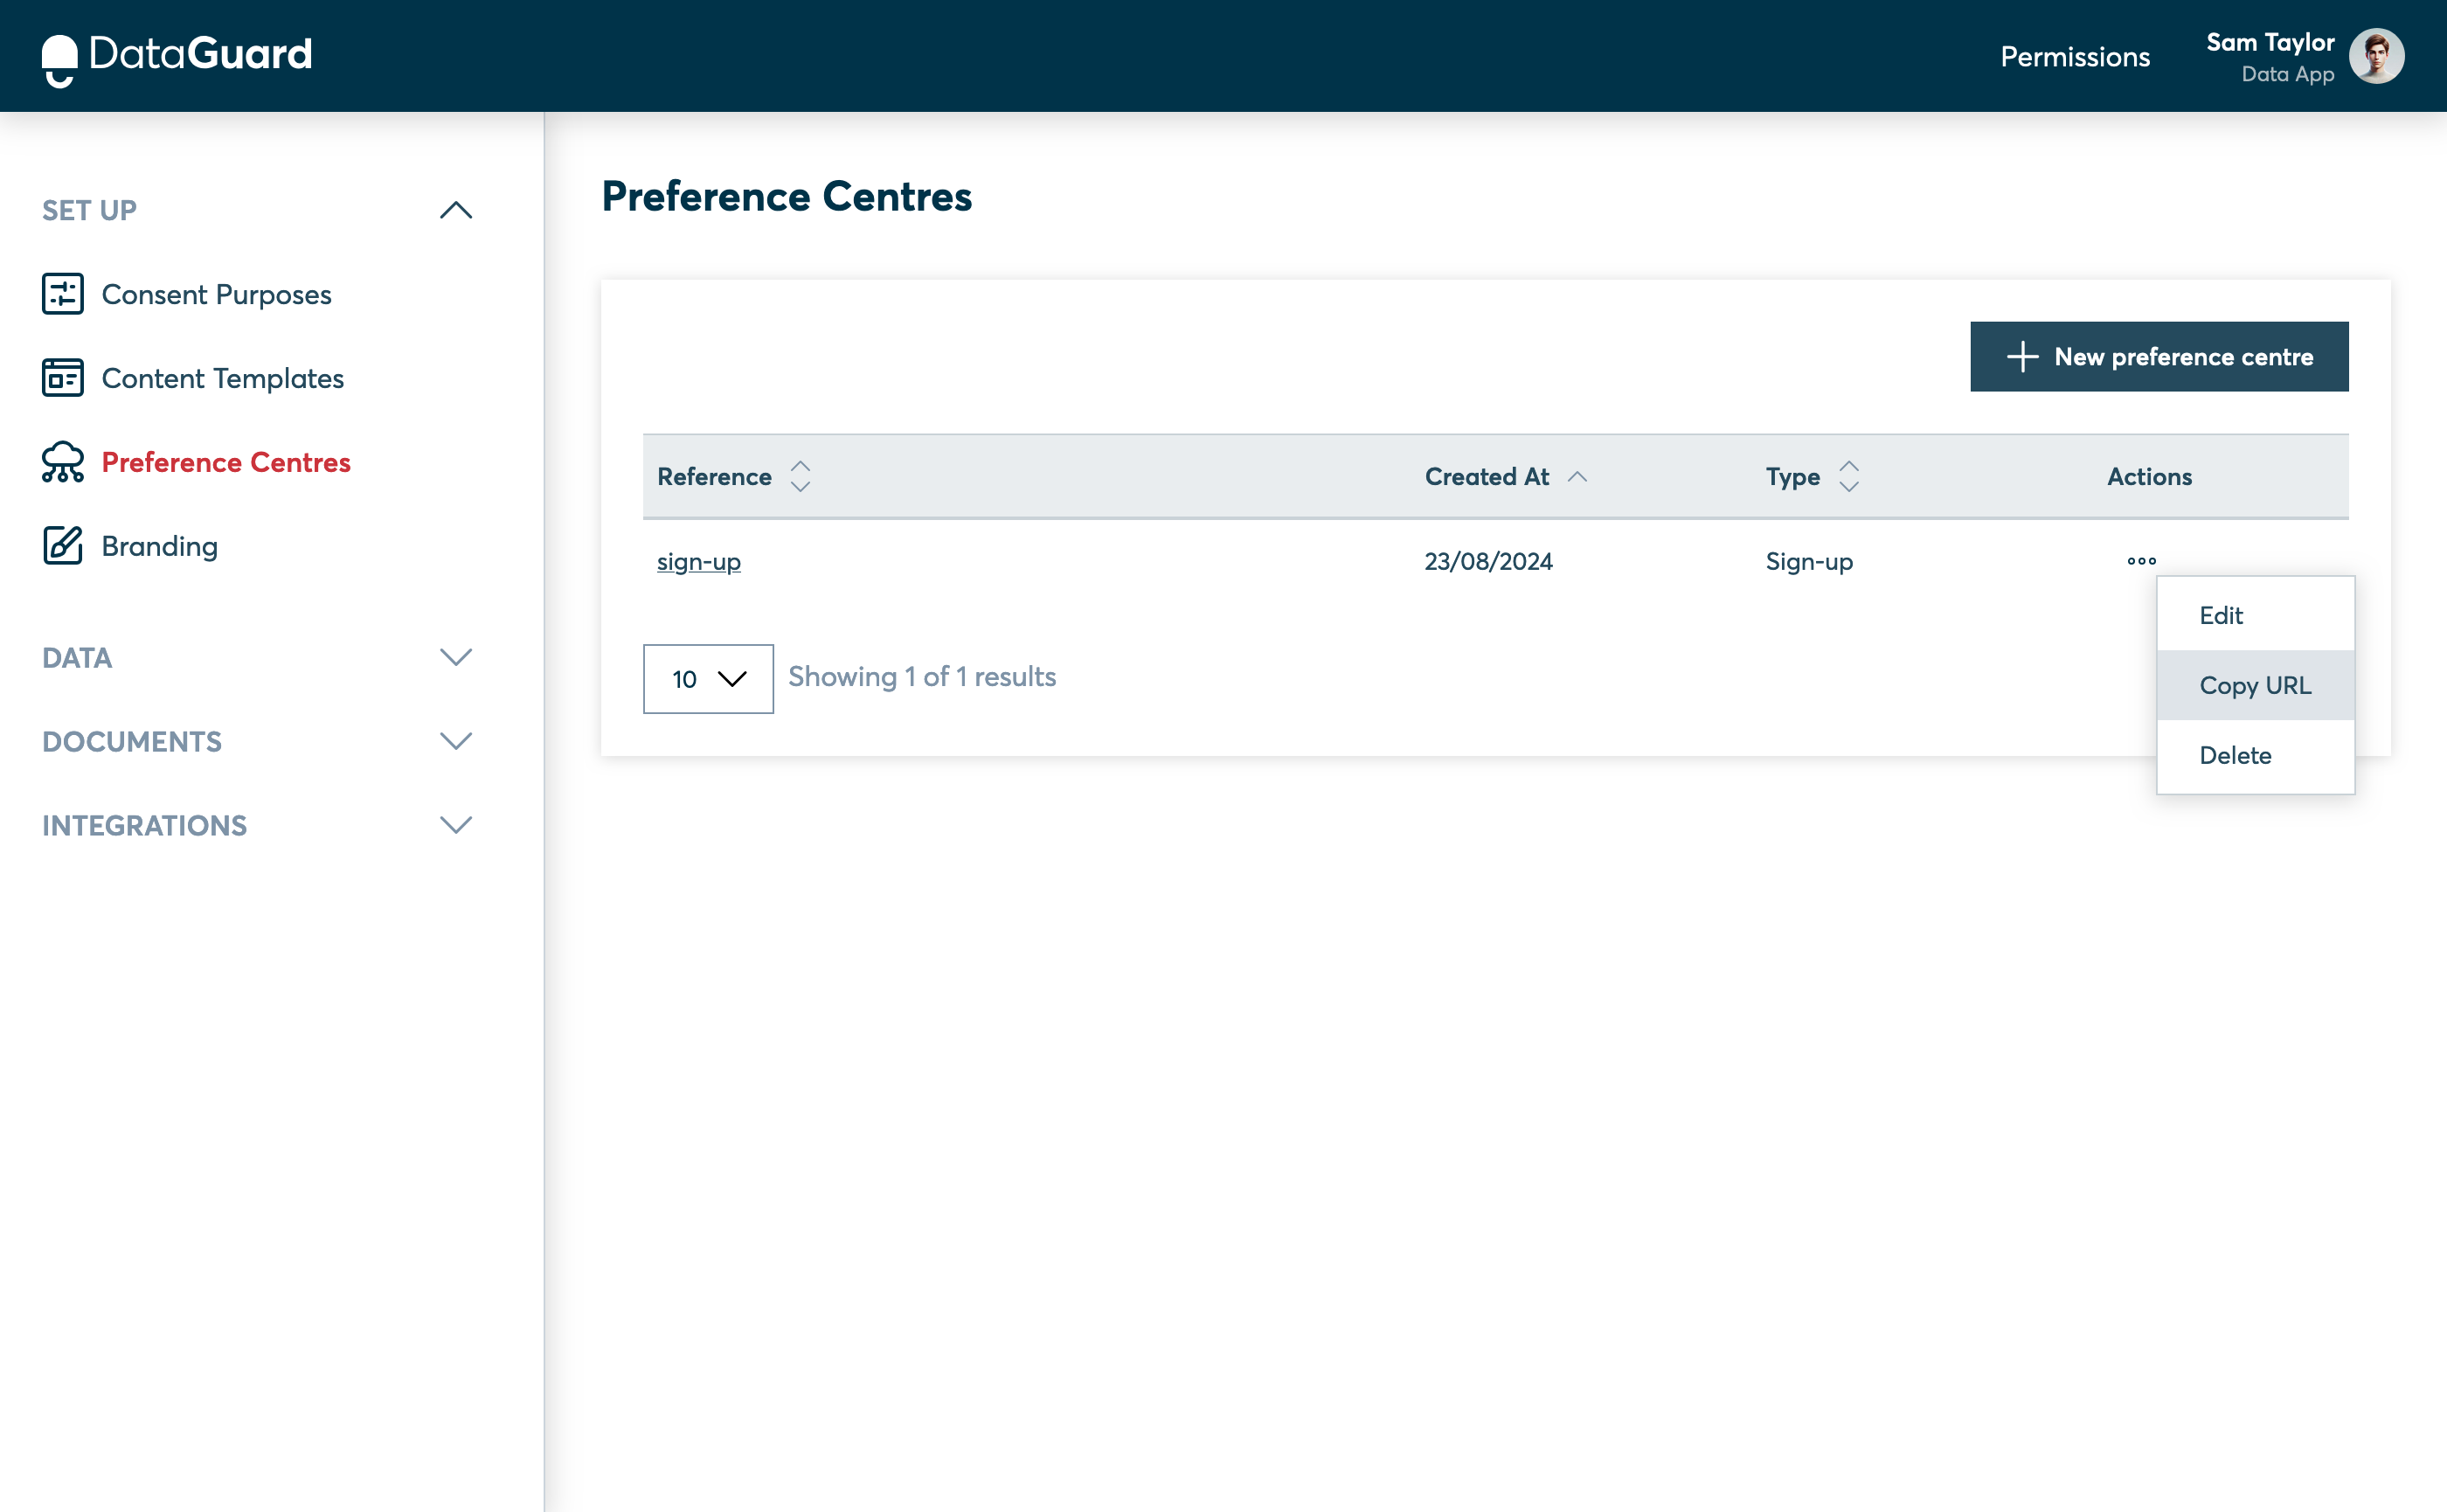
The new Preference Centre is shown in the table.
Step 6: Submit the Form
You will see the consent form hosted inside your new preference centre. Feel free to enter your own email and provide consent to test out the form.
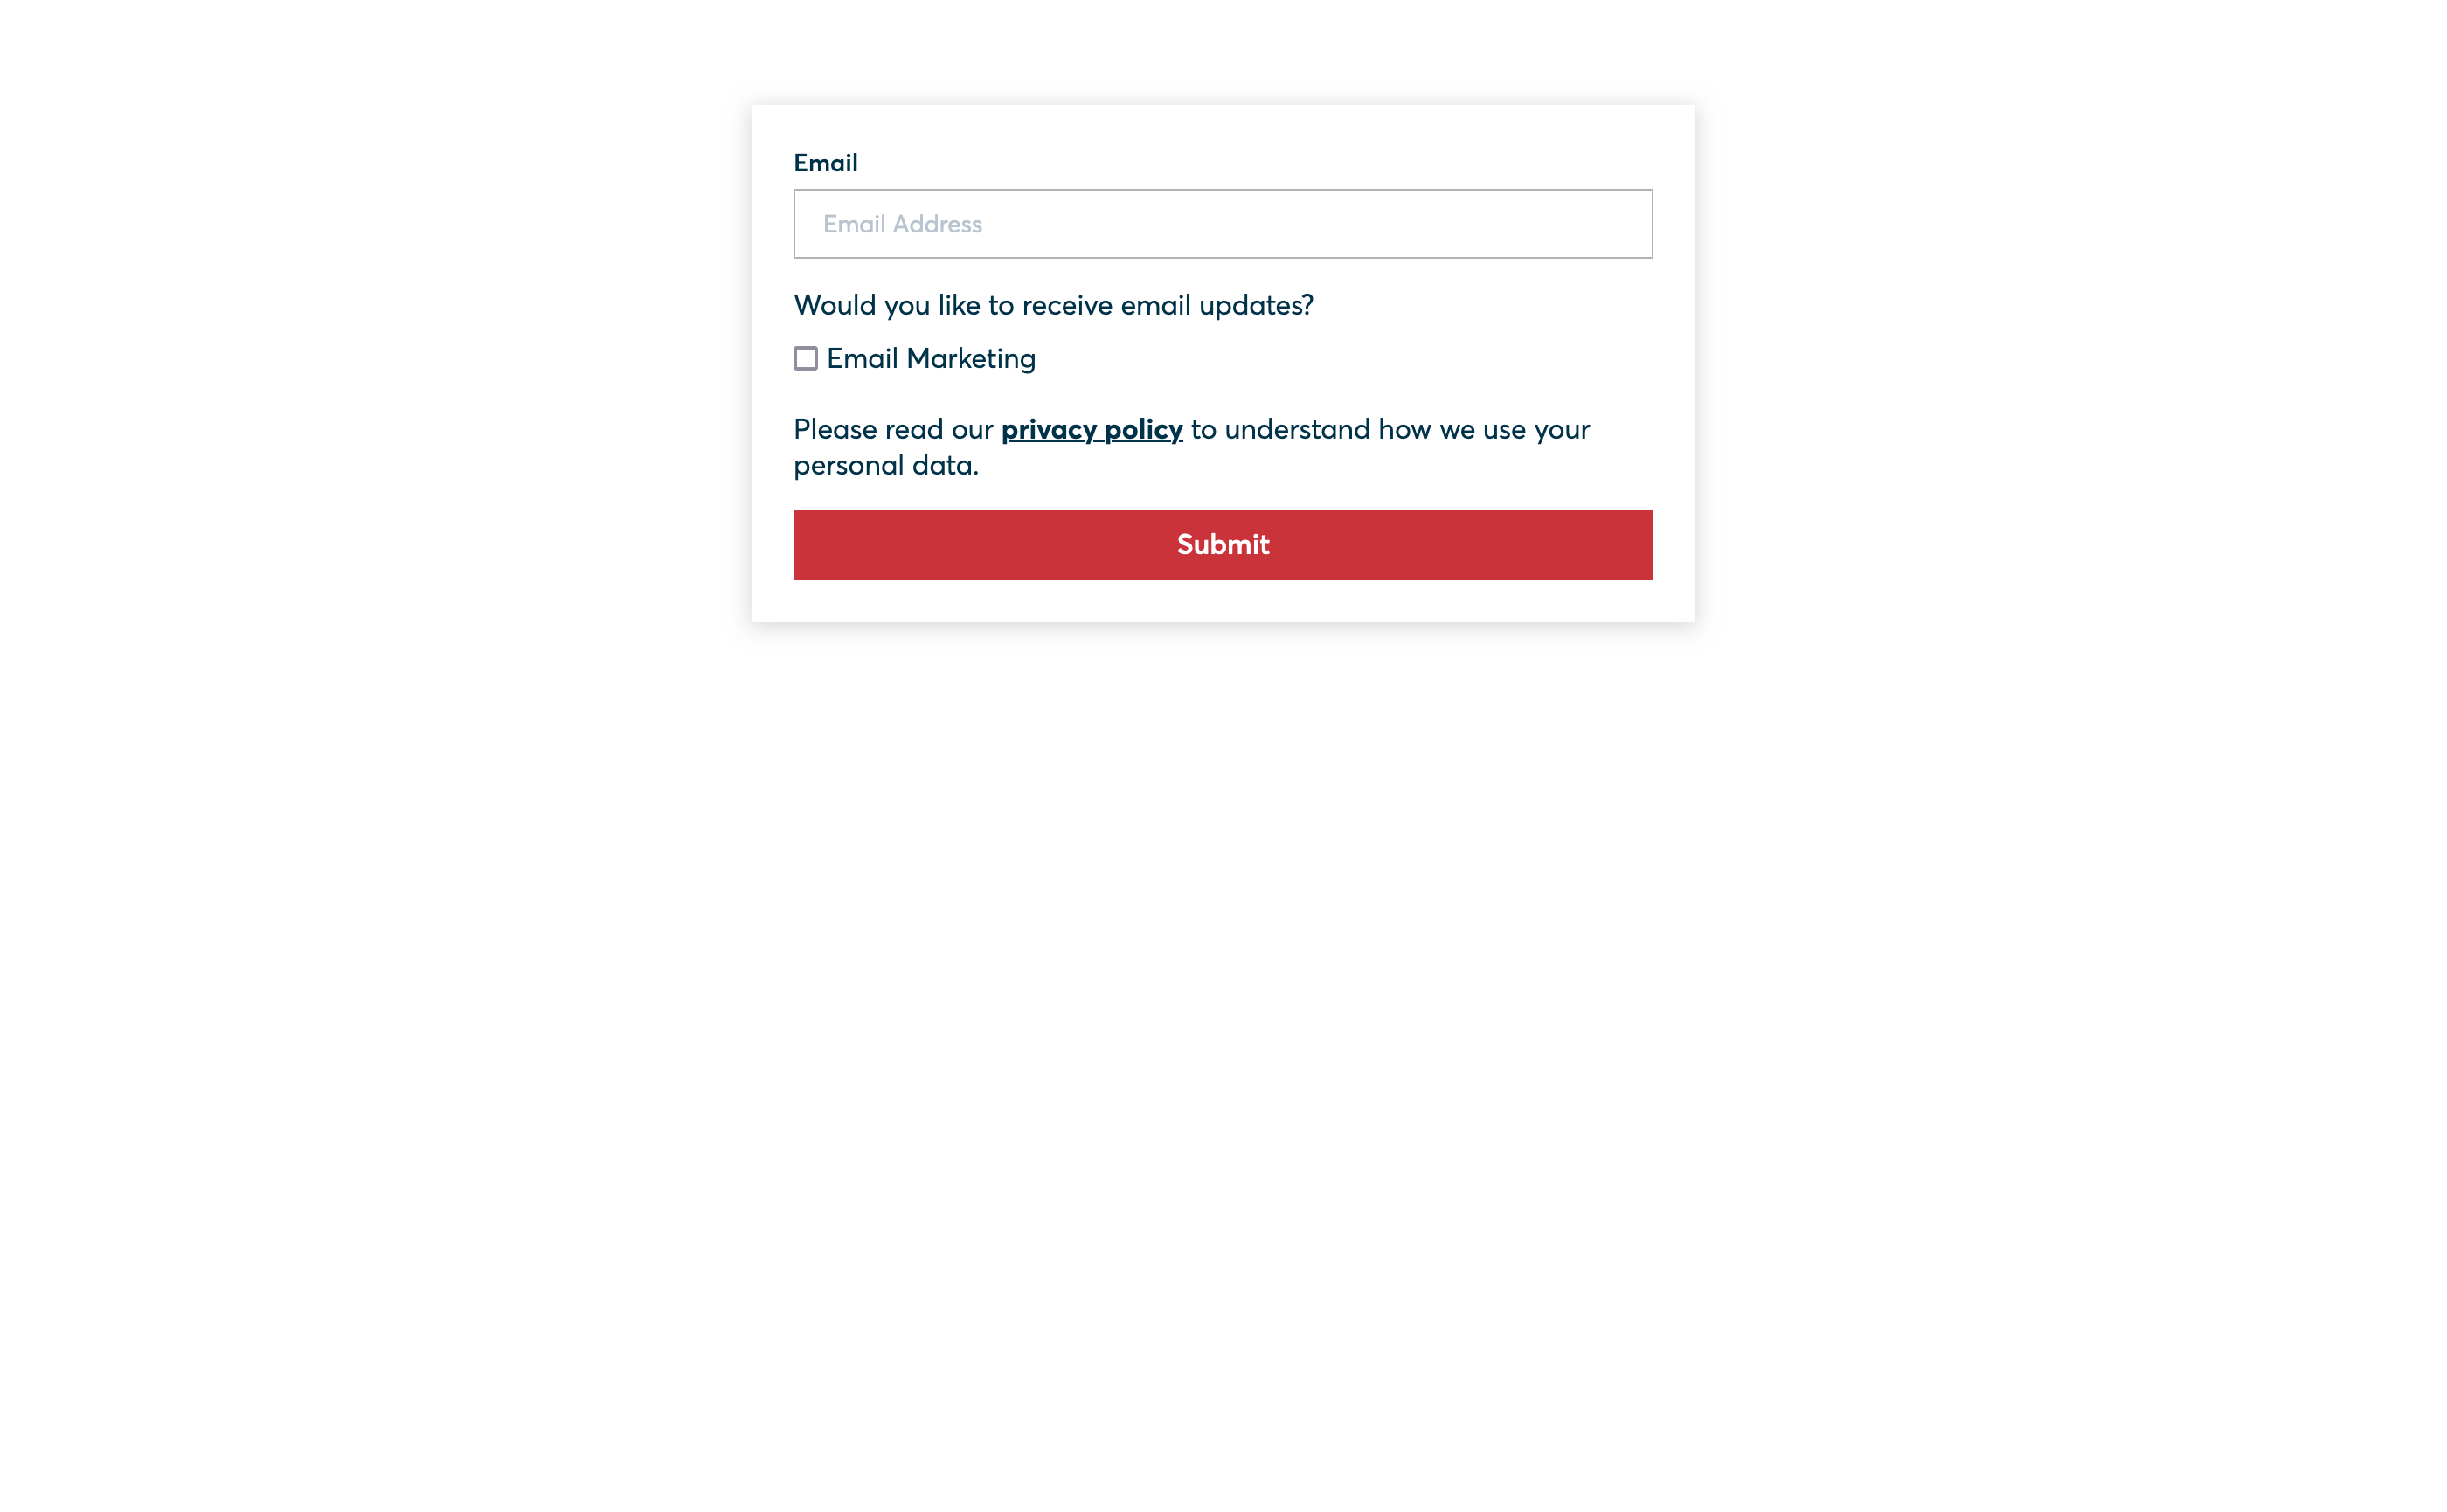
The live Preference Centre form.
Next Steps
Congratulations! You’ve successfully set up a "Sign Up" hosted preference centre that is ready to start collecting consents from new users.
Move on to the final step in the quick start guide: Set Up an Integration.
Updated over 1 year ago