3. Build a Consent Form
In this guide, you will learn how to create a basic sign-up consent form using the DataGuard CPM platform. Consent forms are versatile tools that can be used for various purposes, from collecting initial consent during sign-up to managing existing consents on a "My Account" page or even an unsubscribe page. In this example, we will focus on creating a simple sign-up form using the components we set up in the previous guides.
Step 1: Navigate to the Content Templates Page
Start by navigating to the Content Templates section, which you can find under the Set Up category in the DataGuard CPM UI. Then click on the "New Content Template" button to begin creating your form.
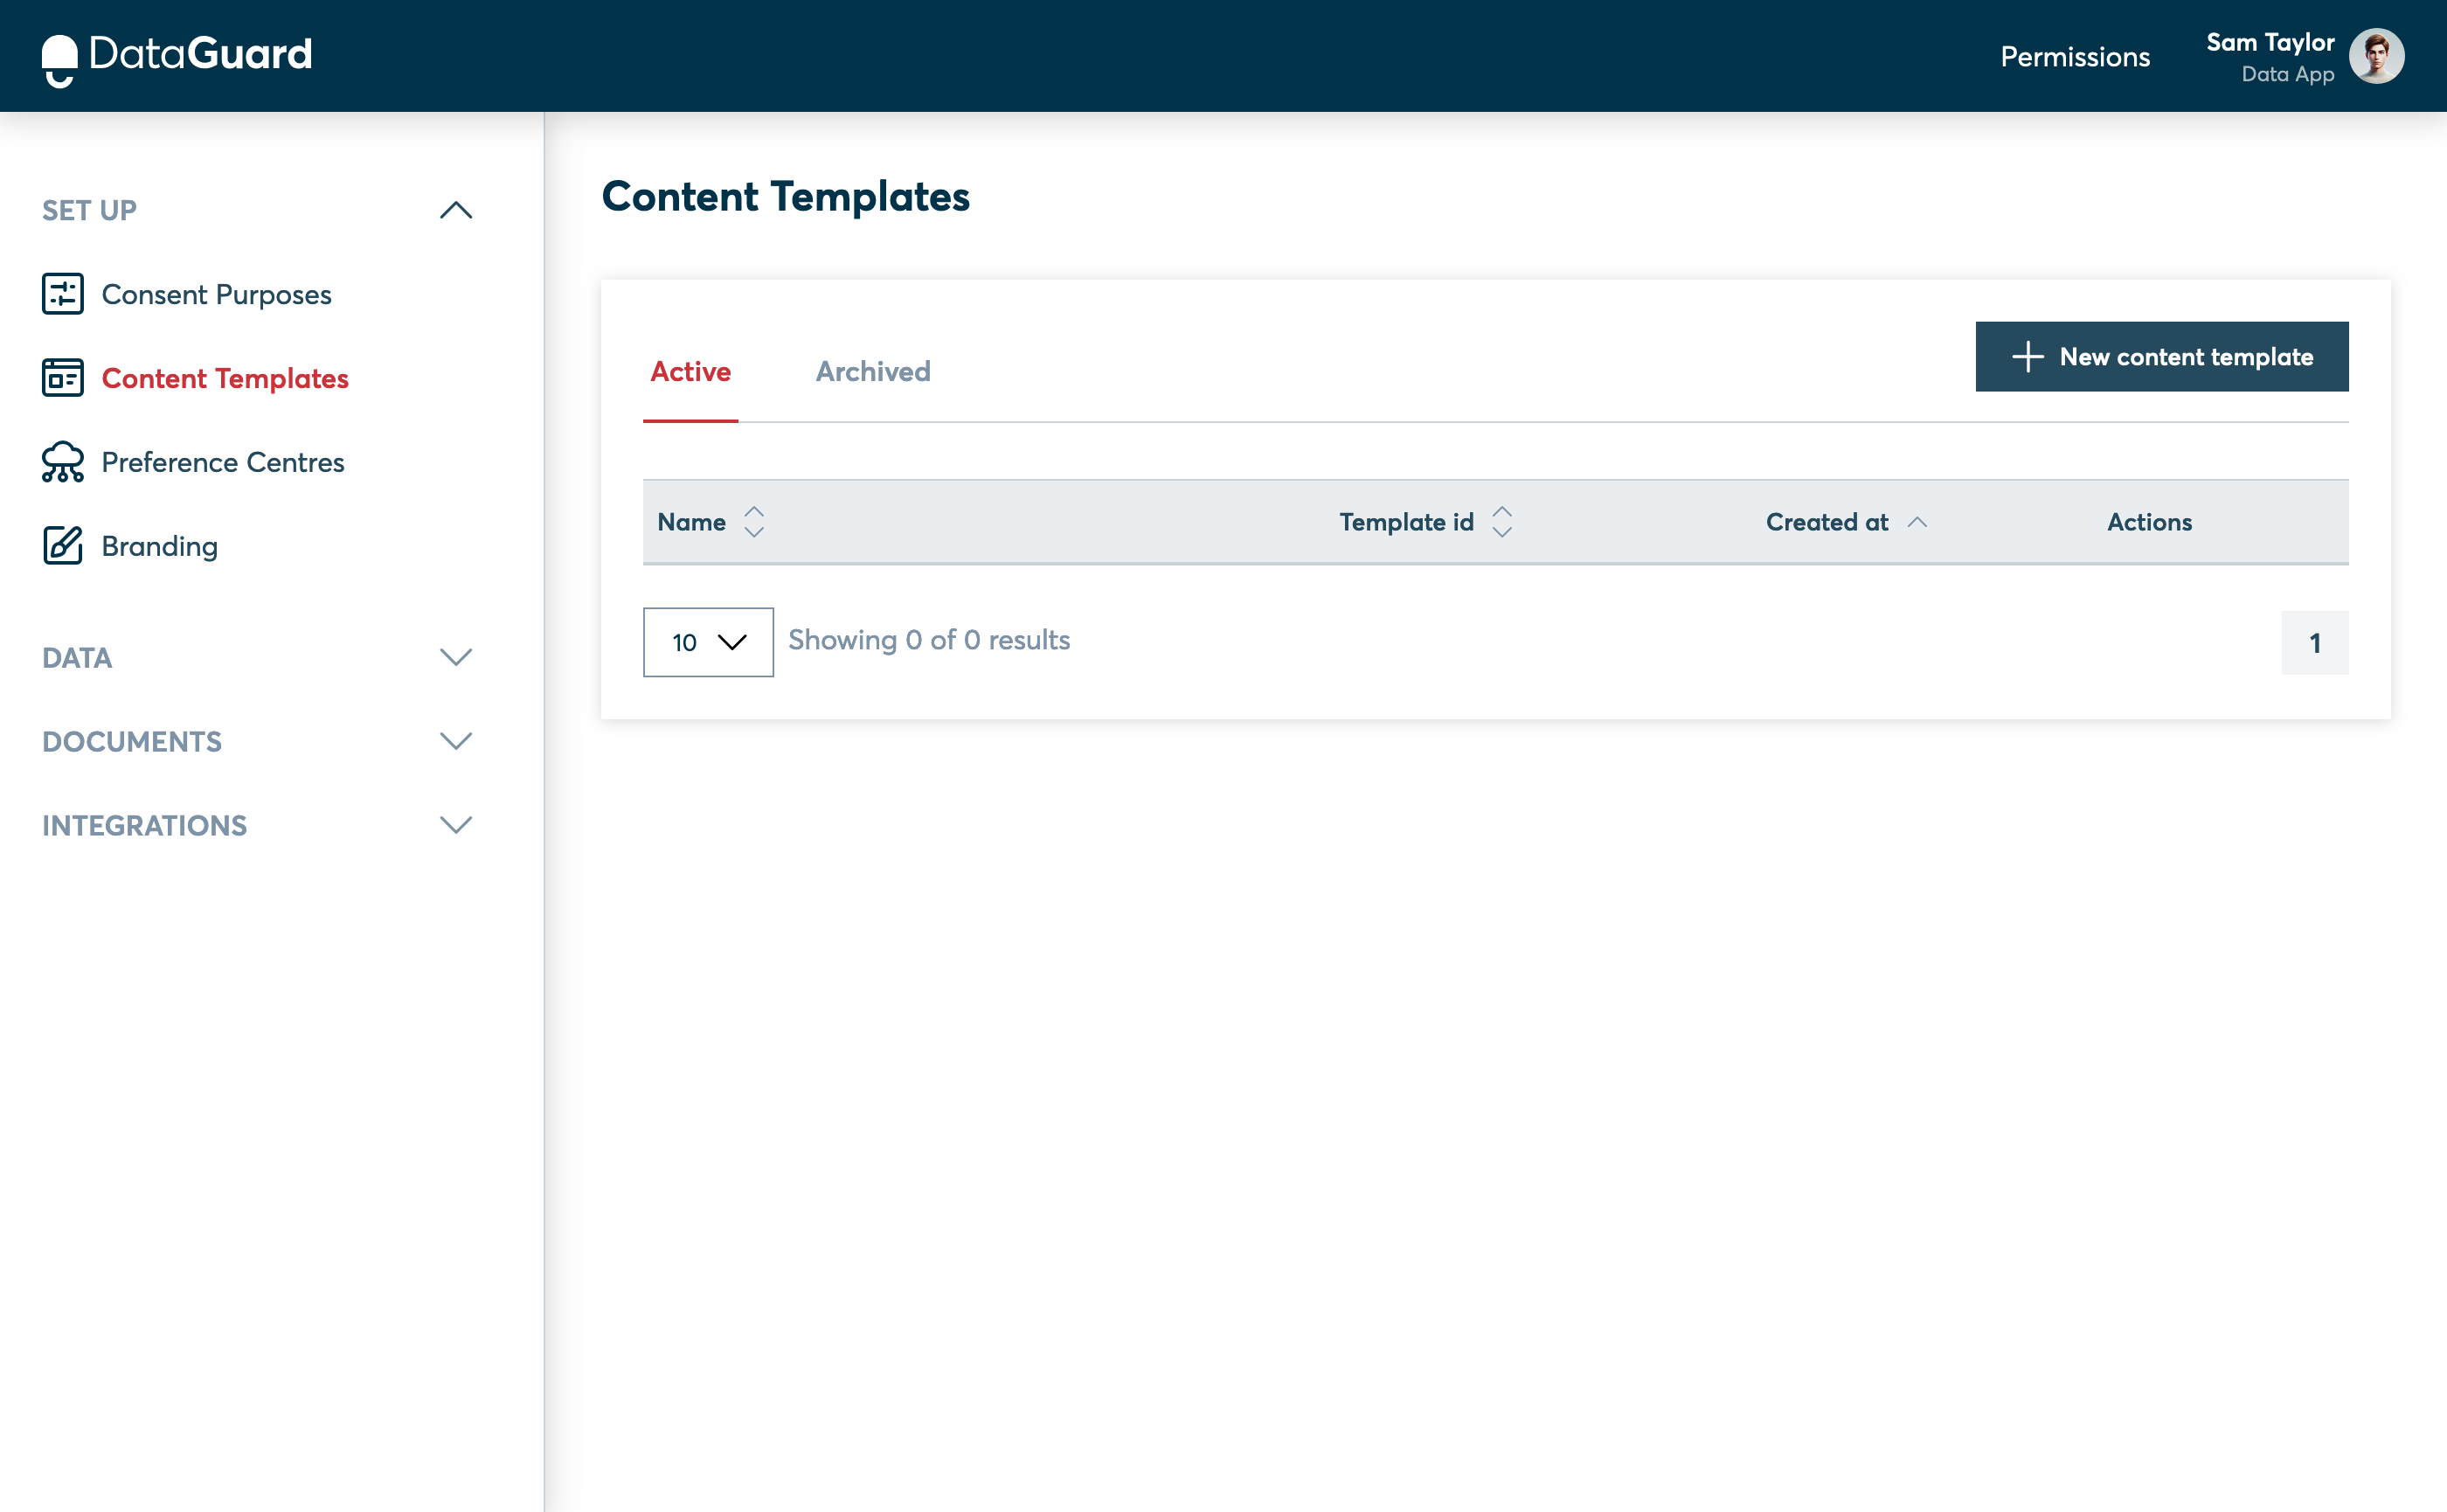
The Content Templates page in the CPM UI.
Step 2: Give the Template a Name
Enter a name for your template, such as "Sign Up", and click "Next Step".
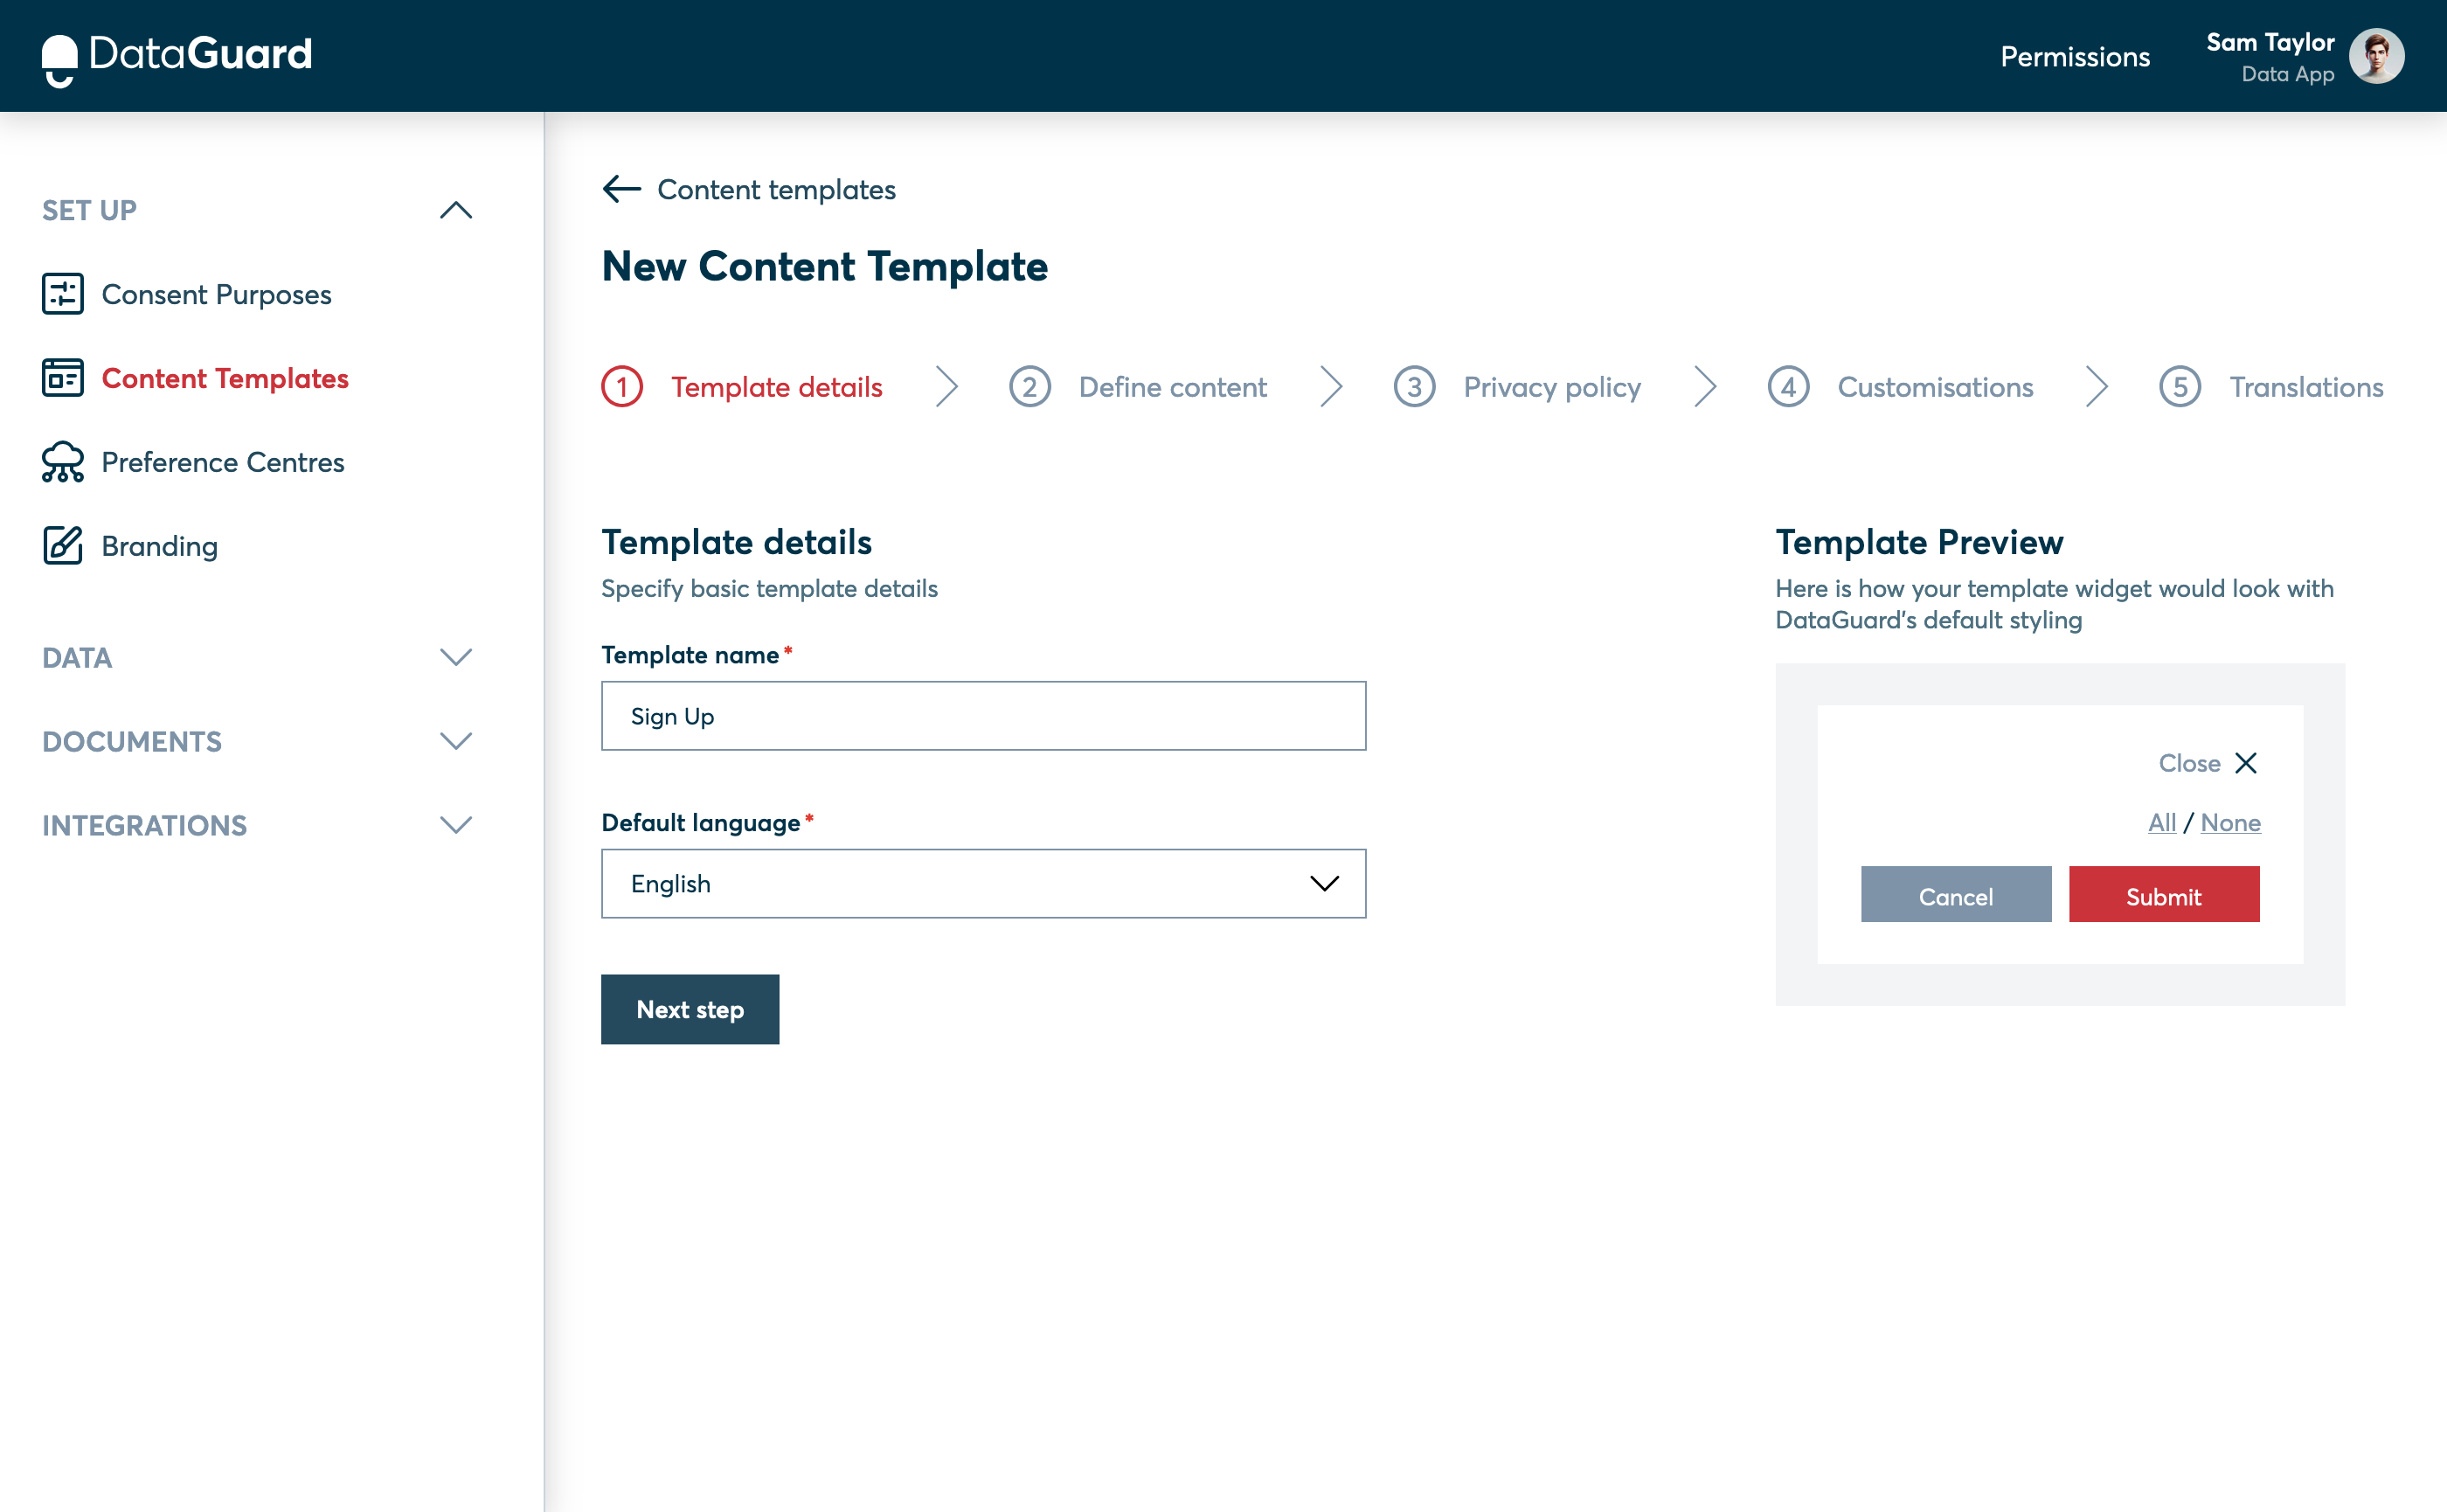
Template details page in the Templates UI.
Step 3: Add a Permissions (Consent) Block
Next, we will add a Permissions (Consent) block to your form. This block allows you to present a Consent Purpose to the user, along with some explanatory text.
Click on the "Permissions" option to add a Consent block.
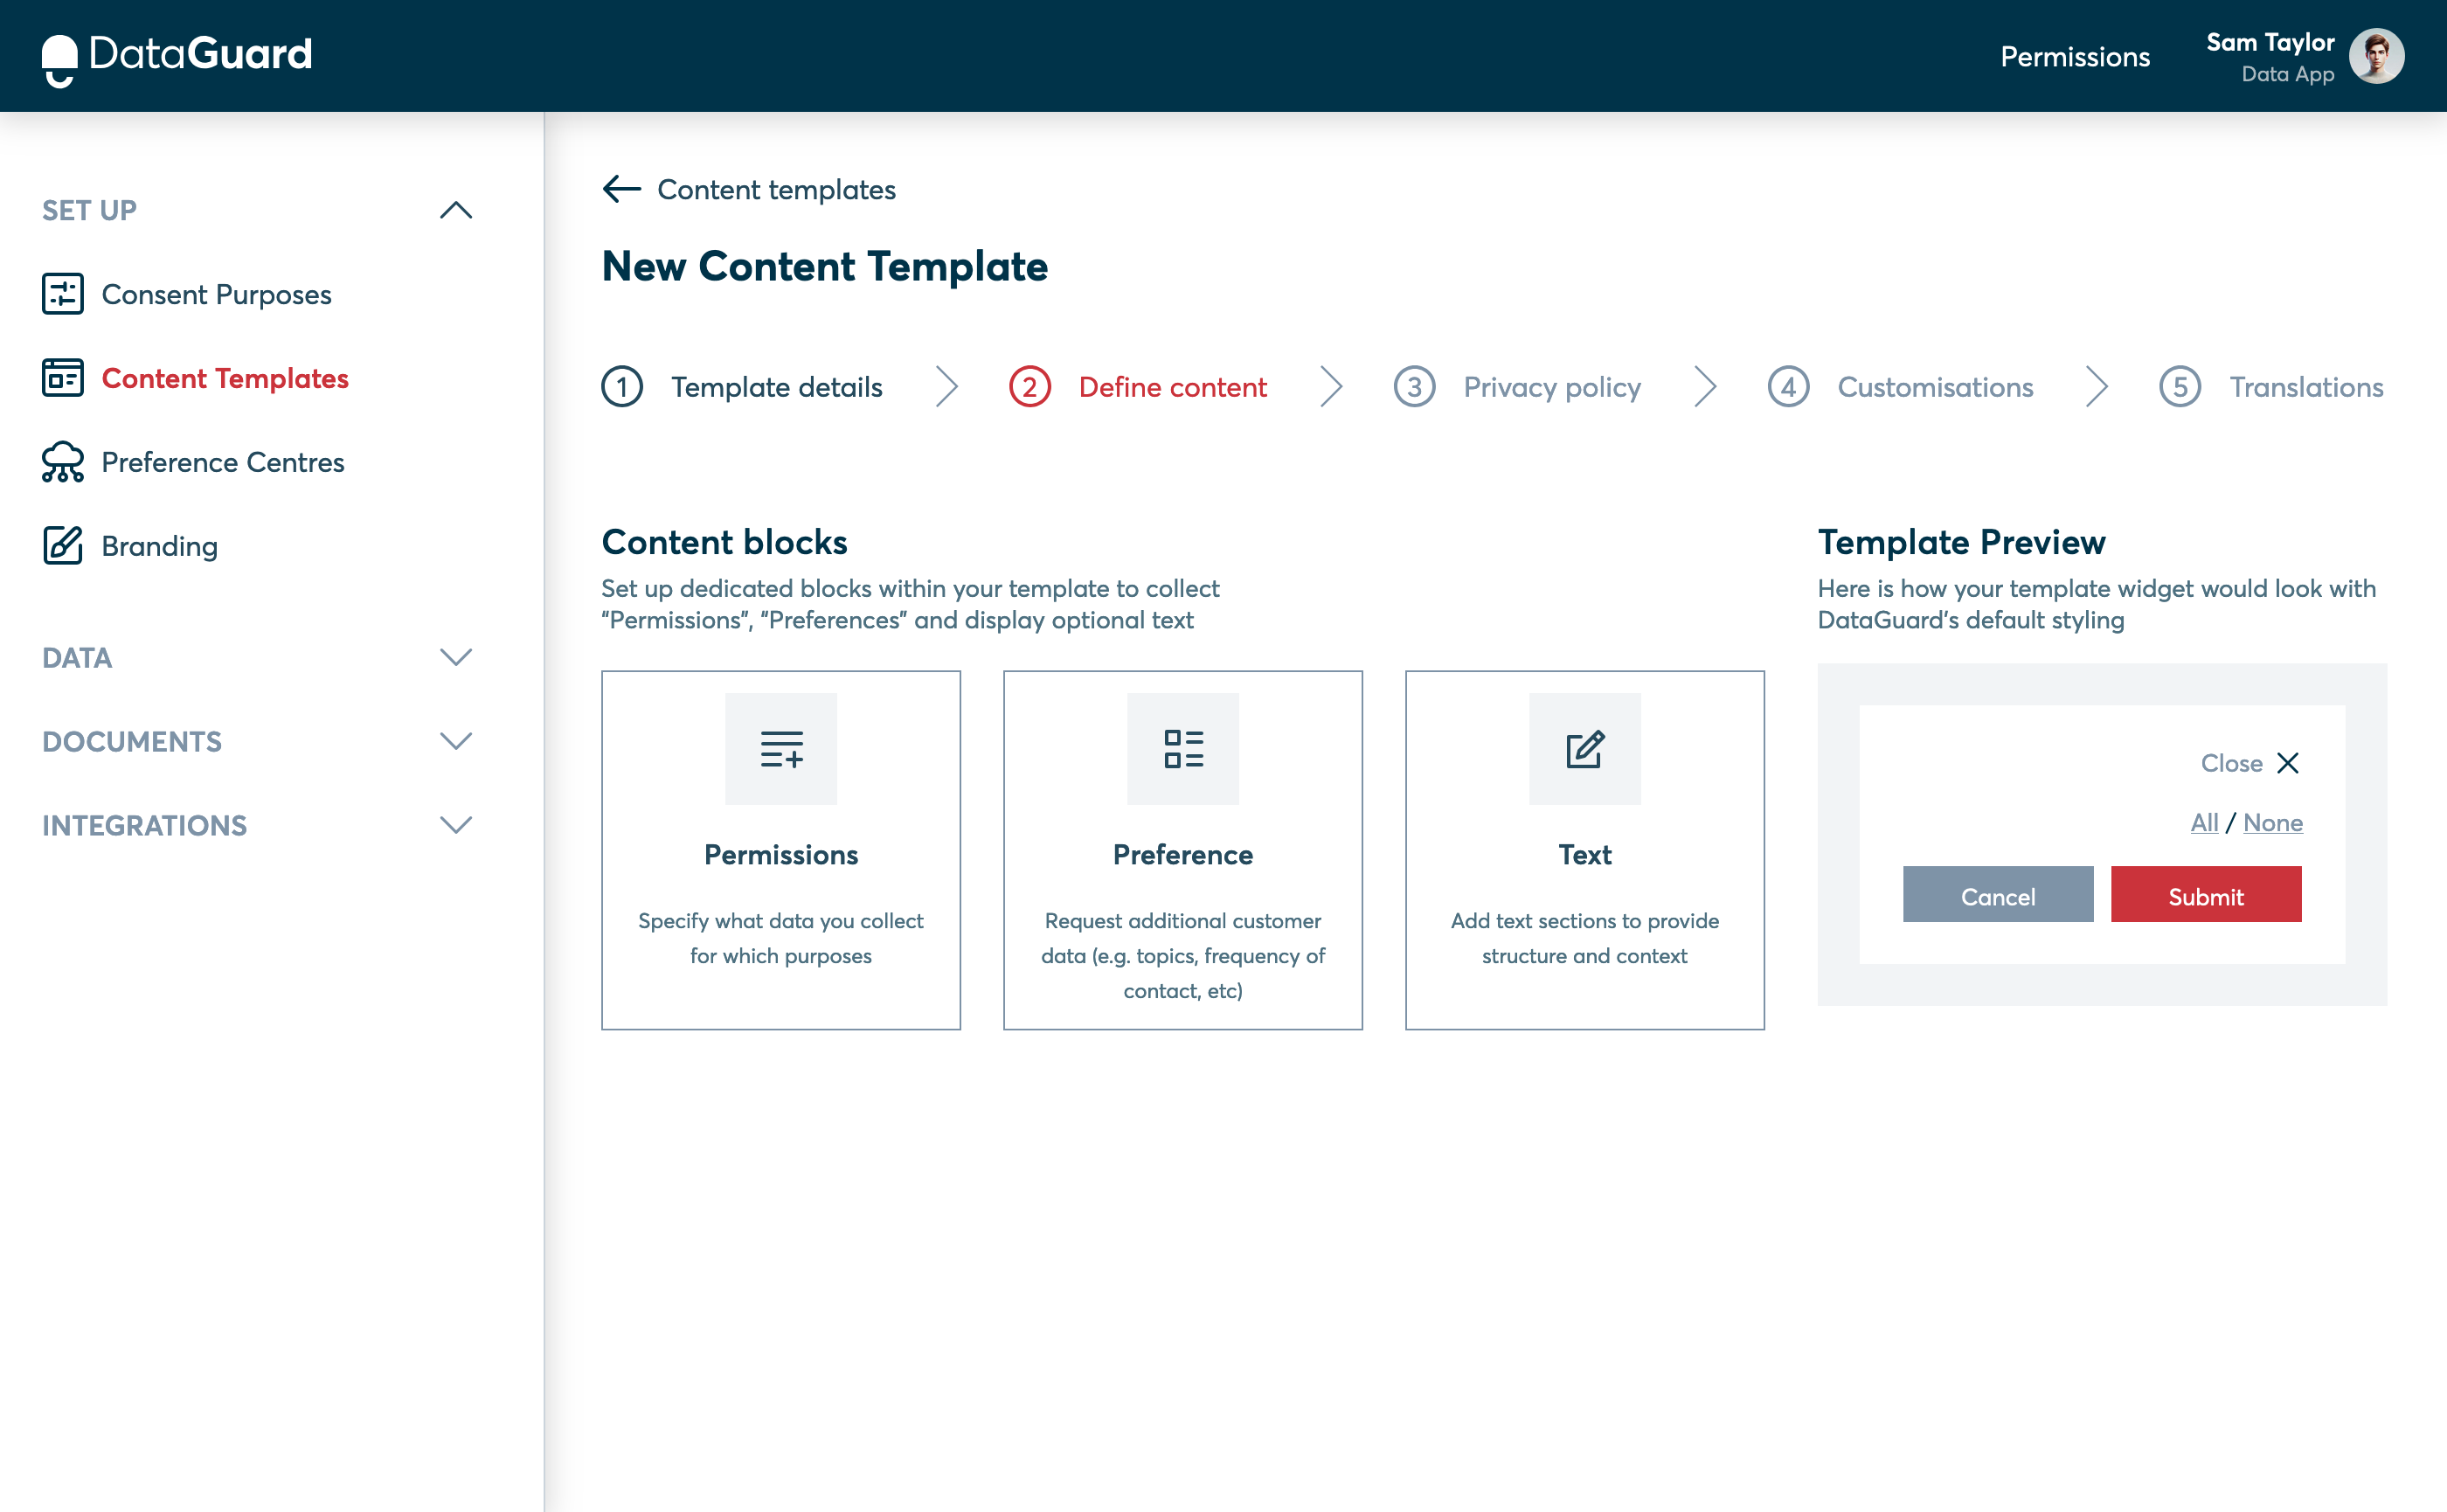
Define content page in the Templates UI.
To create the explanatory text:
- In the "Statement" dropdown, select "New Statement".
- In the "Statement Reference" field, enter "sign-up-text".
- In the "Statement Text" field, provide an explanation of how the user’s data will be used. For example: "Would you like to receive email updates?".
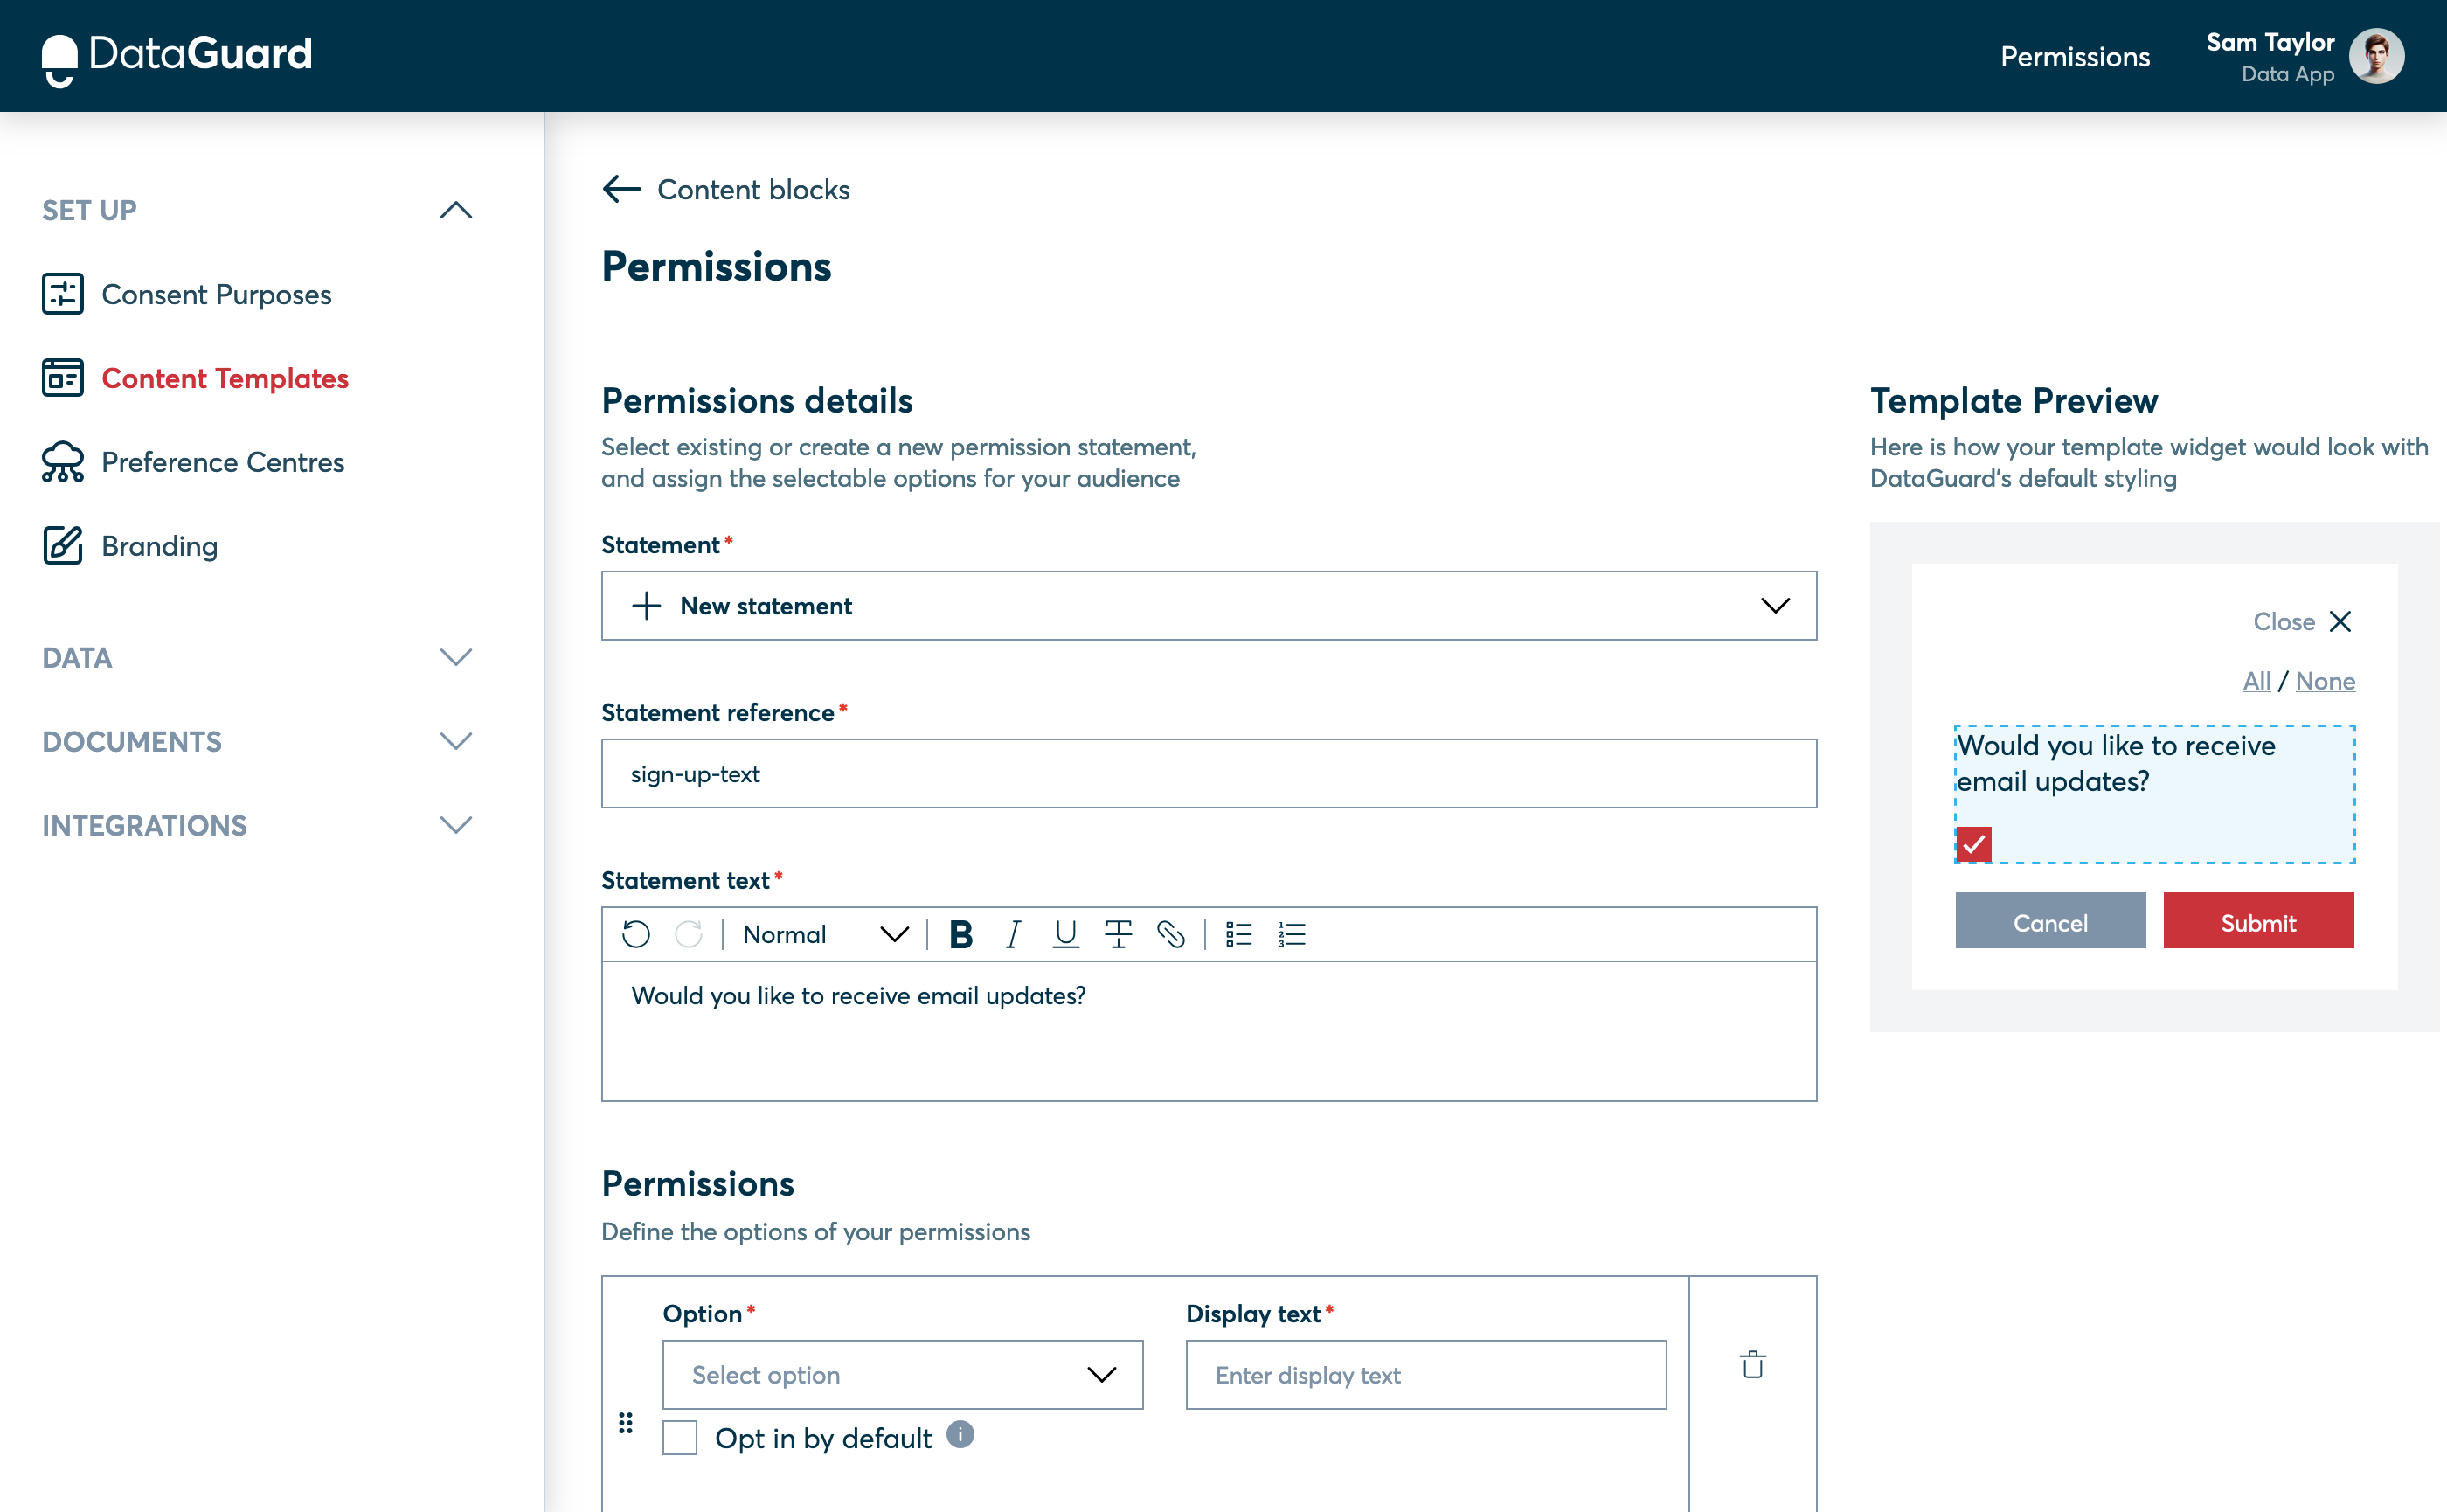
The Permissions block creation page with Statement added.
To add the Consent Purpose:
- From the "Option" dropdown, select the Email Marketing Purpose that you created in the first guide
- In the "Display Text" box, give the checkbox a label, such as "Email updates".
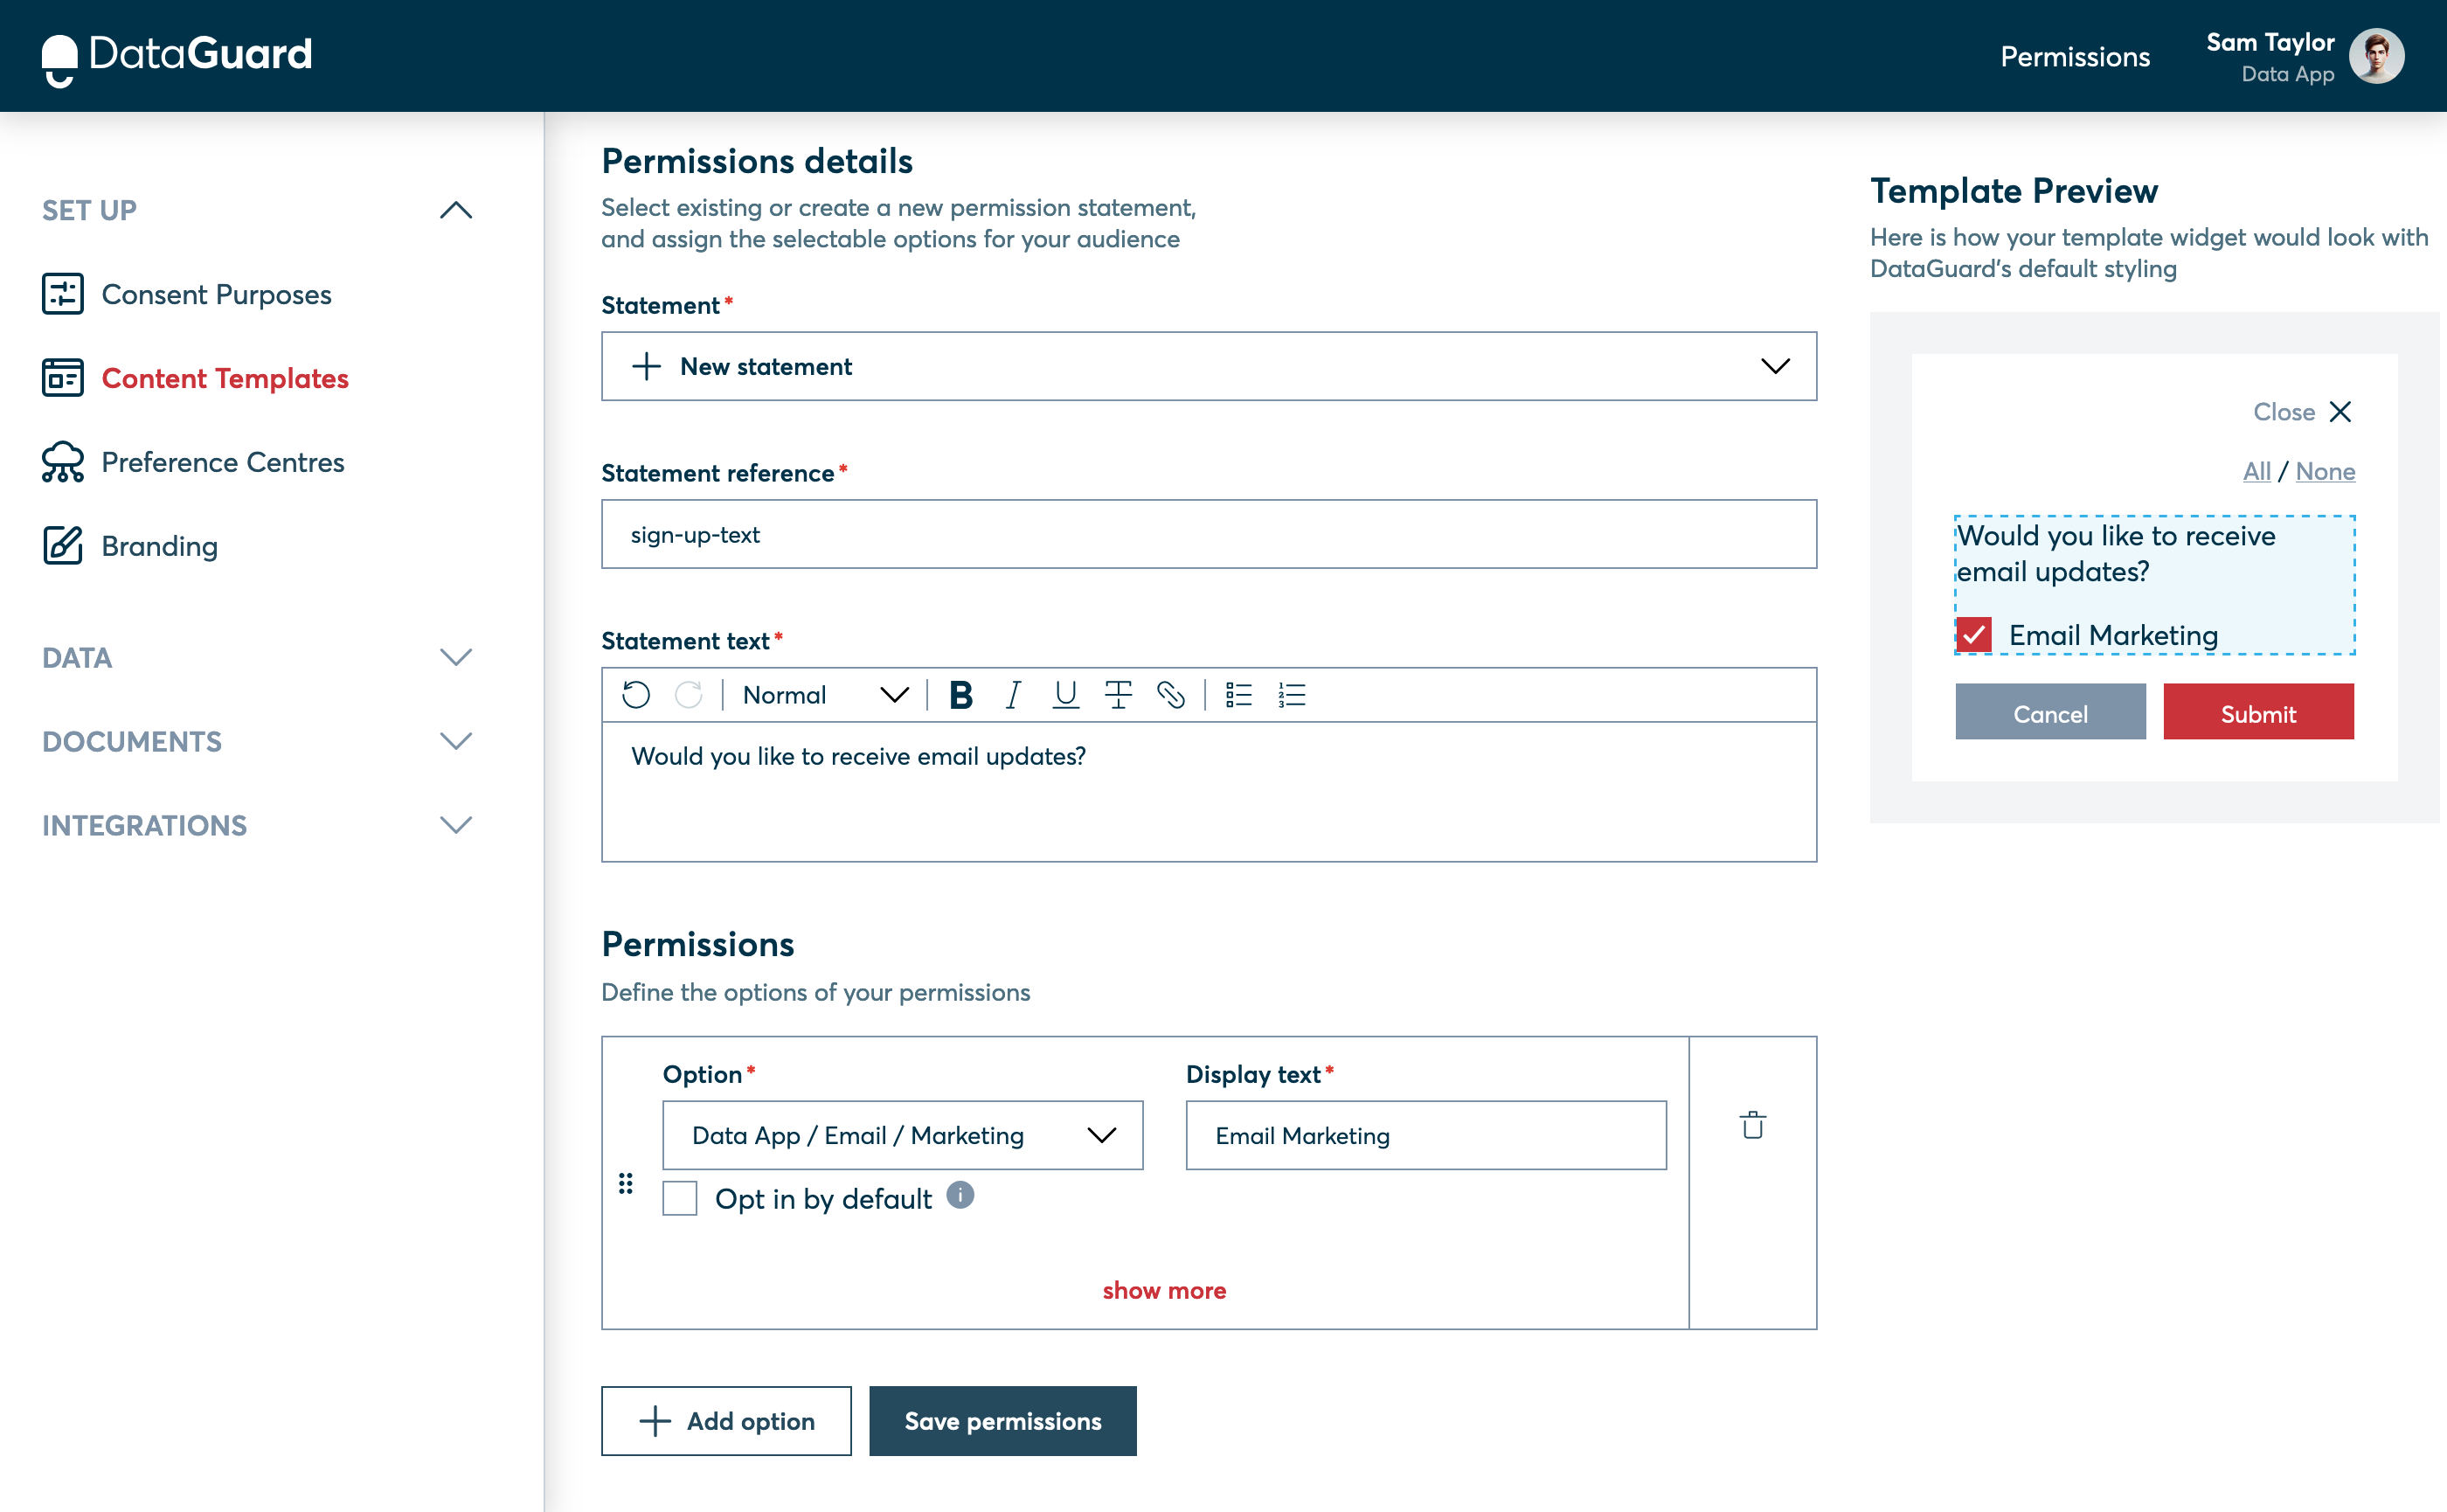
The Permissions block creation page with Purpose added.
Finally, click "Save Permissions" to save this block. The Permissions block will now appear in the list. Click "Next Step" to continue.
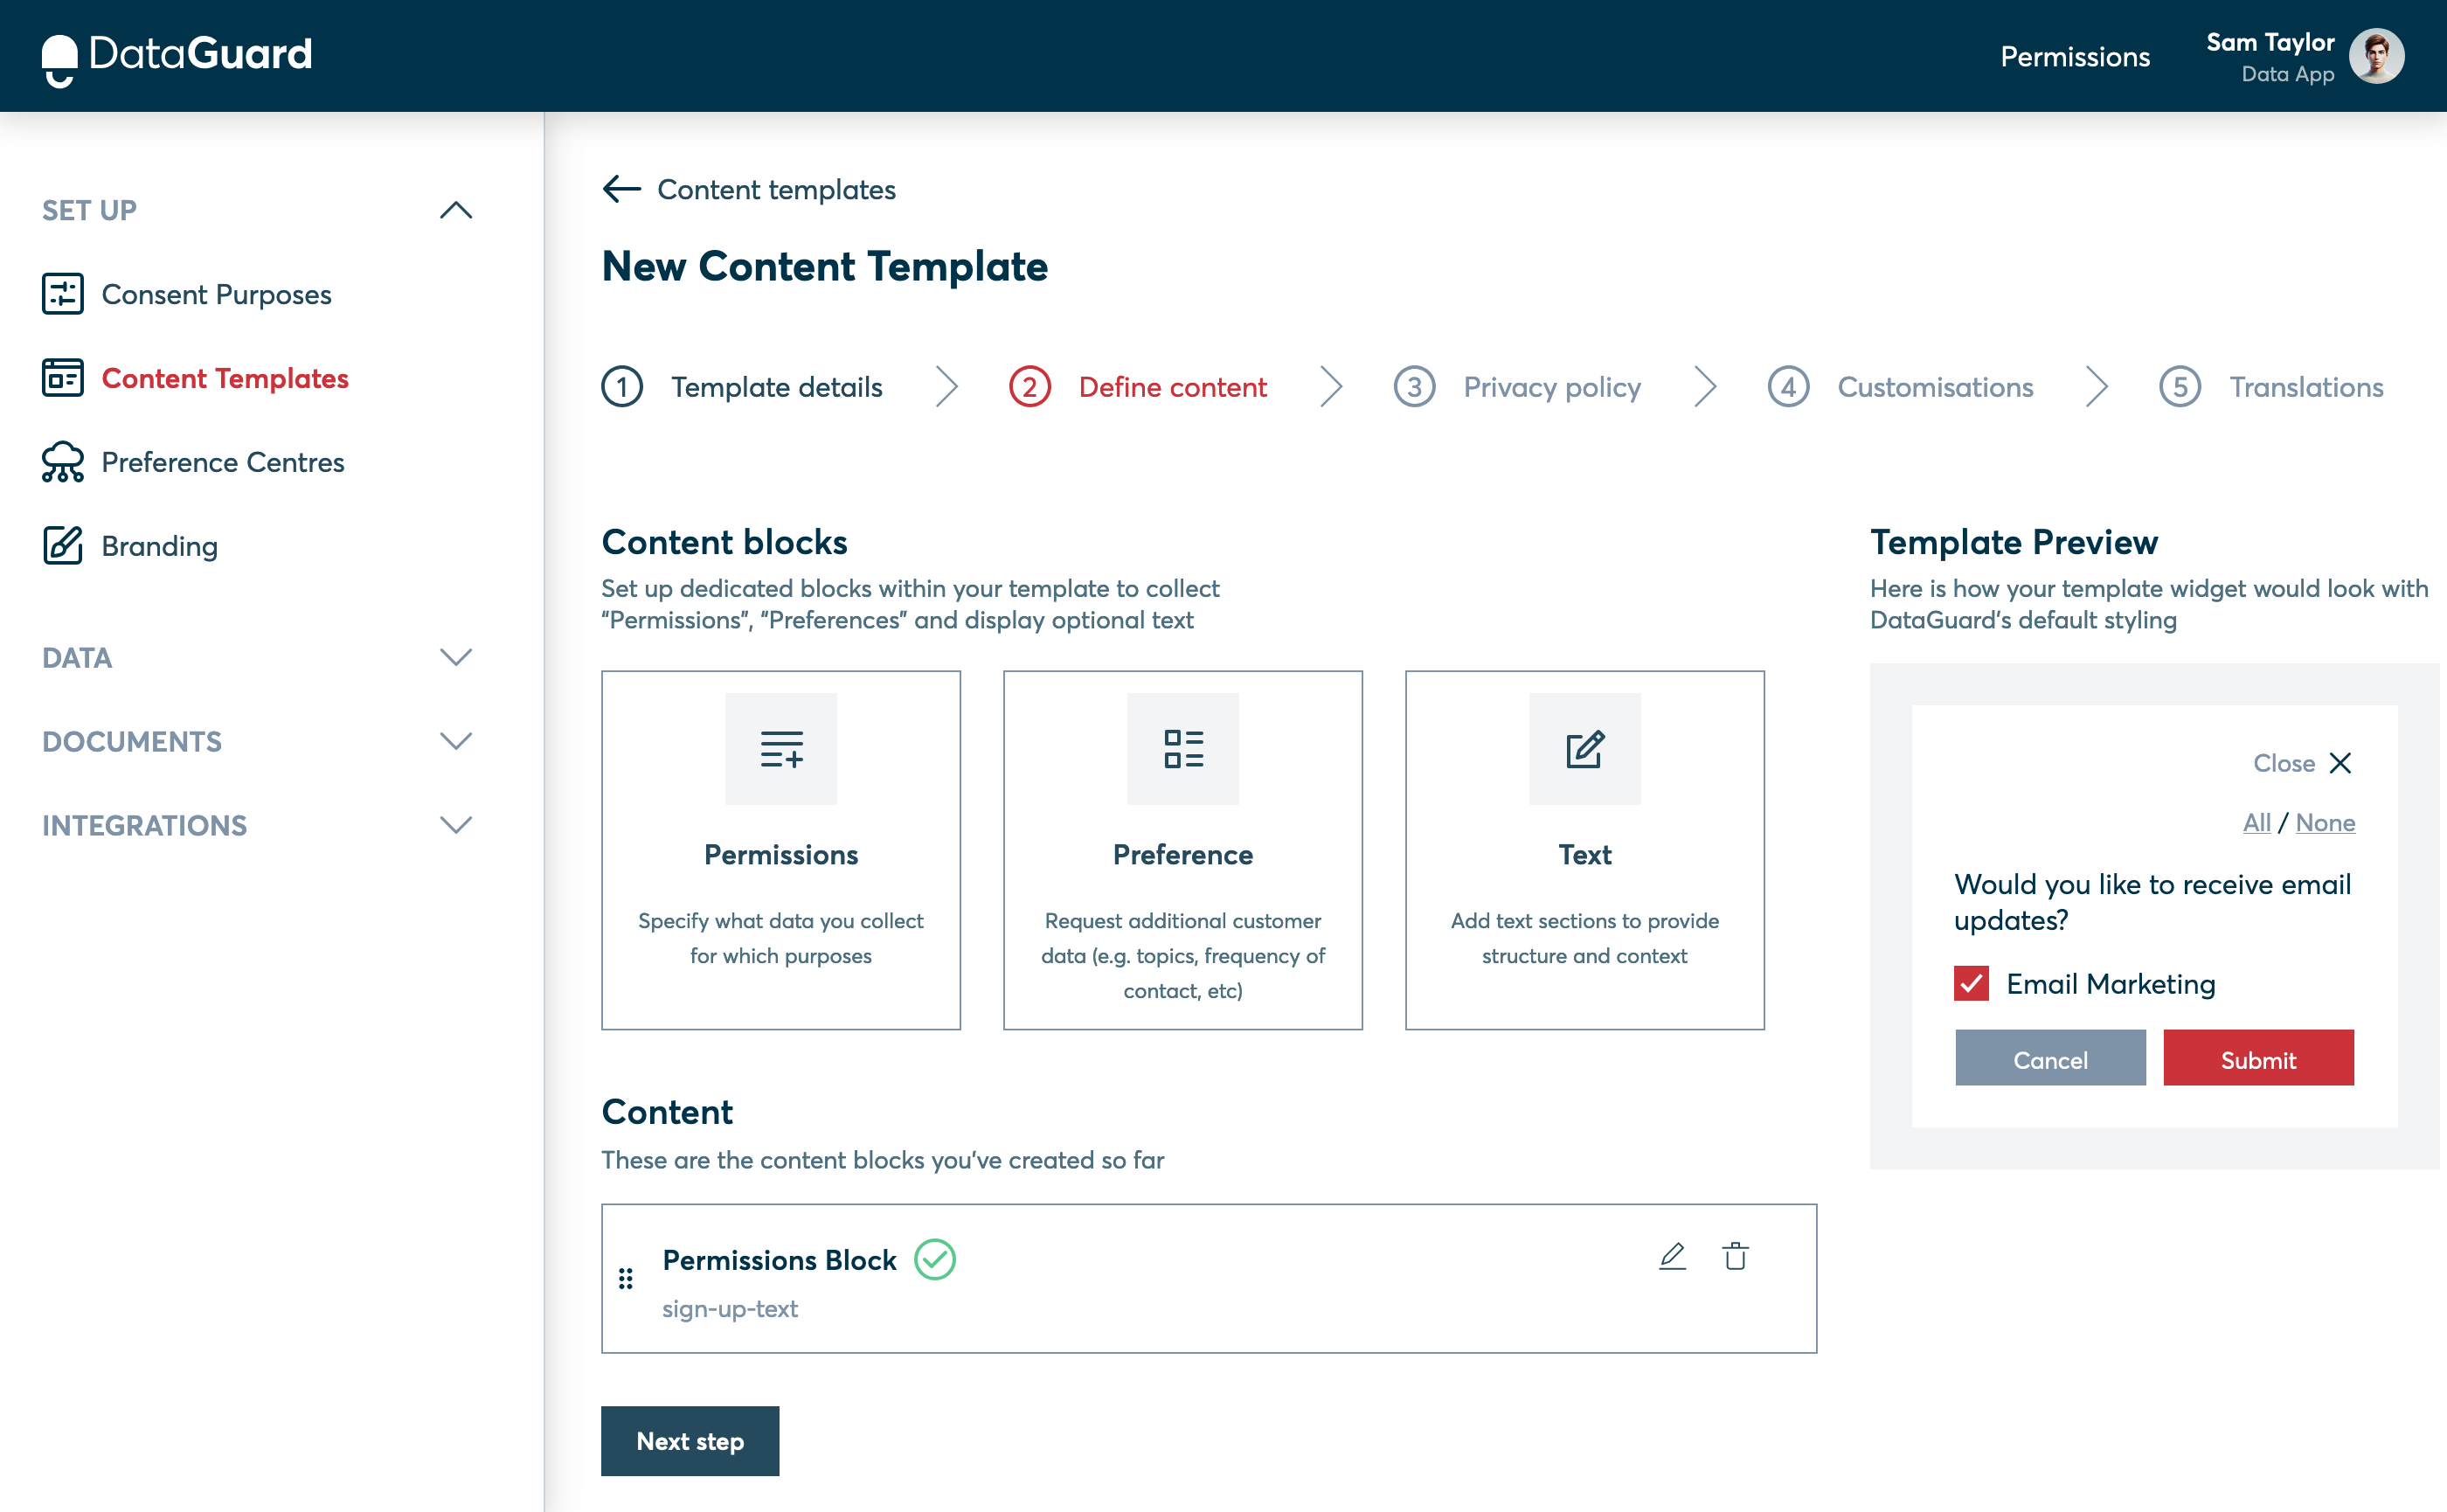
Define content page with the new Permissions Block.
Step 4: Select the Privacy Policy
Select the Privacy Policy you uploaded in the second guide. You can modify the Privacy Policy text that will be rendered in the form at this stage if needed, but this can also be done later. Click "Next Step" to continue.
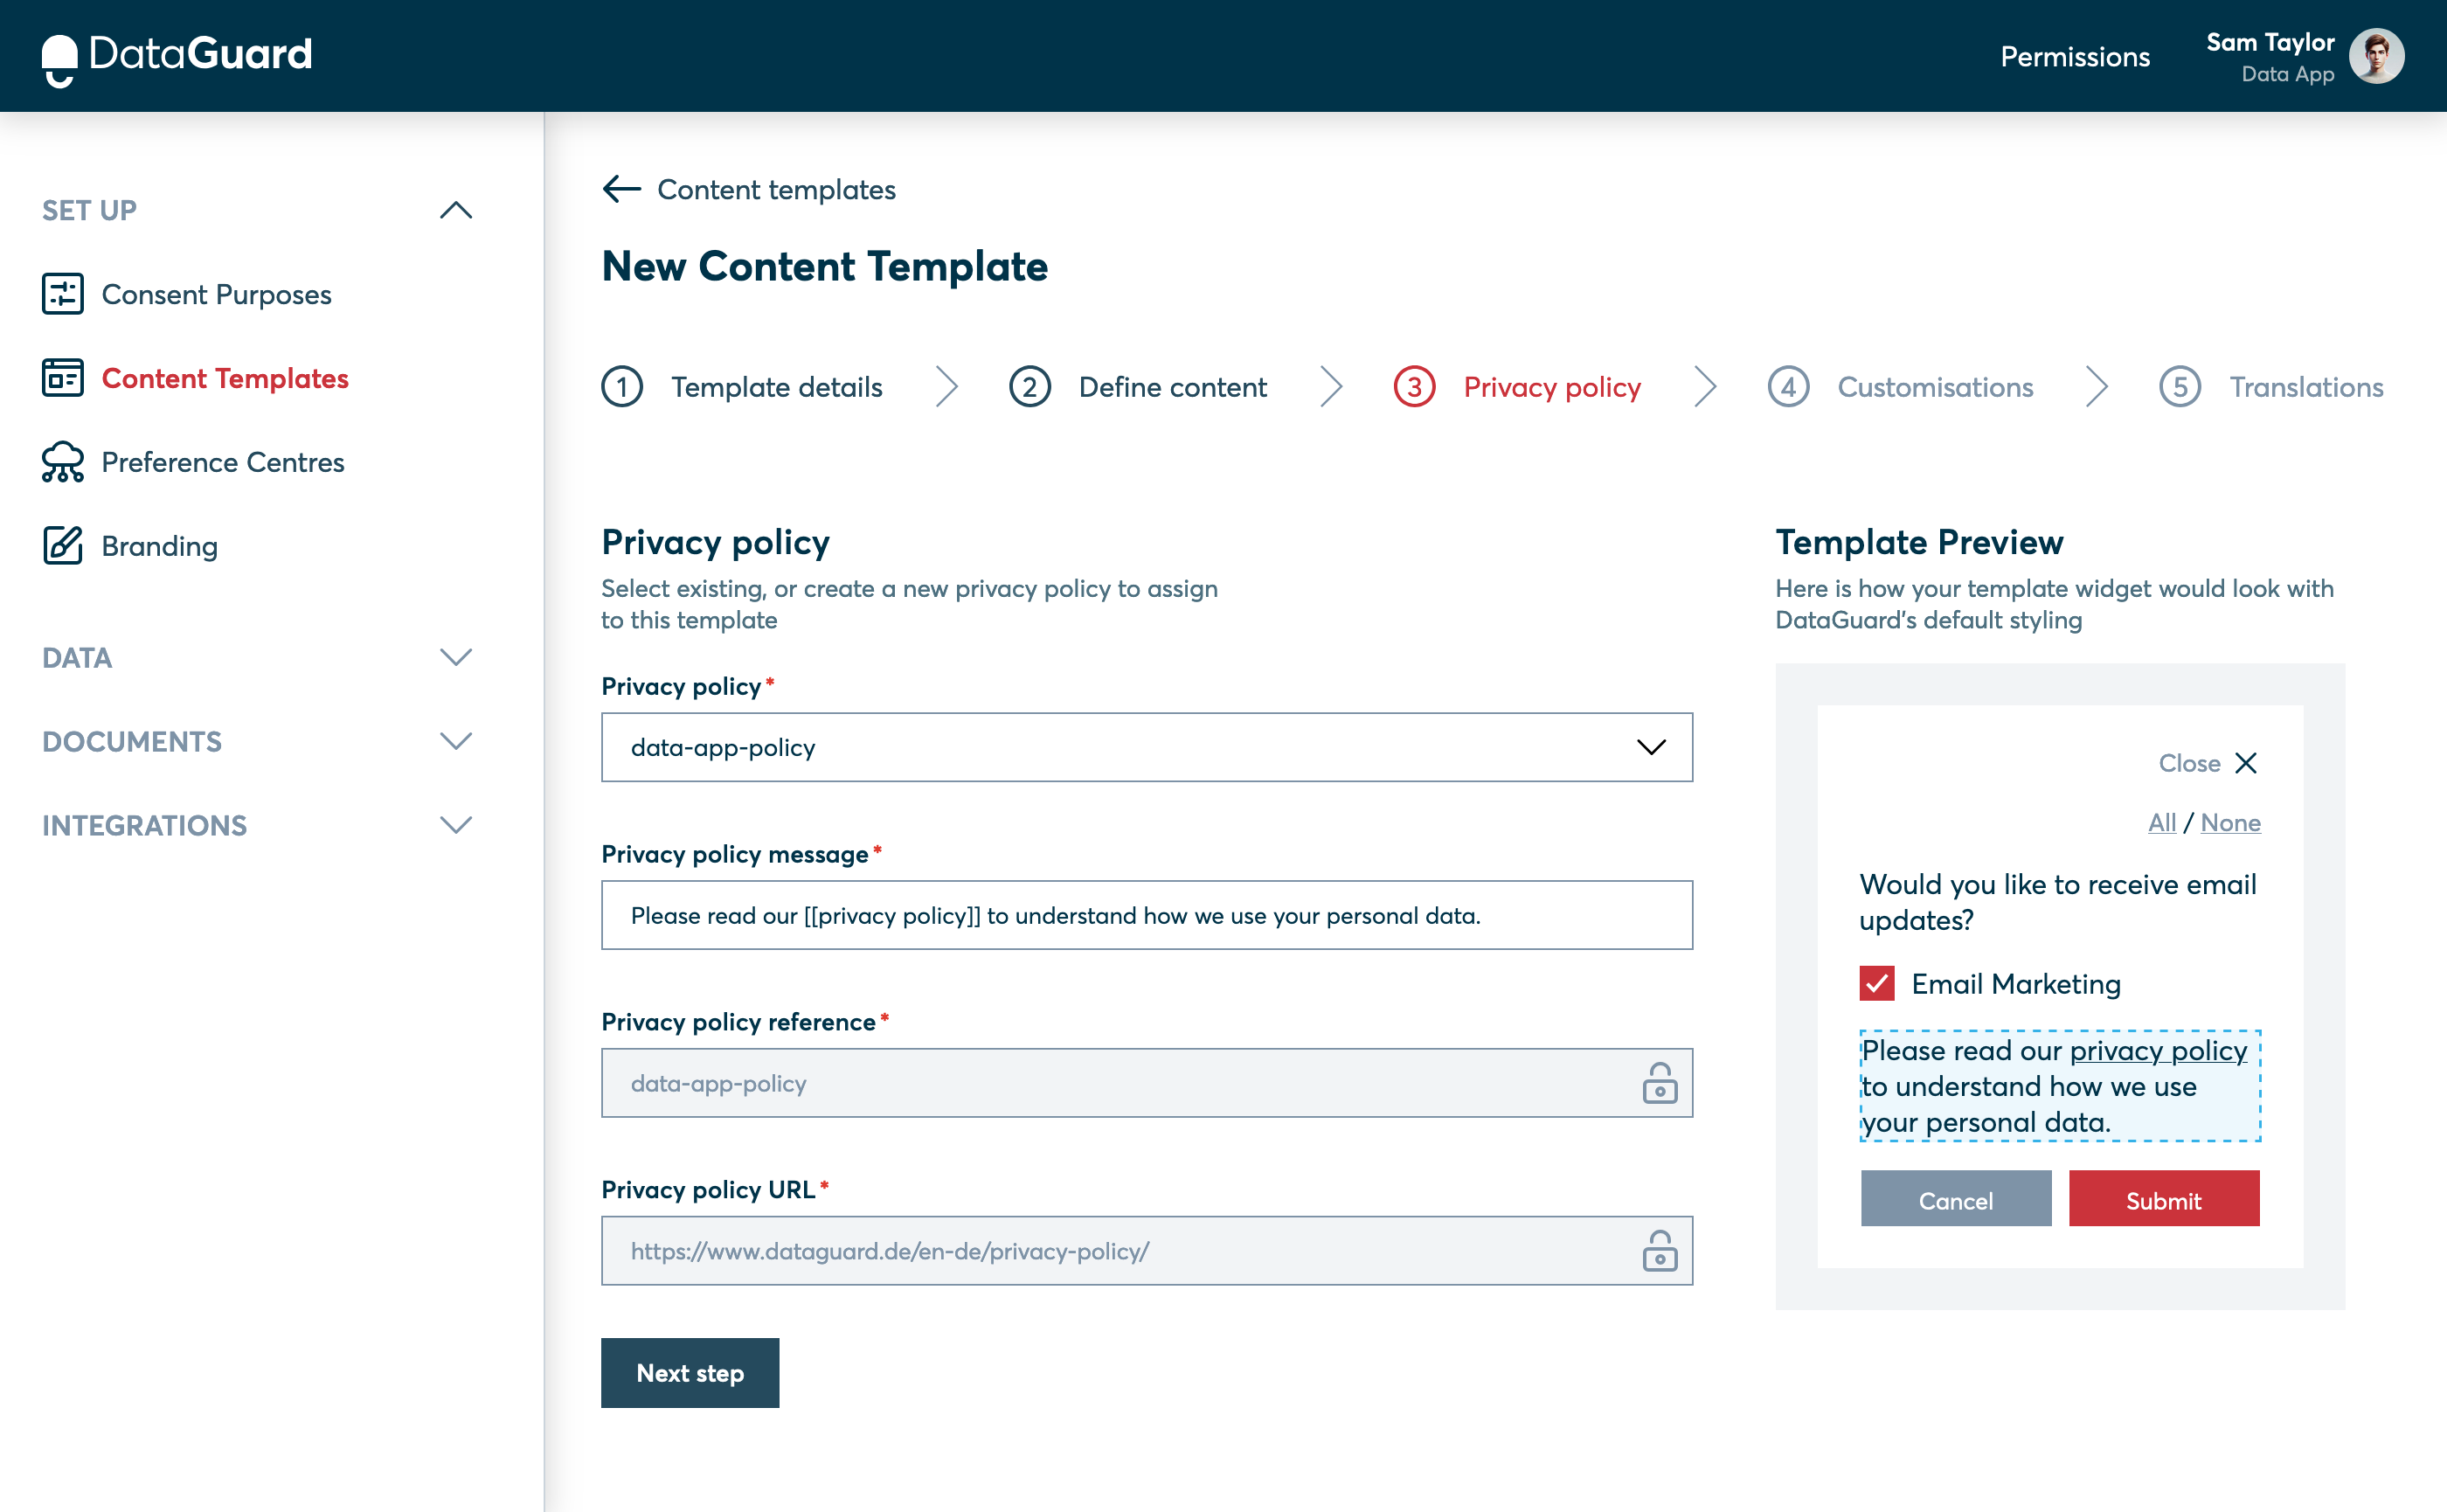
Privacy policy page in the Templates UI.
Step 5: Customisation and Branding
You will now see the Customisation page, where you can update text and branding elements. Customisation can also be done later, so click "Next Step" to proceed.
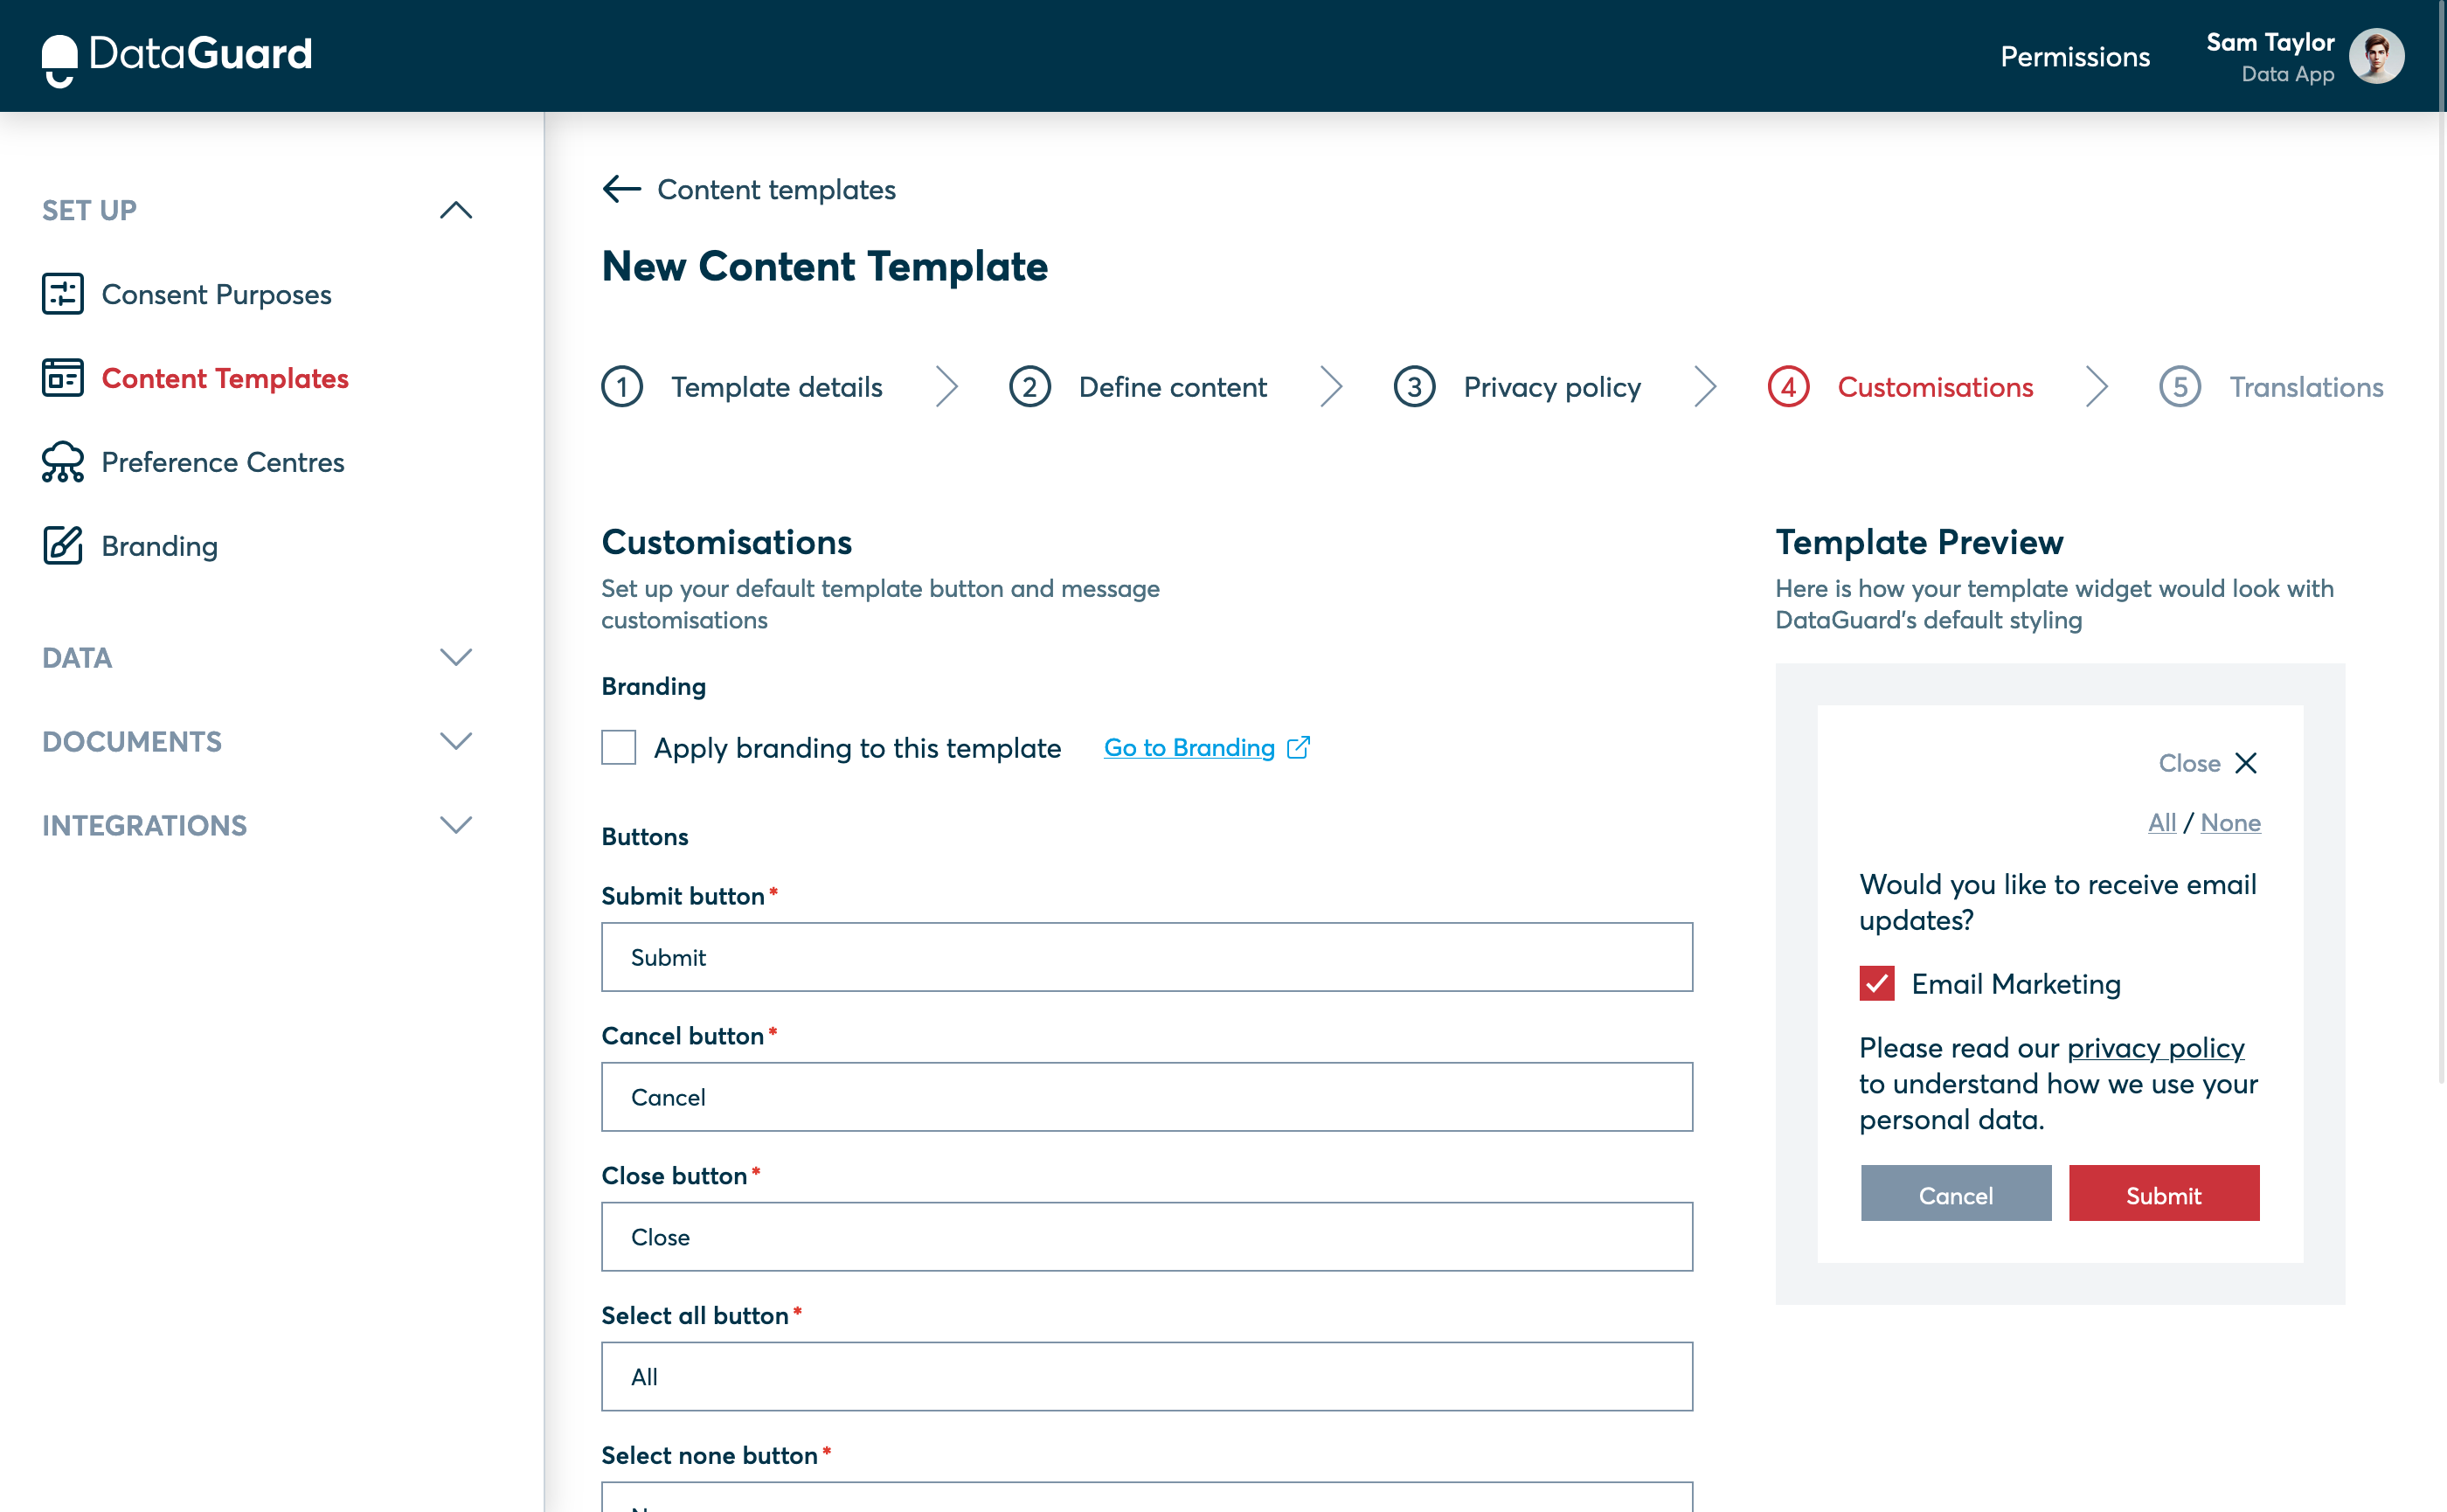
Customisations page in the Templates UI.
Step 6: Translations
The next page is the Translations section, where you can localise the form for different languages. For now, skip this step and save the template by clicking "Finish content template".
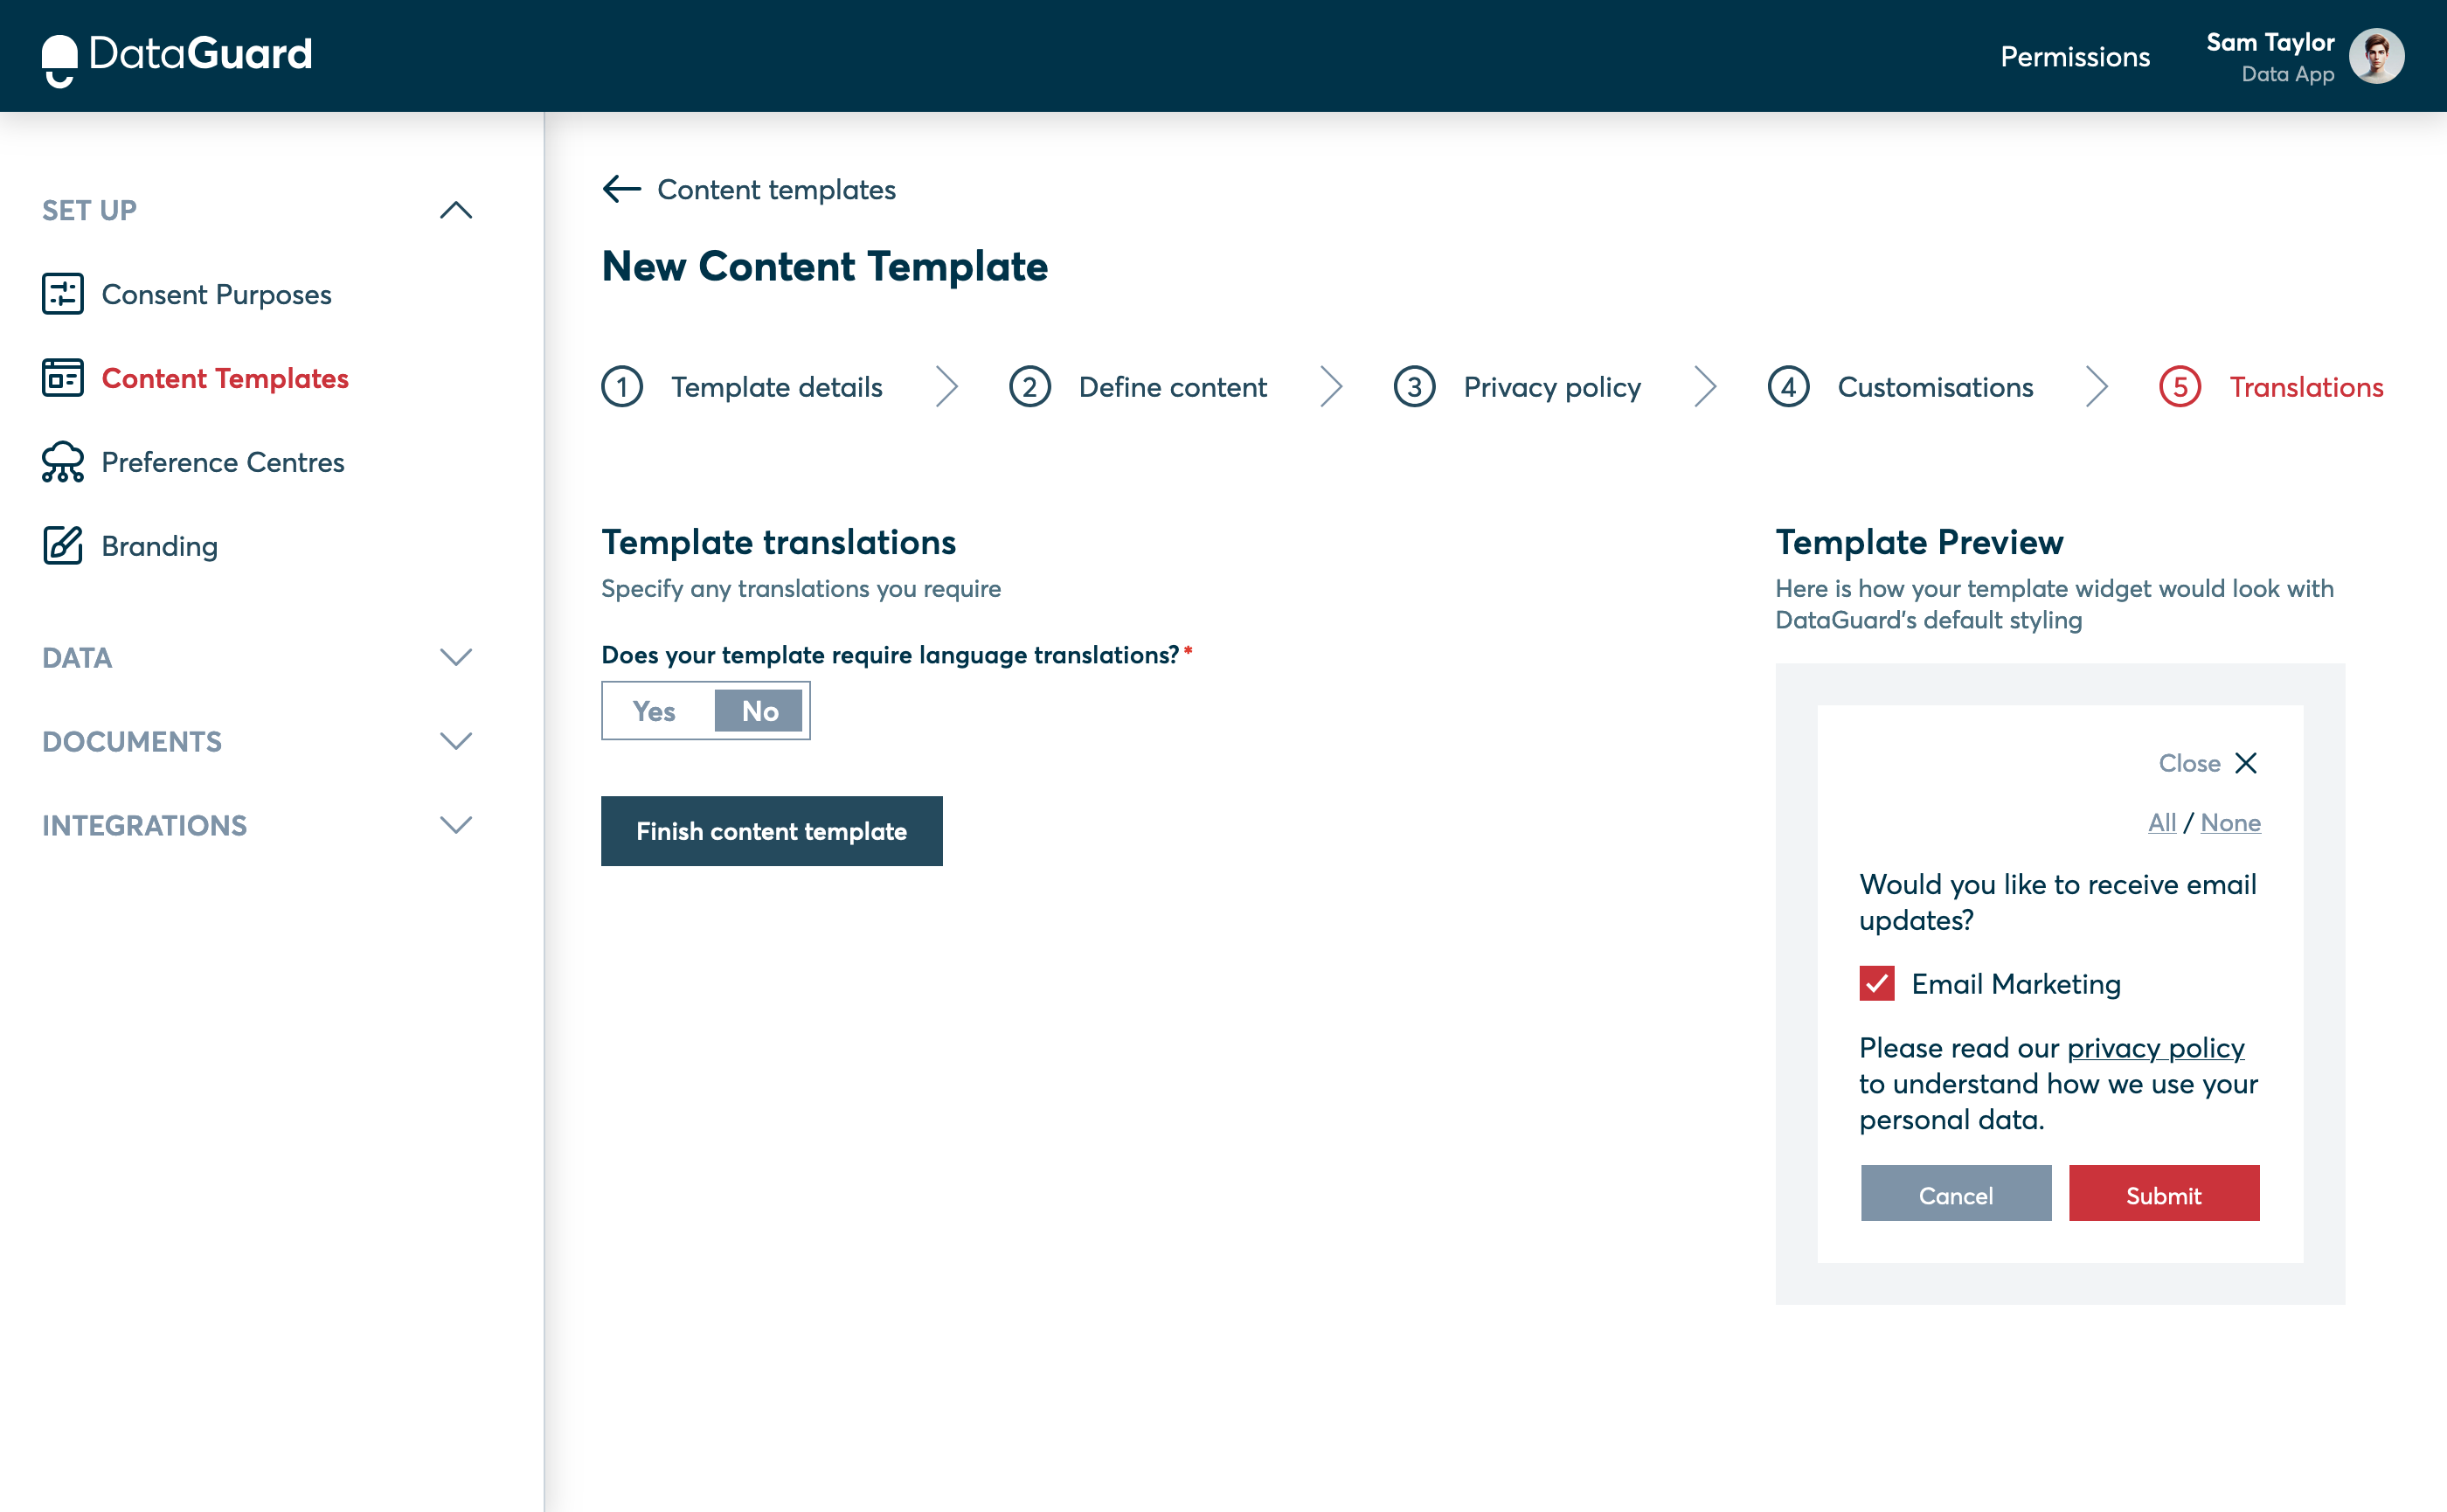
Translations page in the Templates UI.
Next Steps
Congratulations! You've successfully built a basic sign-up consent form using DataGuard CPM. The form is now ready to be used for collecting consents. In the next guide, we will cover how to start collecting consent using the form you just created.
Move on to the next step: Start Collecting Consent.
Updated over 1 year ago